Welcome to my blog!

News from a wargamer with a special interest in the military history of the Balkans. It mainly covers my current reading and wargaming projects. For more detail you can visit the web sites I edit - Balkan Military History and Glasgow & District Wargaming Society. Or follow me on Twitter @Balkan_Dave
or on Mastodon @balkandave@mastodon.scot, or Threads @davewatson1683

Saturday 27 February 2021

Balkan Struggles

 This is a new book by Andrew Rawson outlining the conflicts in the Balkans during the twentieth century. The Balkan wars of the 1990s sparked many books on Balkan history, of which Misha Glenny's epic work, 'The Balkans', is probably the best known. So, it is probably time for another look at the region as a whole. 


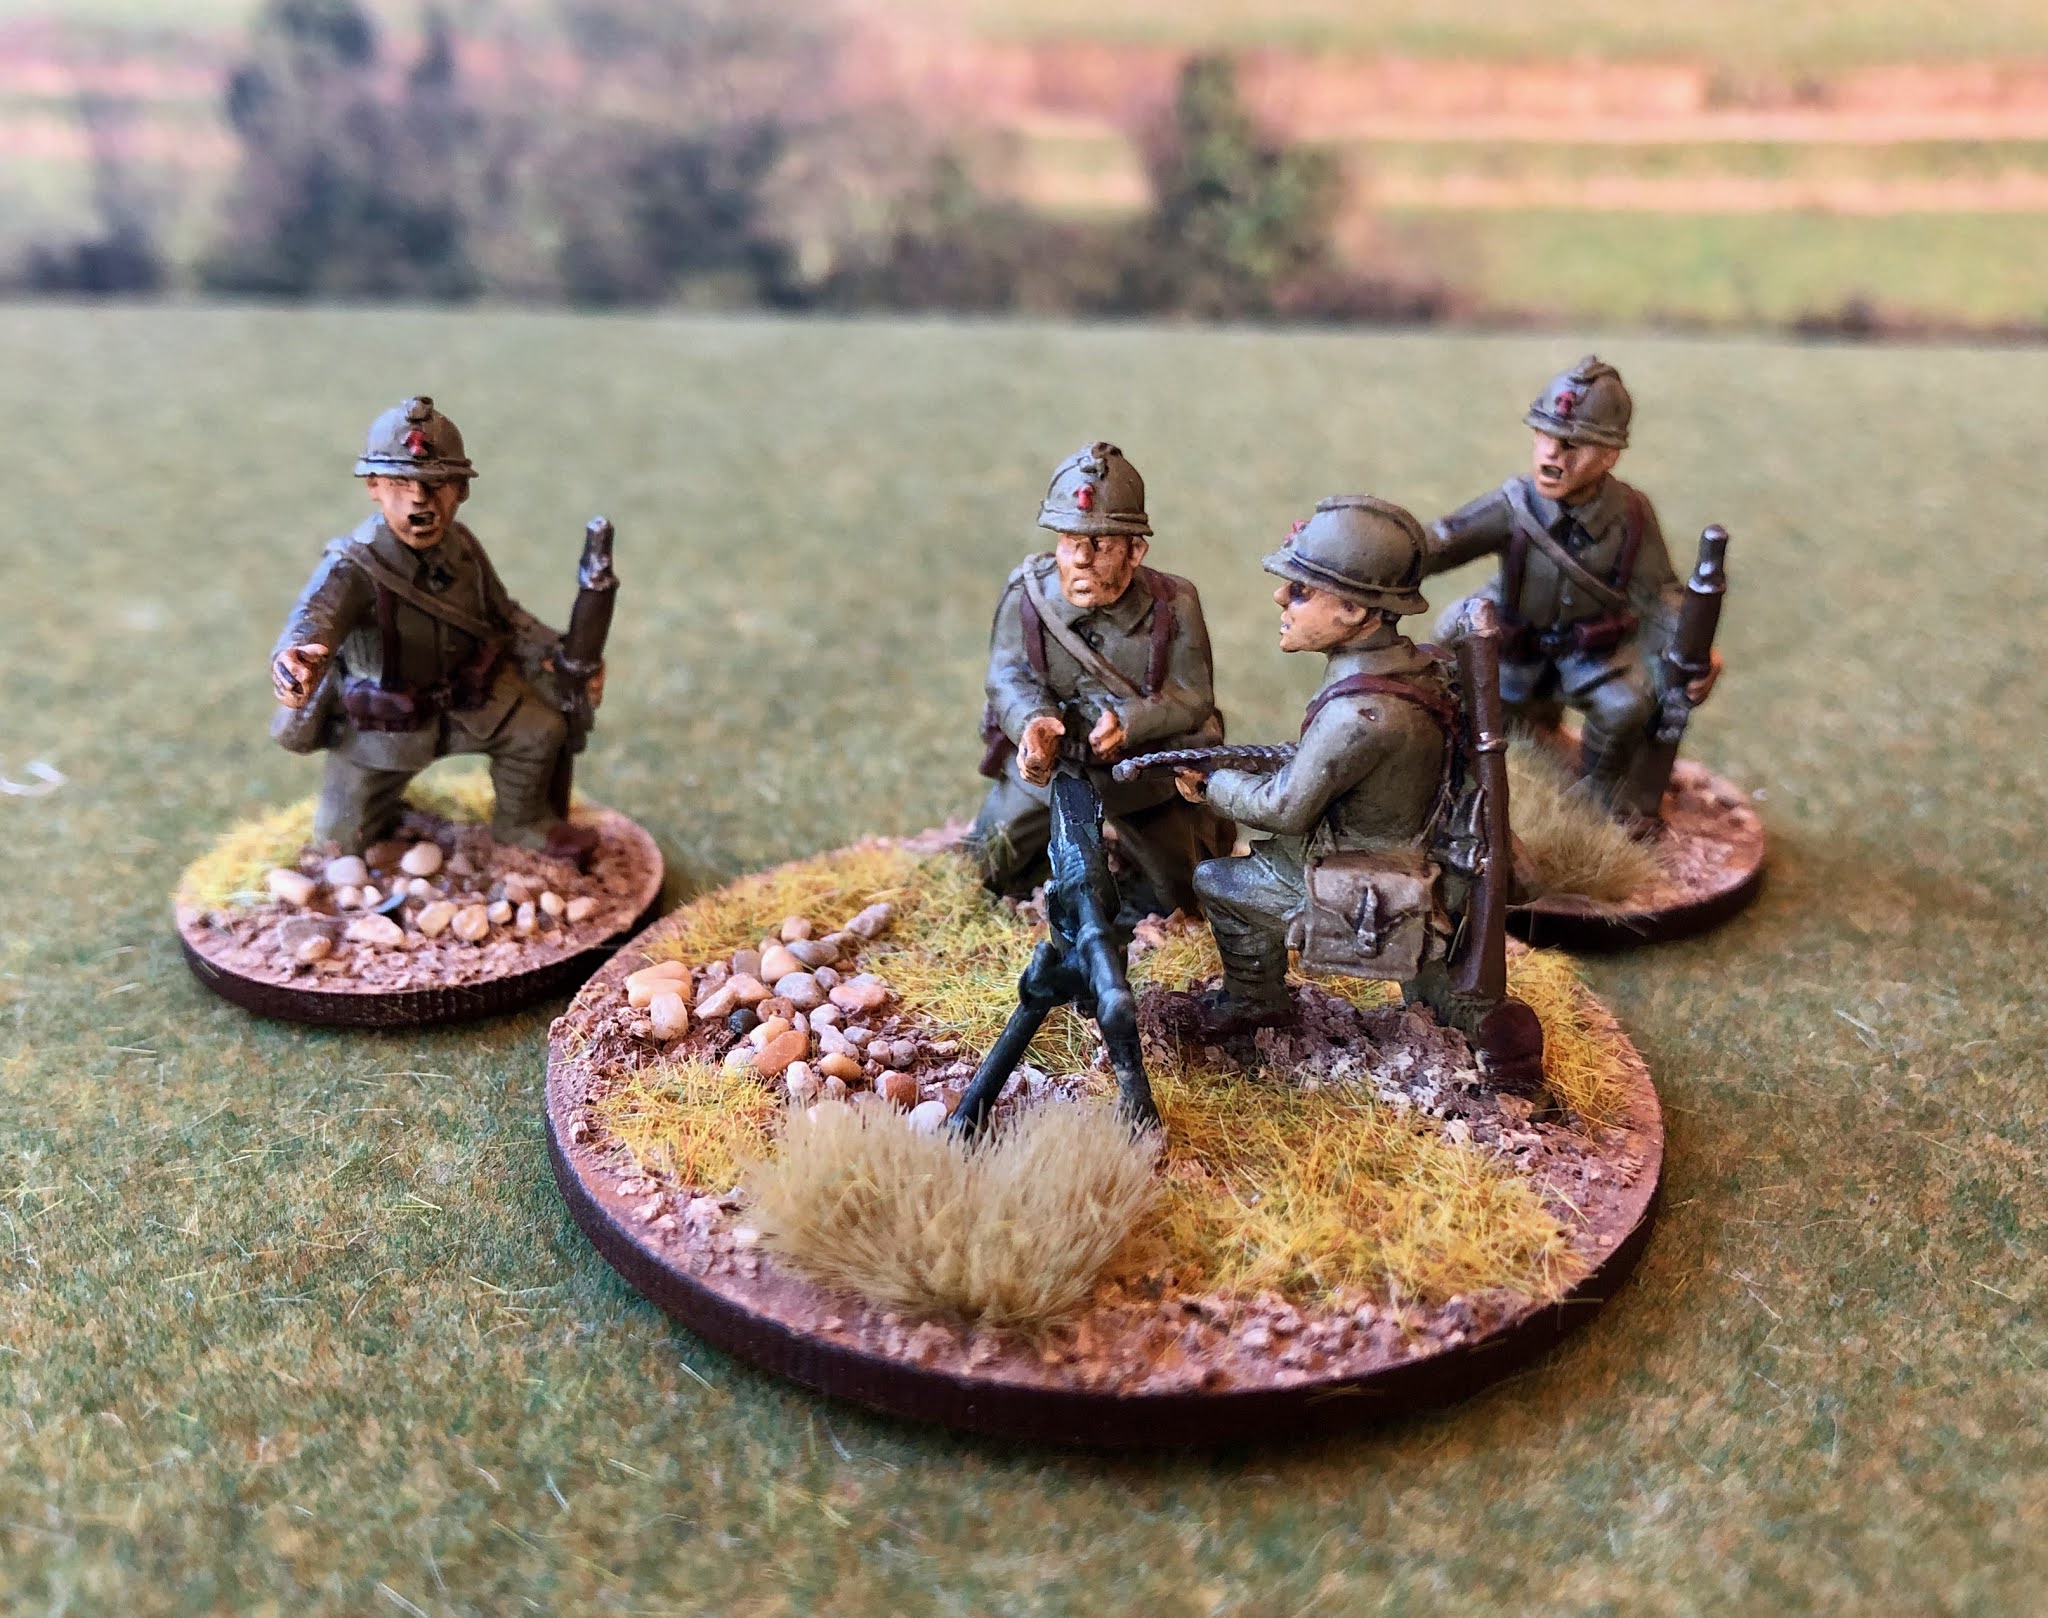
Rawson limits the scope of this history to the twentieth century. The century began with the tail end of the previous century's nationalist struggles, as nations emerged from the long period of Ottoman rule. This reached a climax in the two Balkan Wars, which saw the Ottomans reduced to a foothold in the Balkans and the first of many wars in which the new states turned on each other. The Balkan Wars were, in many ways, a warm-up for the First World War, which started and arguably finished in the Balkans.

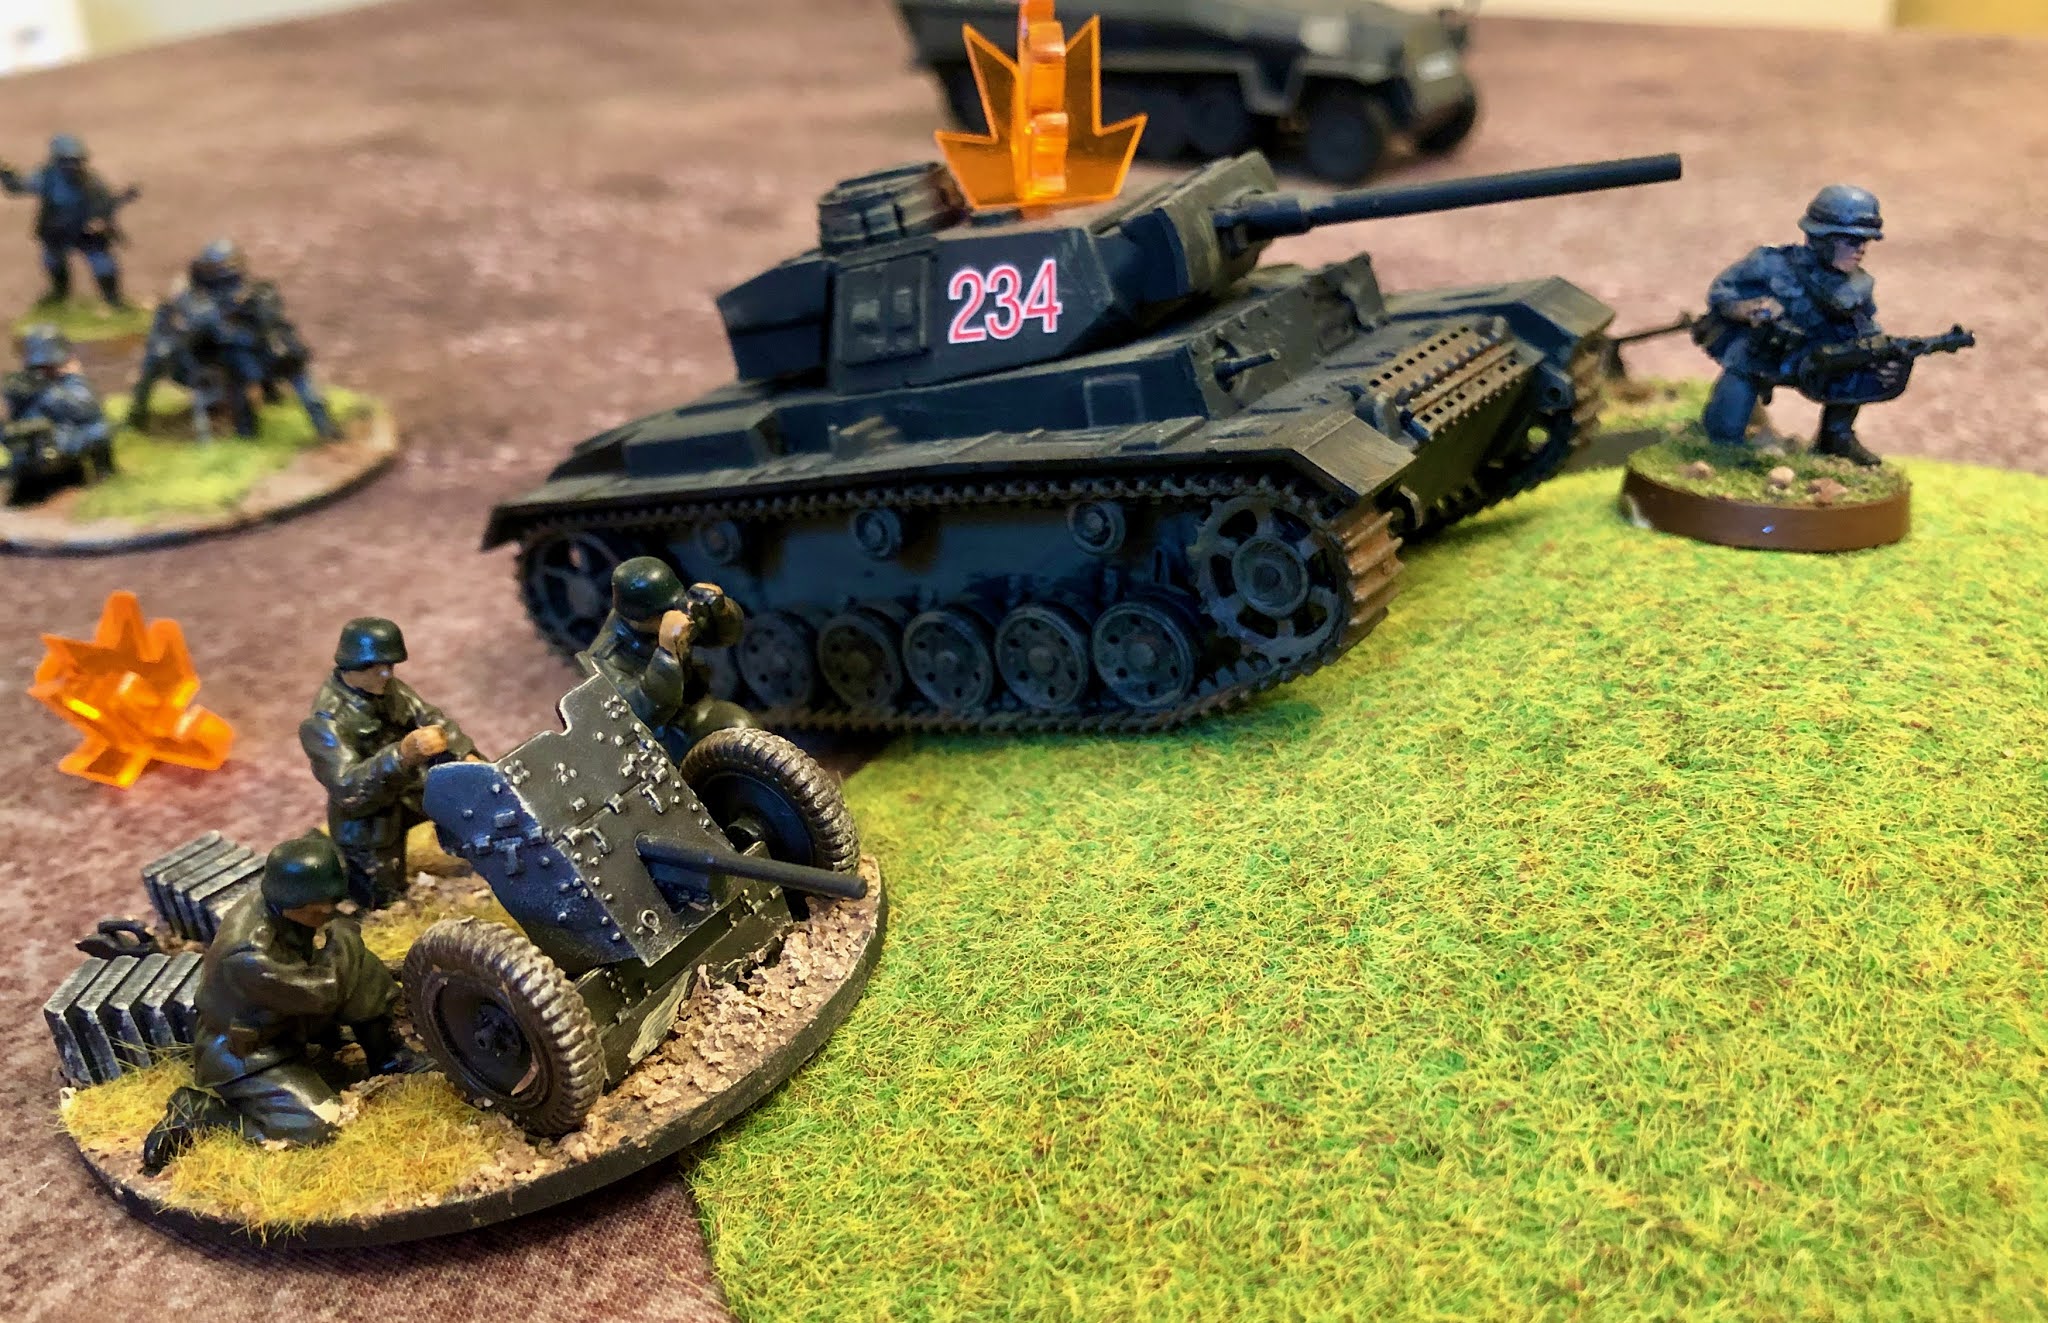
The post-war division of the spoils simply prepared the ground for the next conflict. To which was added great power rivalry, led by Mussolini's colonial ambitions, realised in Albania's occupation. He later threatened Yugoslavia and invaded Greece. This, along with a need to secure the natural resources of the Balkans, led Hitler into the Balkans as a prelude to his invasion of the Soviet Union. The Allies made some attempts to hold back the tide, most notably in Greece, without success. The Allied response included supporting resistance struggles in all the Balkan states. Most of these conflicts were as much about preparing for the post-war order as they were about fighting the Axis. 

As Allied strategy moved to liberate Europe through north-west Europe, the Red Army steamrollered through the Balkans, effectively imposing communist states. The exception was Greece, which lurched back to fascism through a right-wing military coup. Tito's death awakened nationalism in Yugoslavia, leading to the Balkan wars of the 1990's - some of the bloodiest conflicts in Europe since WW2. With the end of the Cold War, other countries ended the century by returning to democracy, albeit with a legacy of economic and territorial issues unresolved.

This book is something of a whistlestop tour of these momentous events, neatly broken down into short sections within the chapters. The brief treatment of complex issues does result in some oversimplification. For example, the numbers killed in post-war Yugoslav retribution are highly contested, and it might have been better to give a range of figures rather than plump for the upper estimates. The book possibly lacks a theme to bind the narrative together, other than simply death and destruction. Of which there was a lot. Another might be how political and ethnic extremes so often came to the fore, along with often unhelpful interventions from outside.

In many ways, the Balkan peninsula is a fascinating region, the crossroads of history throughout the ages. That crossroads was particularly busy and bloody during the twentieth century, and this book is a useful starting point for anyone beginning a journey of discovering its rich history.


Thursday 25 February 2021

War of 1812: US Soldier v British Soldier

 This is the latest in Osprey's Combat series, which looks in some detail at two protagonists. Having painted up the armies and visited the battlefields, this was a no brainer for me. 


The meat of this book is a study of the opposing regular infantry types of the war. The USA had a very small regular army at the outset of the conflict, traditionally relying on militias of variable quality. The British had an experienced and effective regular army, hardened through the Napoleonic wars. However, numbers in Canada were limited due to the demands of the Peninsular and elsewhere. 

The book looks at how the regular infantry was organised, recruited and equipped. As well as the leadership and logistics of fighting a war on the Canadian border. This is explained with supporting diagrams and some lovely colour plates.

How this all worked in practice is considered through the lens of three battles - Queenston Heights, Crysler's Farm and Chippawa. I visited two of the three during my visit, but Crysler's Farm is now underwater due to a dam project. Ontario does hydropower on a huge scale. Both surviving battlefields are well preserved with memorials and information boards.

Memorial at Chippawa

Memorial at Queenston Heights

The book includes excellent maps as well as orbats and unit organisation details.

Lasalle2 is my current go-to set of rules for tactical Napoleonics. Playing over Zoom, we decided to try Chippawa, which has an interesting mix of action on the plain and in the forest. Somewhat surprisingly, given the author is American, there are no army lists for the USA. However, it isn't difficult to create one using the open architecture of the system. The tricky unit was the First Nation forces who served on both sides in this battle, who don't really have a European equivalent. I went for a militia rating, giving them a better skirmishing factor, but with the 'rabble' trait to reflect lower morale. After all, it was the white man's war. 

The game went pretty much as per the historical battle. The Americans had the larger force and their numbers told on both the plain and in the forest. I merged a couple of units because many were significantly understrength. 

British on the right

US and British regulars in a firefight

Indians led the way in the woods before the militia forces engaged

Disengaging is elegantly done under Lasalle, which is just as well. The British left flank collapsed and the Royal Scots started to move back covered by a successful charge from the Light Dragoons. Game done, but the coup de grace was delivered by Razzy jumping on the table after his grub!


The army lists for Lasalle


Thursday 18 February 2021

Bolt Action - Turkish WW2 platoon

 My latest project has been to build a Turkish WW2 platoon for Bolt Action. With nearly a thousand points on the table, that will do for now. Or at least until some new shiny toys come along that I can convert.

First up are the infantry squads. These are the better-equipped units, mostly with the French helmet, wearing the winter uniform. I did the 15mm army in the summer uniform. The helmet figures are converted from the Crusader Miniatures French Dragon Portes and the figures in caps from Great Escape Games Romanians.


Then the support weapons. HMG, mortar and 25mm ATG. Again converted Dragon Portes. These figures are in the shorter tunic without the ubiquitous French greatcoat and limited kit. So are ideal.


Finally, the armour. I have a T26 for an early war army, so I have gone for the 1943 additions provided by the British under Operation Hardihood. These are Butlers 3D prints of the Stuart, Valentine III and Dingo scout car.


So, onto the tabletop for a game against the invading Germans. There was a German plan to invade Turkey called Operation Gertrud. I reviewed the excellent S&T board game of this last year.

In this scenario, the Germans have broken through the border defences in Thrace, and a veteran platoon is tasked with capturing a key bridge. A regular Turkish platoon has crossed the bridge and is ordered to hold the Germans off to allow Turkish reinforcements to group for a counter-attack.


The tanks on both sides brewed up pretty quickly. The Germans used their infantry squads to work their way around the flanks. The right flank was halted, but the left flank managed to get around and capture the bridge - cutting what was left of the Turkish force. 

The Turkish ATG has opened fire, and the infantry hides behind the hill.

The Turkish commander (Uztegmen or 1st Lieutenant) looks on as the Valentine is knocked out.

German Panzer III and ATG did most of the damage.

The German artillery didn't hit a thing all day.

The German squad reaches the bridge.

I haven't played Bolt Action for a while and really enjoyed it. This is the army list in the unlikely event that anyone wants to have a go.


Tuesday 16 February 2021

Grand Delusion: Stalin and the German Invasion of Russia

 This is Gabriel Gorodestsky's groundbreaking study, using Soviet and German archives, of the events leading up to Hitler's invasion of the Soviet Union in 1941. He challenges many of the long-standing beliefs about Stalin's preparations for war, not least Churchill's claim to have warned him about the German invasion plans.


 Most studies of this period look exclusively at German-Soviet relations. As the author points out, Stalin's relationships with Britain, Turkey and the Balkan states are also meaningful in understanding why he took the decisions he did. Warnings from Churchill were viewed through the prism of Stalin's deep mistrust of Britain. This started with the execution by the British of 26 commissars in Baku during the British intervention and the threat to Russia from a British fleet sailing through the Straits into the Black Sea. Concerns increased by the British/French plan to bomb the Soviet oilfields in 1940. The author argues that before the invasion, Stalin viewed Britain as a more significant threat than Germany. Even without this perspective, Britain's intelligence would be viewed as merely an attempt to embroil the Soviet Union into the war against the Axis.

In Britain, we tend to view Rudolf Hess's flight to Britain for what it probably was, the actions of a mentally unbalanced individual. However, in Stalin's mind, this was part of a British/German plot to negotiate a separate peace and attack the Soviet Union.

Hitler's decision to invade Russia may well have had an ideological basis going back to Mein Kampf. However, it was also directly linked to clashes with the Soviet Union over spheres of influence in the Balkans. This is confirmed by Keitel and Jodl who emphasised Hitler's concerns about the threat to Romanian oil supplies. Stalin's seizure of Bessarabia was driven by his need to control the Danube access to the Black Sea. Similarly, influence in Bulgaria was largely about access to the Straits and Turkey. German troops in Romania were not only blocking Soviet access to the Straits, but they were also poised for an assault into Ukraine.

Soviet intelligence was not asleep in the run up to the invasion. Regular reports were submitted on the German troop build-up, and Soviet spies confirmed an attack's likelihood. However, these were presented in the context of Stalin's view that war was not inevitable. Churchill's description of Stalin as a 'simpleton' is contradicted by British records and Cabinet discussions, which show that the information was not as definitive as Churchill later claimed in his memoirs. As we have seen, Britain's warning would be viewed sceptically anyway as the British ambassador to Moscow frequently pointed out. Stalin was desperate to avoid war for another year at least, to give time for the Red Army to prepare. He was, therefore, prepared to go the extra mile in negotiations. 

When Zhukov was appointed Chief of Staff, he did step up defensive preparations due to Soviet military intelligence. However, this was hampered by Stalin's concern that he shouldn't provoke the Germans. In any case, Soviet intelligence was contradictory on where the main attack would fall, as the German plans changed as well, and Zhukov had many borders to defend. 

This is an excellent study of the wider context of Hitler's decision to invade the Soviet Union. It provides a fresh perspective that puts Soviet concerns about Britain on a par with that of Germany. It seems strange today with the benefit of hindsight, but it was very real to the Russians in 1940/41.

28mm Soviet infantry


Saturday 13 February 2021

Lasalle

 Another symptom of wargamers disease is the never-ending search for the perfect ruleset. Chess has one set of rules - most wargamers have many shelves of them. Ever since Principles of War went out of fashion, I have been looking for a new set of tactical Napoleonic rules for my 15mm armies. Blucher works well for the big battles, and Black Powder is fine for my 28mm armies, but my 15's are gathering dust.

I tried the Bataille Empire rules last year, the Napoleonic version of ADLG. Not bad, but unnecessarily complex in places, and as a wargaming butterfly, I haven't the patience. I do like Blucher, so Sam Mustafa's new tactical rules for Napoleonics is worth a try. This is the 2nd edition of Lasalle. I didn't play the first edition so I can't compare. However, I understand it is a fundamental rewrite. I can see elements of Blucher and his WW2 rules Rommel in the game mechanics.

Units are battalion-sized (600+ men) or cavalry regiments (400-500 troopers) formed into brigades. A typical tabletop battle will have three or more brigades. A unit has four elements or two cannon, and there is no need to rebase because the movement is in base widths. You can use Blucher style labels for each unit or a roster sheet for keeping the unit statistics and recording strength levels.

The game starts by collecting Momentum points. These are used to give orders to units or brigades. The General marker can be used to gain additional Momentum or can intervene on the tabletop. I suspect it will be better to keep him on the table as the armies clash to make any quick formation changes such as forming a square. A Rommel style HQ sheet is used for each army to track. The active player is the one who wins an initial round of skirmishing. This is an interesting mechanism, which enables the better skirmishing army to go first, and it also gives the winner extra Momentum. 

All the action takes place in the orders phase when you move, fire or charge your units. The amount of each depends on your Momentum points. Movement is pretty liberal, quick in the early stages, slowing up as you get near the enemy, and the same is true for formation changes. This speeds up the game a lot. Units can move in all the formations of the period, including line, march and mass for column and cavalry attacks. Squares don't move, which won't please my Russians fighting the Turks!  

Each unit has a starting strength, which gets whittled down by firing and combat. You can try and rally strength points back but if you fail the strength point is lost. Each unit has a skirmish value, a resolve (morale) value, and sometimes extra traits. For example, firepower for British line, and weak fire for  Janissaries. Both firing and combat mechanisms are pretty straightforward and quick. Artillery gets the bounce factor through lines of troops, so be careful with multiple lines. The non-active player can interrupt the active player if he has Momentum points, leading to the active player switching several times in a turn.

The rules are laid out in a similar way to Blucher and Rommel. Plenty of clear diagrams and examples. The design notes are included in the text, which I am not convinced is a good idea, particularly when using a PDF copy of the rules. There is a basic game and advanced rules that add additional complexity around doctrine, command traits and specialist units. 

The army lists come in a free downloadable booklet, which cuts costs and allows for updating. Each country has a section with unit statistics, army options and a points system. As always with Sam's rules, they are well supported with downloadable playing aids, scenarios and a helpful forum. I am surprised that there is no list for the USA, although it shouldn't be too difficult to create one from the open architecture chapter. This will also be useful for those who care to indulge in ImagiNations. 

For the tabletop test, I went for a small game set in 1809, Austrians v French. One infantry and one cavalry brigade on each side. Both infantry brigades enter the table in march column. You will also notice that artillery is deployed as a limber, which you take away and replace with cannon bases when deployed.

The French quickly change formation into mass (assault columns) and the Austrians get into line. This photo shows the initial firing dice, two for the centre bases and one for the outside ones. 


 Then the combat. You add up the remaining strength points for each unit and add the roll of one dice. There are only a few modifiers. There does seem to be an advantage in attacking as the main negative outcome for attackers is 'stagger' back. Although you can interrupt and charge right back. In most cases winning by 3 or more results in the defender being destroyed. This makes for quick and generally devastating combat outcomes.


My first impressions are very positive. These rules provide a fairly quick game for divisional level tactical games. After the read through and a couple of rounds, I shifted to the rule summary sheet. If you want more complexity the advanced rules provide that, but I will stick to the basic game for now. Looking forward to trying it out with bigger armies. 


Friday 12 February 2021

Burning the Water

 This is the second in Bob Low's Border Reiver series. Historical fiction based during Henry VIII's conflict with Scotland known as 'The Rough Wooing'. 

I covered the historical background to the series in my review of the first book, so I won't repeat that. In this book, our hero Batty Coalhouse is still chasing Maramaldo, the condottiere who cut off his arm when he served in the band during wars in Italy. This band of Landsknechts and other mercenaries are rampaging in the Cheviot Hills on the border's English side, although the border was a flexible concept during this period. If this sounds a bit far fetched, it isn't. Henry VIII recruited Landsnechts into his armies, and they were present at the Battle of Ancrum Moor (27 February 1545) which is the starting point for this book. A rare Scottish victory as well.

Batty accepts a commission to save a group of nuns, one of whom is related to a border lord. They are besieged in a tower house by troops from Maramaldo's band. This ties into a wider conspiracy involving other border clans, or Graynes as they are called in the borders. I won't spoil the story, but it results in several small scale battles, and as with the first book, the violence is not for the squeamish.

This is another cracking read if anything better than the first. Role on the third!

Onto the tabletop. In the book, the Landsknecht band is attacked by an English militia unit, which were called Trained Bands, supported by Border Horse. The artillery played a significant role in the story, not least because that was Batty's specialist role when he was a mercenary. The models are 15mm.


Sunday 7 February 2021

The Numidians 300BC-AD300

 I have only really considered the Numidians as part of Carthaginian and occasionally Roman armies. This new Osprey in the Men at Arms series by William Horstead opens them up as a force to be reckoned with in their own right.

The Numidians were a tribal people based in modern Algeria and Tunisia on the borders of Carthage. This made them ideal allies for the Carthaginians who were always in need of manpower, and later the Romans when they landed in North Africa.

Numidian cavalry are their best-known asset, particularly when fighting with Hannibal in Italy. What these scantily clad warriors made of crossing the Alps is lost to history! They were javelin armed on small hardy horses, useful for reconnaissance, yet still effective on the battlefield. It is that battlefield success that wargame rules struggle to replicate on the tabletop. The author is clear that their tactics were traditional skirmish hit and run, which seems likely, although I still struggle with how this tactic drove the Roman cavalry off the field at Cannae and elsewhere.

The Numidians also fielded light infantry, sometimes operating with the cavalry, and may have included archers and slingers. They also used elephants, copying the Carthaginians use of smaller African elephants. He also suggests that some Numidian infantry were trained to fight with spear and shield by the Romans, a lighter version of the Libyan spearmen extensively used by Carthage. Some bodyguard troops may also have had light armour.

Looking at my 28mm Numidians, they are obviously painted too dark-skinned. The Numidians were olive-skinned from the Berber cultural group. I hope I didn't varnish them too heavily for the repainting I will have to do.

This book has everything you expect from the MAA series. The historical background, a description of the troop types, their appearance and weapons. The latest archaeological evidence is discussed in laypersons terms, along with the limited textual sources. Profusely illustrated, including colour plates by Adam Hook.  

Having devoured this book in a session, it seemed a good choice for this week's Zoom game, particularly as the new SAGA book, Age of Hannibal, has them as a separate faction. I can just scrape together enough figures to create a SAGA force. Most of my figures were picked up in a bring and buy many years ago, and the sculpts are not great. Not sure which range they come from, but they are old school 25mm.

The opponents are Carthaginians (my very first wargame army), out to put down a revolt. The first round of javelin fire from the Numidians was devastating, and it was a short game after that. Even the Balaeric slingers were off form, and only the citizen cavalry beat off their opponents.  Carthago delenda est, I'm afraid.


Thursday 4 February 2021

Taranto and Naval Air Warfare in the Mediterranean 1940-45

 This is a new book by David Hobbs looking at naval air warfare in the Mediterranean during WW2. This includes off carriers and from land bases. Unlike the Pacific or the Atlantic, few parts of the Mediterranean were not within the land-based Axis aircraft range. This created very special problems for the small carrier force available to the British during the early years of the war. They fought against considerable odds, and their story deserves this excellent book.


The Fleet Air Arm had only just been returned to the Royal Navy at the war's outbreak. It included the carrier-based aircraft, but the few RAF maritime reconnaissance aircraft were not trained to operate with the fleet. The development of ship-based radar helped as the war progressed, but communications were limited at the war's outset. Like most naval commands, airpower's impact on the fleet was underestimated, and this was reinforced by ineffective high-level bombing from the Italian air force. However, when the German JU-87 dive bombers arrived, it was a very different story, and there was quickly a demand for a higher proportion of naval fighters to fly combat air patrols.

The carrier HMS Eagle was stationed in the Med, and in August 1940 it was joined by the modern carrier HMS Illustrious. This allowed the fleet to undertake the famous night attack on the Italian fleet at Taranto. The attack was delivered by Swordfish torpedo bombers, who look like WW1 vintage aircraft but were actually well suited for the task. Three Italian battleships were seriously damaged, half of the capital ships in the fleet. The Japanese and others took careful notes!

The Ark Royal was also in the Med by late 1940, although its focus was on supporting convoys to reinforce Malta.  Albacore, Fulmar, and Skua aircraft provided some more modern types, but their performance was not the equivalent of Axis land-based fighters. This was a problem that dogged the fleet throughout the war. The Sea Hurricane and Seafire were an improvement, but only a stop-gap before specialist aircraft started arriving at the end of the war. 

At times, there were no operational carriers in the Med, and the naval air squadrons operated from land bases along the North African coast. For example, by the end of 1941, 830 NAS had attacked 80 enemy ships with torpedos sinking or disabling some 200,000 tons of Axis shipping. 821 and 826 NAS played a key role in night operations during the Battle of El Alamein. 

The admiralty eventually accepted the importance of carriers even in the confined waters of the Med. Apart from the strike potential, fighters could deploy continuously to defend fleet operations. They were also important in anti-submarine warfare. In 1942 some 20 German and 60 Italian submarines were operating in the Med.

Carriers were deployed to support the landing operations in Sicily and mainland Italy. Defending the ships, bombarding the coastline, and interdicting Axis troops on land. By February 1944, smaller escort carriers joined the fleet, some using US-built aircraft such as the Martlet, Wildcat, and Hellcat. These took part in carrier operations in the eastern Mediterranean before the Germans abandoned the islands and retreated through the Balkans. 

Books on air warfare can be a little hard going. This squadron took off, attacked the enemy, so many were lost, etc. However, this book has a pacier narrative, interspersed with a really useful analysis of the Fleet Air Arm challenges and personal stories. It is profusely illustrated with period photographs that are relevant to the text. It is an excellent read.

I have to admit to being a poor sailor on the tabletop, although I have been attracted back to naval wargames through games like Cruel Seas. Even if I have a tendency to crash ships or sail them off the table - why won't ships just turn around like tanks! The fleet operations in this book need to be gamed at a higher level. I like the rules for Victory at Sea but hate the ugly looking bases on the models. So, it's 1:3000 scale for me, and an order has gone off to Navwar.


British MTBs for Cruel Seas

And a Skua at the Fleet Air Arm Museum


Monday 1 February 2021

Churchill's Secret War

 This is Robin Denniston's study of diplomatic decrypts, the Foreign Office and Turkey between 1942 and 1944. Most people are now familiar with Ultra thanks to films like 'Enigma', and 'The Imitation Game'. However, the British had a long history, going back to before the First World War, of decrypting diplomatic messages. Churchill had used these throughout his political career, and they played an important role in his policy towards Turkey in WW2.

Little attention has been given to the British achievements in obtaining intelligence by intercepting letters and telegrams and breaking the diplomatic cyphers of neutral and friendly nations and its impact on foreign policy conduct during the Second World War. Turkey was the most powerful neutral, for historical and geographical as well as strategic reasons, and Churchill had a particular focus on getting Turkey into the war. Interestingly, the Foreign Office's Southern Department, which saw the same decrypts, did not share his enthusiasm. They rightly decided that Turkey was going to stay neutral. As the author says, "Churchill’s wish to get Turkey into the war was not based on geopolitical reality but on a mixture of hope and desperation."

The author explains how the British obtained these decrypts, largely via the British company Cable and Wireless, and how they were decrypted and analysed. They include not only Turkish messages, but those of other countries as well. The messages from Japanese ambassadors are fascinating, given their access to Axis thinking. He then takes the reader through the main stages of Britain's diplomatic and military relations with Turkey during the war. Turkish neutrality meant having a foot in both camps but with one more firmly placed than the other.

Turkish policy, as viewed through these decrypts, shifted somewhat during the war. At the outbreak of war, they were formally allies of Britain and France. When they were being encircled by the Axis in Russia and the Middle East in 1942, their policy moved towards the Germans, although not the Italians. By 1943, their policy shifted once again towards the Allies, eventually breaking economically and diplomatically with Germany, and then declaring war in February 1945.

These decrypts provide a fascinating insight into Allied and Axis policy at different stages of the war. However, the author concludes that they do not rewrite history. These decrypts provided Churchill and others with broad context, not instant tactical information that could be used on the battlefield. 

This book may not be for the general reader. However, if you are interested in WW2 strategy, it is available at a bargain price on Kindle and in paperback, so is worth a look.

And fresh off the painting bench some more WW2 Turkish infantry