Welcome to my blog!

News from a wargamer with a special interest in the military history of the Balkans. It mainly covers my current reading and wargaming projects. For more detail you can visit the web sites I edit - Balkan Military History and Glasgow & District Wargaming Society. Or follow me on Twitter @Balkan_Dave
or on Mastodon @balkandave@mastodon.scot, or Threads @davewatson1683

Friday 25 June 2021

Siege of Belgrade 1521

Today is the 500th anniversary of the start of the Siege of Belgrade 1521. Although the most written about was the earlier siege of 1456 when Janos Hunyadi defeated Sultan Mehmet II, Belgrade has been besieged many times.  I suspect the 1521 siege is less well known because the Ottomans won!

A German woodcut of Belgrade in 1521 (Wikimedia Commons)

At the start of the 16th century, Bulgaria, Serbia, and the Byzantine Empire succumbed to the Ottomans. Only Hungary remained as a bulwark against further Ottoman expansion. However, following the death of Hunyadi and his son Matthias Corvinus, Hungary was much weaker, and the rest of Christendom divided. 

Belgrade was the gateway to Vienna and Buda, and the Hungarians foolishly provoked Sultan Suleiman by killing his ambassador. This would be Suleiman's first great expedition, and he left Istanbul on 6 February 1521 (Oman says 10 May) with a large army, collecting other units on the way. There were two diversionary attacks. One by Ahmed Pasha aimed at Sabac on the Sava River, and the other led by Mehmed Mihaloglu aimed at Transylvania. The Grand Vizier, Piri Pasha, took the direct route to Belgrade, arriving several weeks before the Sultan with the rest of the army.

Suleiman crossed the Sava River and appeared on the bank opposite Belgrade, cutting the city off from reinforcement. He captured Semlin on that bank as well as towns as far as forty miles north of Belgrade.
Batteries were placed on the island at the confluence of the Danube and Sava rivers for continual bombardment. The siege work continued on the south side of the city, where the city could be accessed.

The island today from the fortress.

The Ottomans assaulted the fortress for three weeks until the largest tower was blown up by a mine on 27 August. This led to the surrender of the Orthodox Serbian contingent on 29 August, who were taken to Istanbul and established in what today is still known as the Forest of Belgrade. According to some sources, the Catholic Hungarians were massacred; others say the small remnants were allowed to leave for Peterwardein. Several Christian powers recognised the danger, but little was done. Some five years later, Suleiman returned to conquer Hungary and marched to the gates of Vienna.

We have no real idea of the forces involved. Contemporary sources talk about numbers as high as 200,000 for Ottoman forces, but Rhoads Murphey (Ottoman Warfare 1500-1700) reckons 80,000 for a typical Sultan led army. 

Sieges are difficult to reproduce on the tabletop. John Bianchi wrote a good scenario for the 1456 siege in the WAB supplement 'Vlad the Impaler'. This involved the key sortie by the garrison that overwhelmed the besiegers. I suspect the 1521 garrison wasn't large enough to try something similar, although they would have known about it, so it is possible. Sorties were a traditional tactic. The arquebus was beginning to appear in Hungarian and Ottoman armies of this period, but most troops would look like a late medieval army. 

For this sortie on the tabletop, I used Lion Rampant rather than the slightly more in the period The Pikeman's Lament rules. This feels more medieval than renaissance. About the right scale for a scuffle like this.

The Ottoman camp viewed from the Hungarian defences.


The Hungarian assault


And from the Ottoman side


Thursday 24 June 2021

Anders Lassen VC MC of the SAS

 Anders Lassen was a Danish merchant seaman stranded abroad when the Germans invaded his country. He joined the Free Danes and then volunteered for the SAS. He would rise to the rank of Major, win the MC and then go on to become the only member of SAS to win the Victoria Cross. My interest in his story is mainly because of his service in the eastern Mediterranean with the SBS, a story well researched and told by the late Mike Langley.

Lassen had been involved in raids on France and the Channel island of Sark before he was posted to the Middle East. He won his second Military Cross on Crete, where he led the first independent operation of the SBS. This raid blew up Stukas and Junkers 88s on Maleme airfield. I have visited this airfield, and while there is a hill nearby, the site is very open, making the repeated attacks all the more remarkable.

Maleme airfield today

For operations in the eastern Mediterranean, his unit was based with many other special forces in Beirut. They took part in 'Churchill's folly', the 1943 Dodecannese campaign. Lassen was on Leros when the Germans counterattacked and helped evacuate British and Italian troops to Turkey. The Turks were only nominally neutral at this stage in the war and traded supplies for ammunition. Later they visited other islands where the SBS, supported by the local resistance, attacked German garrisons and gathered intelligence. 

The book is full of stories of short and violent actions on these islands and the courage of the SBS and the locals. Most had volunteered to escape the spit and polish of regular regiments, and they enjoyed their leave with vigour!

His unit went on to work with the partisans in Yugoslavia and Albania. This was a dirty war, and the book catalogues many examples of torture, reprisals, executions and burning of villages. The next stop was Greece, where his small unit liberated Salonika with a mixture of threat, bluff and bribery. The power station was saved for £15 in gold. He effectively ruled the city for a week.

His luck ran out in the final campaign in Italy. He was killed assaulting a pillbox during the attack on the town of Comacchio, part of Operation Roast, on 9 April 1945. Exactly five years on from Denmark's occupation. He was awarded the VC posthumously, and his grave is in the war cemetery of Argenta Gap. In addition, there are other memorials in Scotland, England, Denmark and Israel.

Commandos in 28mm. Somewhat smarter than the SAS!


Wednesday 23 June 2021

Soviet Black Sea Fleet during WW2

 When researching my current book, I came across one of Churchill's wilder plans to send a Royal Navy fleet into the Black Sea. Churchill put a proposal to the War Cabinet in October 1939 (CAB 65 W.M. 76 (40) 27.3-40.) to insert submarines into the Black Sea to interrupt Russian oil supplies to Germany. This was in addition to the better-known plans to bomb Russian oilfields in Baku, known as the Massigli Affair. In effect, this would have been a declaration of war against the Soviet Union as well as fighting Germany.

When the Soviets moved some 10,000 troops to the Turkish border, a Cabinet Committee rejected sending land and air support but did authorise the Royal Navy to enter the Black Sea in such numbers as to deter the Soviets. It is doubtful if the Royal Navy could have delivered at the time. The Soviet Black Sea fleet was 350 miles from the Straits compared to 850 miles for a sufficient Royal Navy fleet to get there. When the Turks indicated they were less than keen, it was suggested that the Polish navy could be deployed in the Black Sea to intercept German oil supplies from Batumi in the Soviet Union because Poland wasn’t a signatory to the Montreux Convention on the Straits. 

Cruiser Krasnyy Krim at Sevastopol in 1943

Stalin saw the Straits as a route into the Black Sea and the Soviet Union. His view of Russia’s security was based more on the Tsarist world view than Lenin’s revolutionary vision. He remembered the British intervention in the Russian Civil War (again driven by Churchill), not to mention the Crimean War. So much so that the collapse of the Turkish-Soviet talks in September 1939 was largely due to Soviet demands to close the Straits to non-Black Sea powers. Recent work on the Soviet archives (Aug 1939 to June 1941) confirm Stalin’s security concerns about a British threat to the Soviet Union via the Black Sea and the Caucasus, possibly in collaboration with Turkey.

Later in the war, when Germany was considering an invasion of Turkey (Operation Gertrud), the Japanese ambassador reported home that a German concern was that it might give the Royal Navy access to the Black Sea, disrupting the land campaign in the Crimea and the Caucasus. Hitler did approach Turkey about allowing U-Boats through the Straits on the basis that one U-Boat would be sold to Turkey for every one they allowed through. When this came to nothing, he considered sending dismantled U-Boats down the Danube to the Romanian port of Constanta. However, this proved logistically complex. The Germans did supply Romania and Bulgaria with ships and aircraft for operations in the Black Sea.

Finally, when it looked as if Turkey might join the war in February 1944, Churchill proposed sending six to eight submarines to the Turkish base at Ismet for operations in the Black Sea.

The Soviet Black Sea Fleet in 1941 was based at Sevastopol, Nikolaiev, Novorossiysk, Poti and Batum. It consisted of one battleship, six cruisers, 18 destroyers, 44 submarines, 84 MTBs, 18 minesweepers, and 56 smaller craft. Early losses meant that large numbers of the crew were deployed as naval infantry. They did well, but the loss of technicians deprived the surviving ships of specialist skills.  The NKVD operated patrol craft, and the naval air arm had maritime reconnaissance regiments using Beriev, Chetverikov and Catalina flying boats. 

The Soviet cruiser Voroshilov.

A typical Soviet naval action later in the war was a coastal raid using ex-fishing boats and MTBs and some purpose-built landing craft. Larger surface ships were used to support land operations, although there were a few attacks on the Romanian coast. When the Red Army entered Bulgaria in 1944, the Soviet Black Sea fleet moved vessels to Burgas. These would have been part of a Soviet plan to attack Turkey, which Stalin eventually called off.

So, lots of 'what-ifs' for naval wargames here. Small boat operations using Cruel Seas and fleet actions using Victory at Sea. I have the Turkish and British ships, and an order to Navwar delivered the Soviets. I suspect I will give in to some Soviets for Cruel Seas next.

I went for a small fleet of two cruisers, four destroyers and four submarines. I use 1/3000 scale for Victory at sea, as I don't like the Warlord ships.


And onto the tabletop with my new Soviet fleet intercepting a joint Royal Navy and Turkish fleet heading out from the Bosporus. We will pass quickly on, as it simply confirmed that I am no sailor. Why can't ships manoeuvre like tanks!


Monday 21 June 2021

Macbeth: in literature and in history

 You get two for one in this review. The latest in my Nigel Tranter reread is Macbeth The King, Tranter's take on the 11th century King of Scots. Then because I wanted to understand the historical figure, Fiona Watson's Macbeth: A True Story.


For most people, the story of Macbeth is understood through Shakespeare's 'Scottish play', which my generation often studied as part of English literature at school. While it's a fine story, it is historical nonsense. The real Macbeth was born around 1005, and while we know little about his early life, he became Mormaer (sub-king) of Moray in 1032. Moray is in the north of Scotland, a much wider area than the current local authority district. King Duncan I invaded Moray in 1040 and was killed by Macbeth, who then became the High King of Scots in his place. The Mormaers elected the King of Scots in those days, and Macbeth had a legitimate claim.  The name Macbeth means 'son of life'.

He wasn't a usurper as portrayed by Shakespeare, although, in fairness to the Bard, his reputation had been traduced by medieval historical sources before he took up the story. Shakespeare's depiction of Macbeth was influenced by the fact that King James VI (Scotland) and I (England) was descended from Malcolm III, whereas Macbeth's line died out with the death of his stepson Lulach. Shakespeare knew how to curry favour with the current monarch!

The historical sources for this period are limited, but even Tranter seems to drift some way from the facts. A key theme in his book is a close relationship with Thorfinn 'The Mighty' Earl of Orkney, described as a half-brother who supports him militarily. What we know about Thorfinn largely comes from the Norse sagas, but Watson says he was mostly an enemy of Macbeth. 

They both made pilgrimages to Rome, a rare event for Scottish leaders of the period. Tranter has them sailing there together in a fleet of longships when they both made their separate journeys there overland. This was not simply a pilgrimage; there were ecclesiastical territorial disputes as the Columbian church in Scotland did not form part of the Catholic church, although parts of Scotland were claimed by the Archbishop of York.

Macbeth married the wife (Lady Gruoch) of his predecessor mormaer, who he probably killed (Tranter has him killed by King Malcolm II), and recognised her son (Lulach) as his successor. 

Duncan's family fled to England after his death, where Earl Siward of Northumbria used them to stir up revolts against Macbeth. He also invaded Scotland on several occasions. Despite this, Macbeth's rule appears to have been largely peaceful and effective. The fact he felt secure enough to leave Scotland and travel to Rome is evidence enough. He was also the first to introduce Norman knights to Scotland. He probably met some of these during his travels, and they came to Scotland after being exiled from the English court. 

Macbeth was killed by the future Malcolm III after another invasion from England in 1057. He was succeeded by Lulach, who was assassinated six months later by Malcolm. 

Macbeth's armies would mostly have been the typical spear-armed infantry of the period, often mounted on garrons (small horses) but dismounting to fight. However, he did deploy more light cavalry and the Norman knights. 

28mm Scots infantry figures from my collection

You get one small unit of Normans in a Macbeth army.


Tuesday 15 June 2021

The Peasants' Revolt

 On this day in 1381, Richard II and his entourage killed Wat Tyler, one of the leaders of the Peasants' Revolt at Smithfield in London. I do like a bit of revolution, and as Wat (son of = Watson) is one of the derivations of my surname (albeit my family hail from Scotland), I have always felt a bit of affinity with Wat Tyler.

There were several causes of the revolt, including unpopular laws restricting the ability of labourers to move around the country seeking higher wages and the Poll Tax to finance the war against France. The Radical History channel has a fun YouTube video that is worth a look. All of these measures were viewed as hitting the lower orders more than the noble lords. The revolt broke out in Essex and quickly spread to Kent and parts of Norfolk and Yorkshire. The main events took place in London, where the 'commoners' gained support from the working class and some of the richer citizens. On Tower Hill, the rebels (this group led by a woman) beheaded five men, including The Chancellor and the Archbishop of Canterbury. You can read the time line and a good summary on the History Extra website.

Public domain image from https://gallica.bnf.fr/ark:/12148/btv1b6000255b.image

The traditional view is that the insurgents were a disorganised rabble of rural labourers. However, a new project, 'The People of 1381', has analysed a database of records to reveal a much more complex picture. It appears the rebels consisted of several different groups, including veteran soldiers of the wars against France. They brought skills of planning and strategy that may explain the coordination and organisation that managed to bring diverse groups to London at the same time. The project identifies several named veterans who had military experience of this type.

The rebels are also described as acting in a warlike manner, raising banners and using weapons with lethal force. When they got to London they made for the stores in the Tower of London to take armour and weapons that they clearly knew how to use. They may also have used a trebuchet to attack a defended house, a skill that could only have be learned in military service. Ironically, a number of the rebels later served again in the 1383 campaign in Flanders, led by Henry le Despenser.

The revolt may have failed to achieve its goals including an end to feudalism, but it paved the way for its decline. In the decades that followed, there were fewer people bonded to their lords in serfdom and landowners were fearful of their workers rising against them. 

So, on to the table top. More of a scuffle than a battle using Lion Rampant rules. The Royalist forces at the top and the rebels coming from the south.


Sadly, Wat and his band of serfs didn't last long. The crossbowmen quickly shot them to pieces and they ran off. Revolutionary fervour only goes so far!


However, all was not lost. The Royalist men-at-arms thundered across the table and up the hill after the archers. They had three goes at it, but attrition won the day. The rebel spearmen also defeated their opposite number with a bit of help from the bidowers. Victory for the rebels!


Monday 14 June 2021

The Romanovs

 This is Simon Sebag Montefiore's epic study of the Russian imperial family from its accession to power in the early 17th century until the murder/execution of the last Tsar and his family in July 1918. 


It is tempting to view this subject as a history of Russia for most of its existence as a state. However, while the narrative covers all of the main events, it is very much a history of the Romanov family. Wars and other significant events are given cursory treatment. Twenty sovereigns of the Romanov dynasty reigned for 304 years, from 1613 until tsardom's destruction by the Revolution in 1917.


The tragic events of 1918 tend to overshadow the empire-building achievements of the Romanovs. The Russian empire, it is estimated, grew by fifty-five square miles per day after the Romanovs came to the throne in 1613, or 20,000 square miles a year. By the late nineteenth century, they ruled one-sixth of the earth's surface.


The other key feature of the Romanovs, and arguably the cause of its demise, was the autocratic nature of the Tsar's rule. Even the modest democratic reforms of other European nations were ignored and resisted by the Romanovs. This led to a reliance on the violent overthrow of incompetent rulers. Mob rule, assassination and palace coups were pretty commonplace. Being an autocrat was a tough shift. It is a punishing job for a modern politician to hold for five years, let alone a lifetime – and many tsars ruled for over twenty-five years.


Picking the right bride was essential for any monarch. In the early centuries of Romanov rule, this was done through a brideshow. This was designed to diminish turbulence by virtue of the Tsar's deliberate choice of a girl from the middle gentry. Five hundred virgins were summoned from throughout the realm for the beauty contest to pick a bride for Ivan the Terrible.


The other feature that strikes the reader is the level of violence, excessive even for a more violent age. Households were supposedly run according to the joyless Domostroi, household rules written by a sixteenth-century monk, which specified that 'disobedient wives should be severely whipped' while virtuous wives should be thrashed "from time to time but nicely in secret, avoiding blows from the fist that cause bruises". Rebels faced some pretty dire punishments. Tsar Alexei celebrated the defeat of the Cossack uprising of Stenka Razin by having him tortured on the platform in Red Square, to Alexei's gruesome specifications: he was knouted, his limbs were dislocated and forced back into their sockets, he was burned with a red-hot iron and cold water was dripped on to his head, drop by drop, before he was dismembered, quartered alive, beheaded and his innards fed to dogs. There is much more of this in the years to follow.


Alcohol was another feature. Peter the Great was blessed with an iron metabolism for alcohol, rising at dawn to work even after marathon drinking sessions. But the lifestyle was deadly: several of his ministers died of alcoholism. It is also worth remembering as we marvel at the buildings in St Petersburg that thousands died to create Peter's dream city. The Empress was little better. She had her veteran dwarf Bakhirev thrashed for asking not to be tossed – then funded his medical treatment and supply of wine.


There are lots of great stories in this book. If you took away from War and Peace that Kutuzov was more than a little past it. If he could no longer stay awake during a war council nor mount a horse, he apparently concealed two peasant-girl mistresses disguised as Cossack boys among his staff.


Montefiore is a good storyteller. This is less a history of Russia than a series of often entertaining stories about the Romanovs. The brilliant 'Greats' like Peter and Catherine, and the many more inadequates. It is pretty horrific in places, not least the pervasive violence and antisemitism. But still a good read.


Given the importance of Russia to the Balkans, I unsurprisingly have wargame armies for almost every period other than the early period of Ivan the Terrible.

28mm Russian Dragoons of Peter the Great's army

 
And a foot unit from the same period

Fast forward to the 19thC and Russo-Turkish War in 28mm

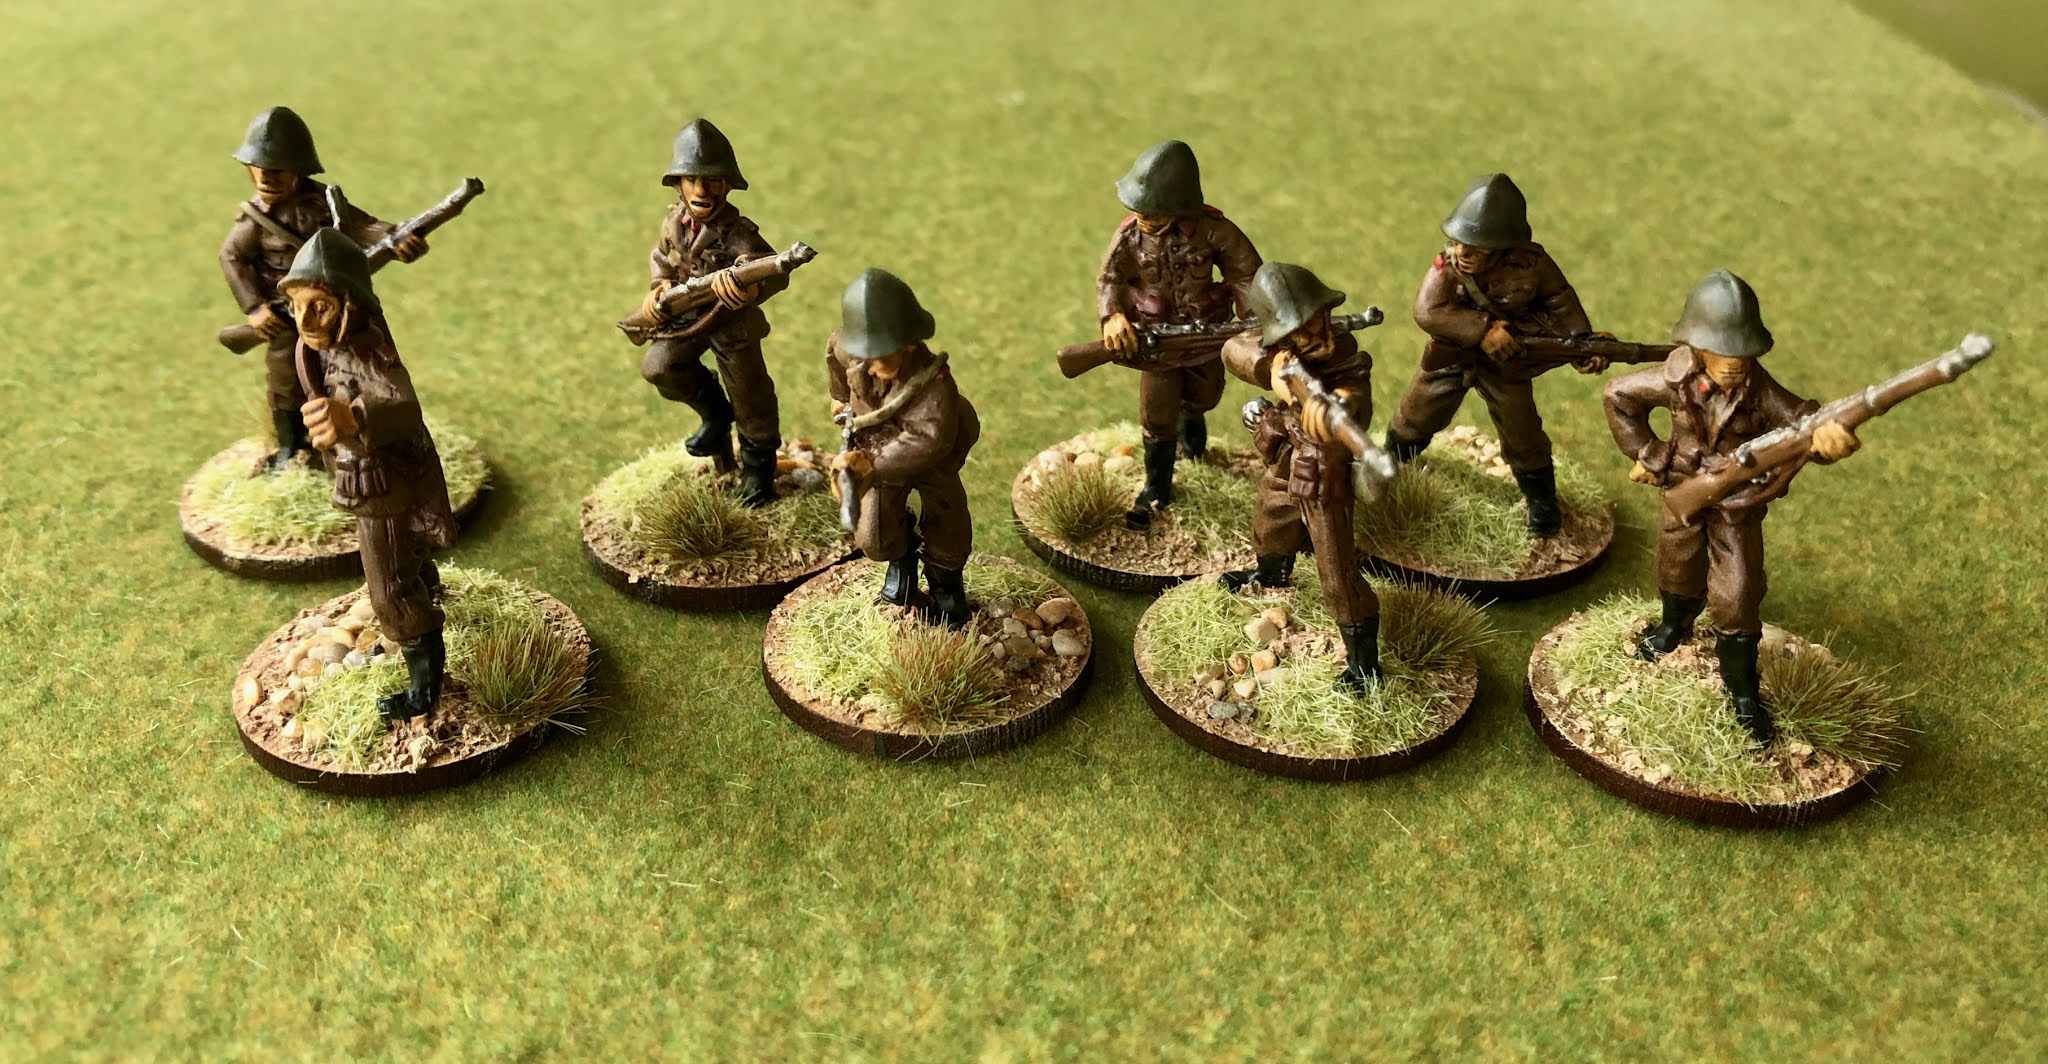
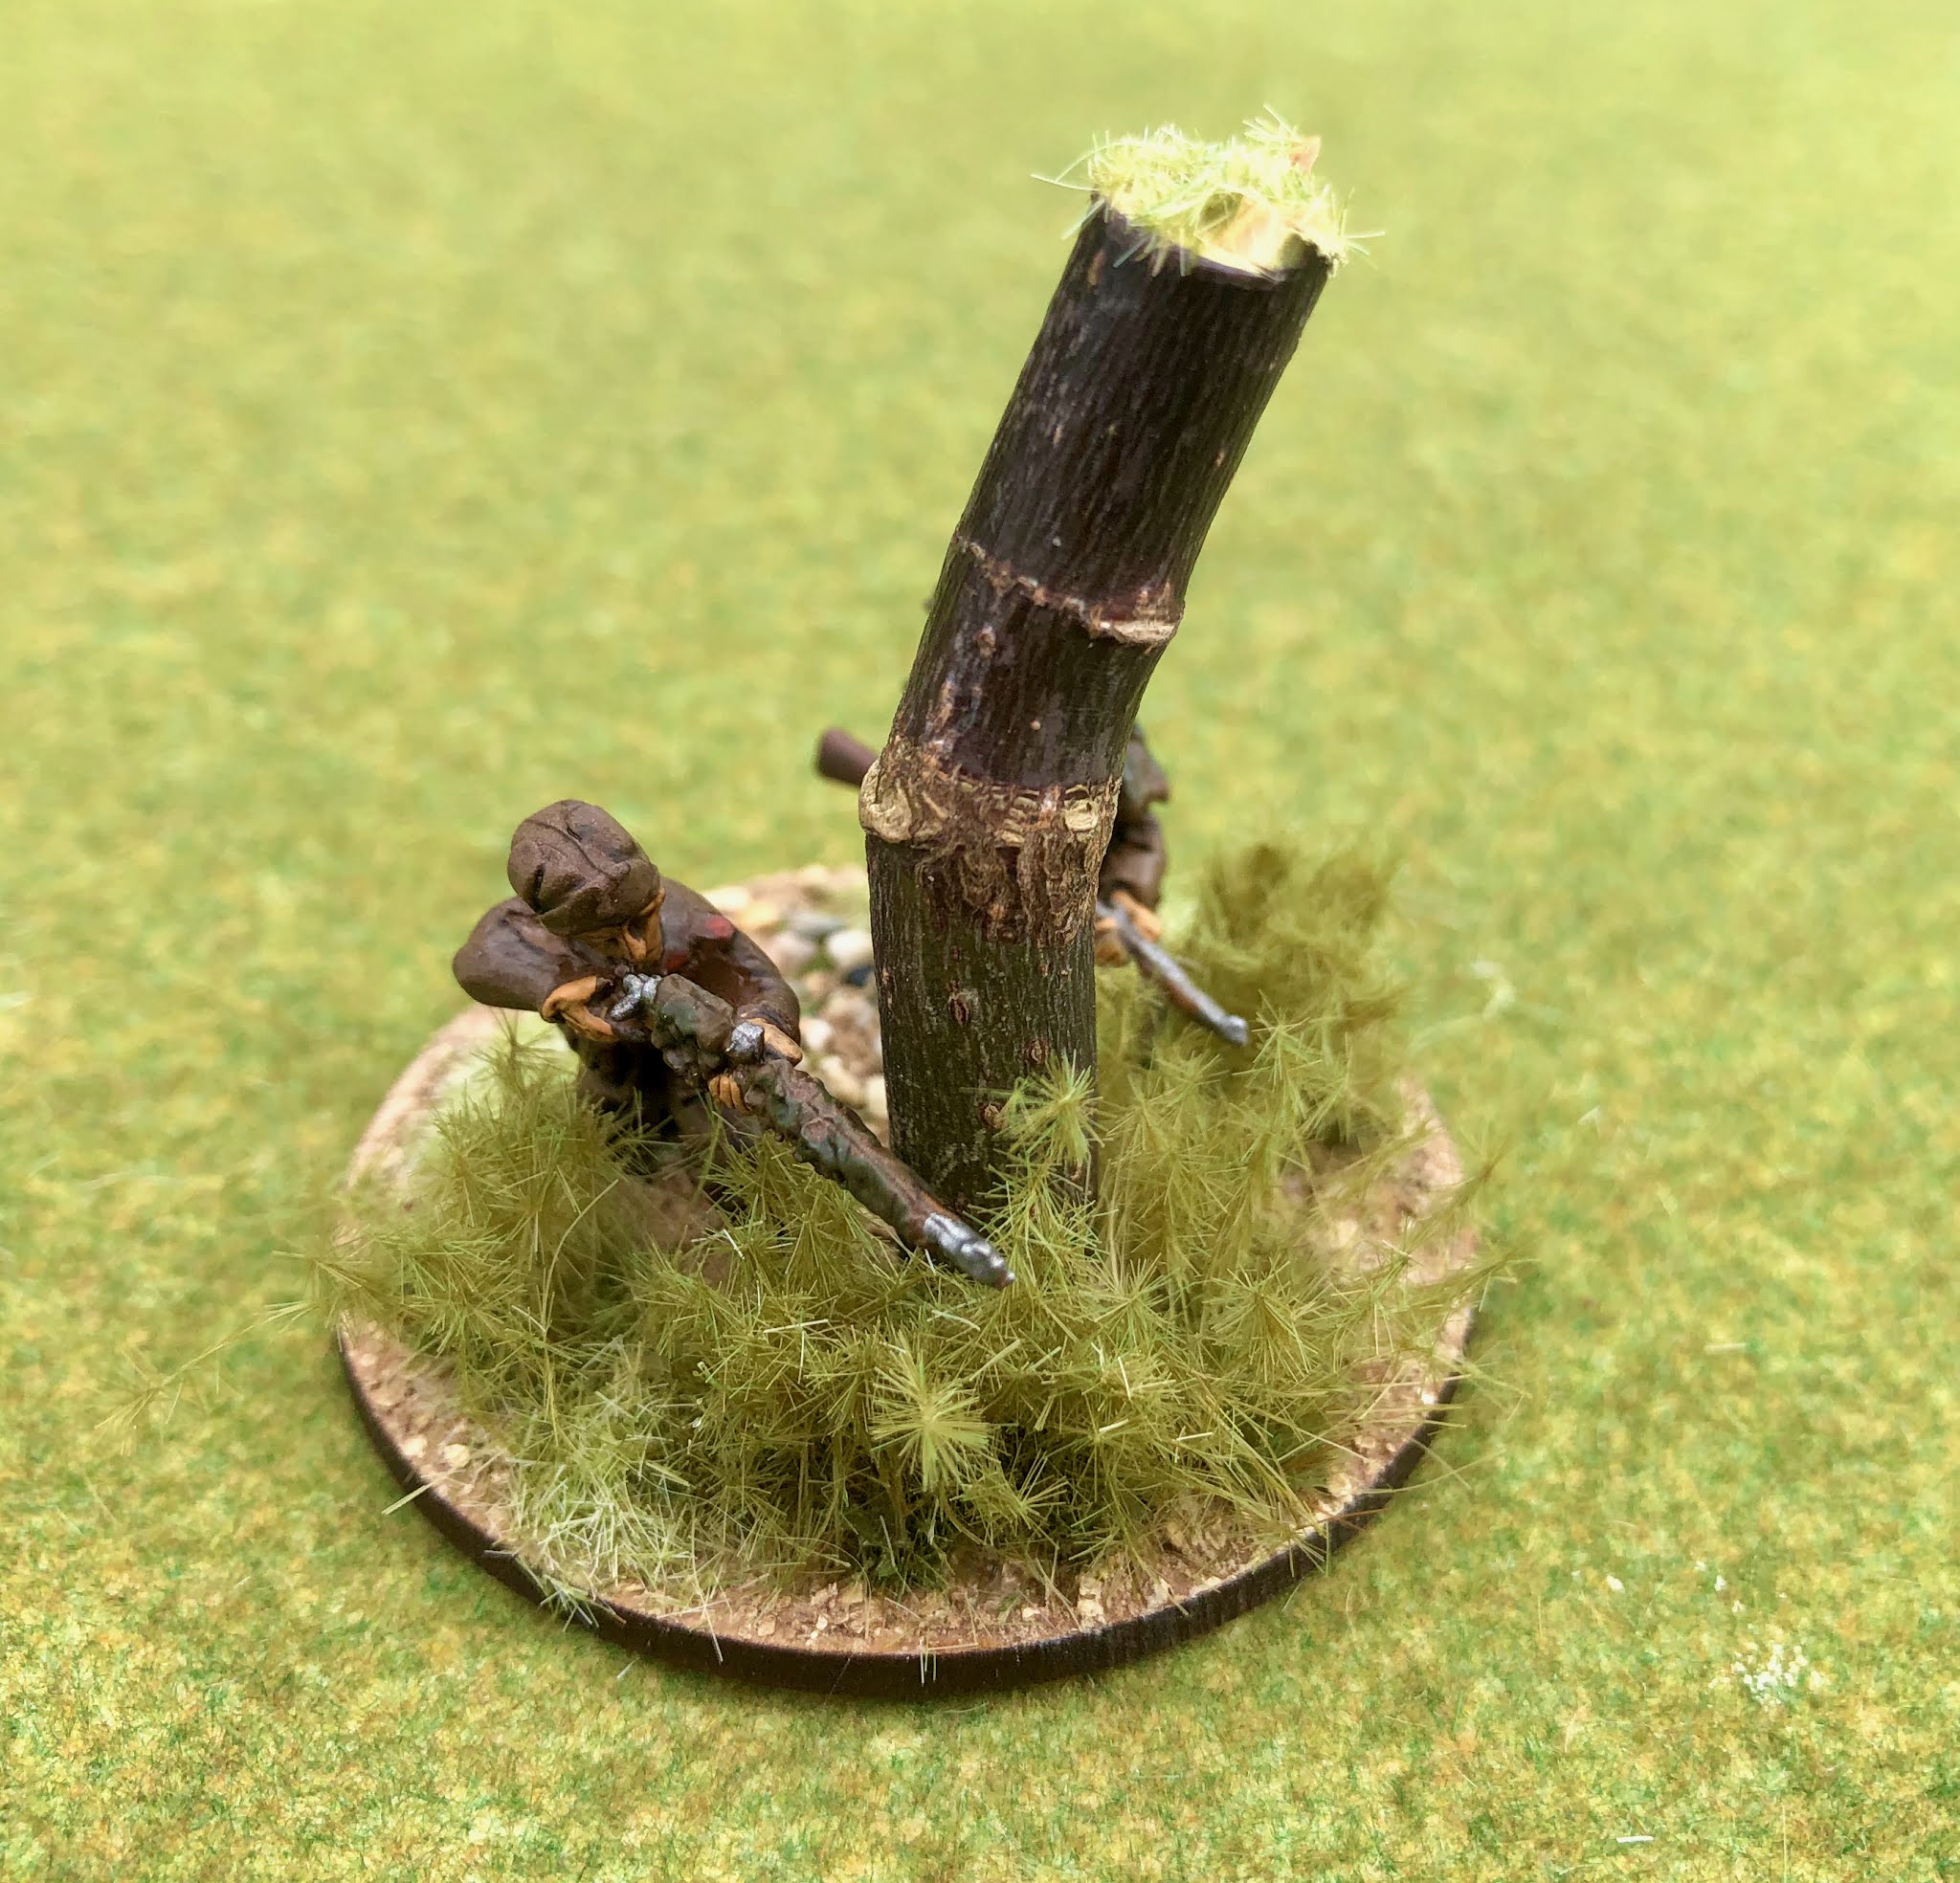
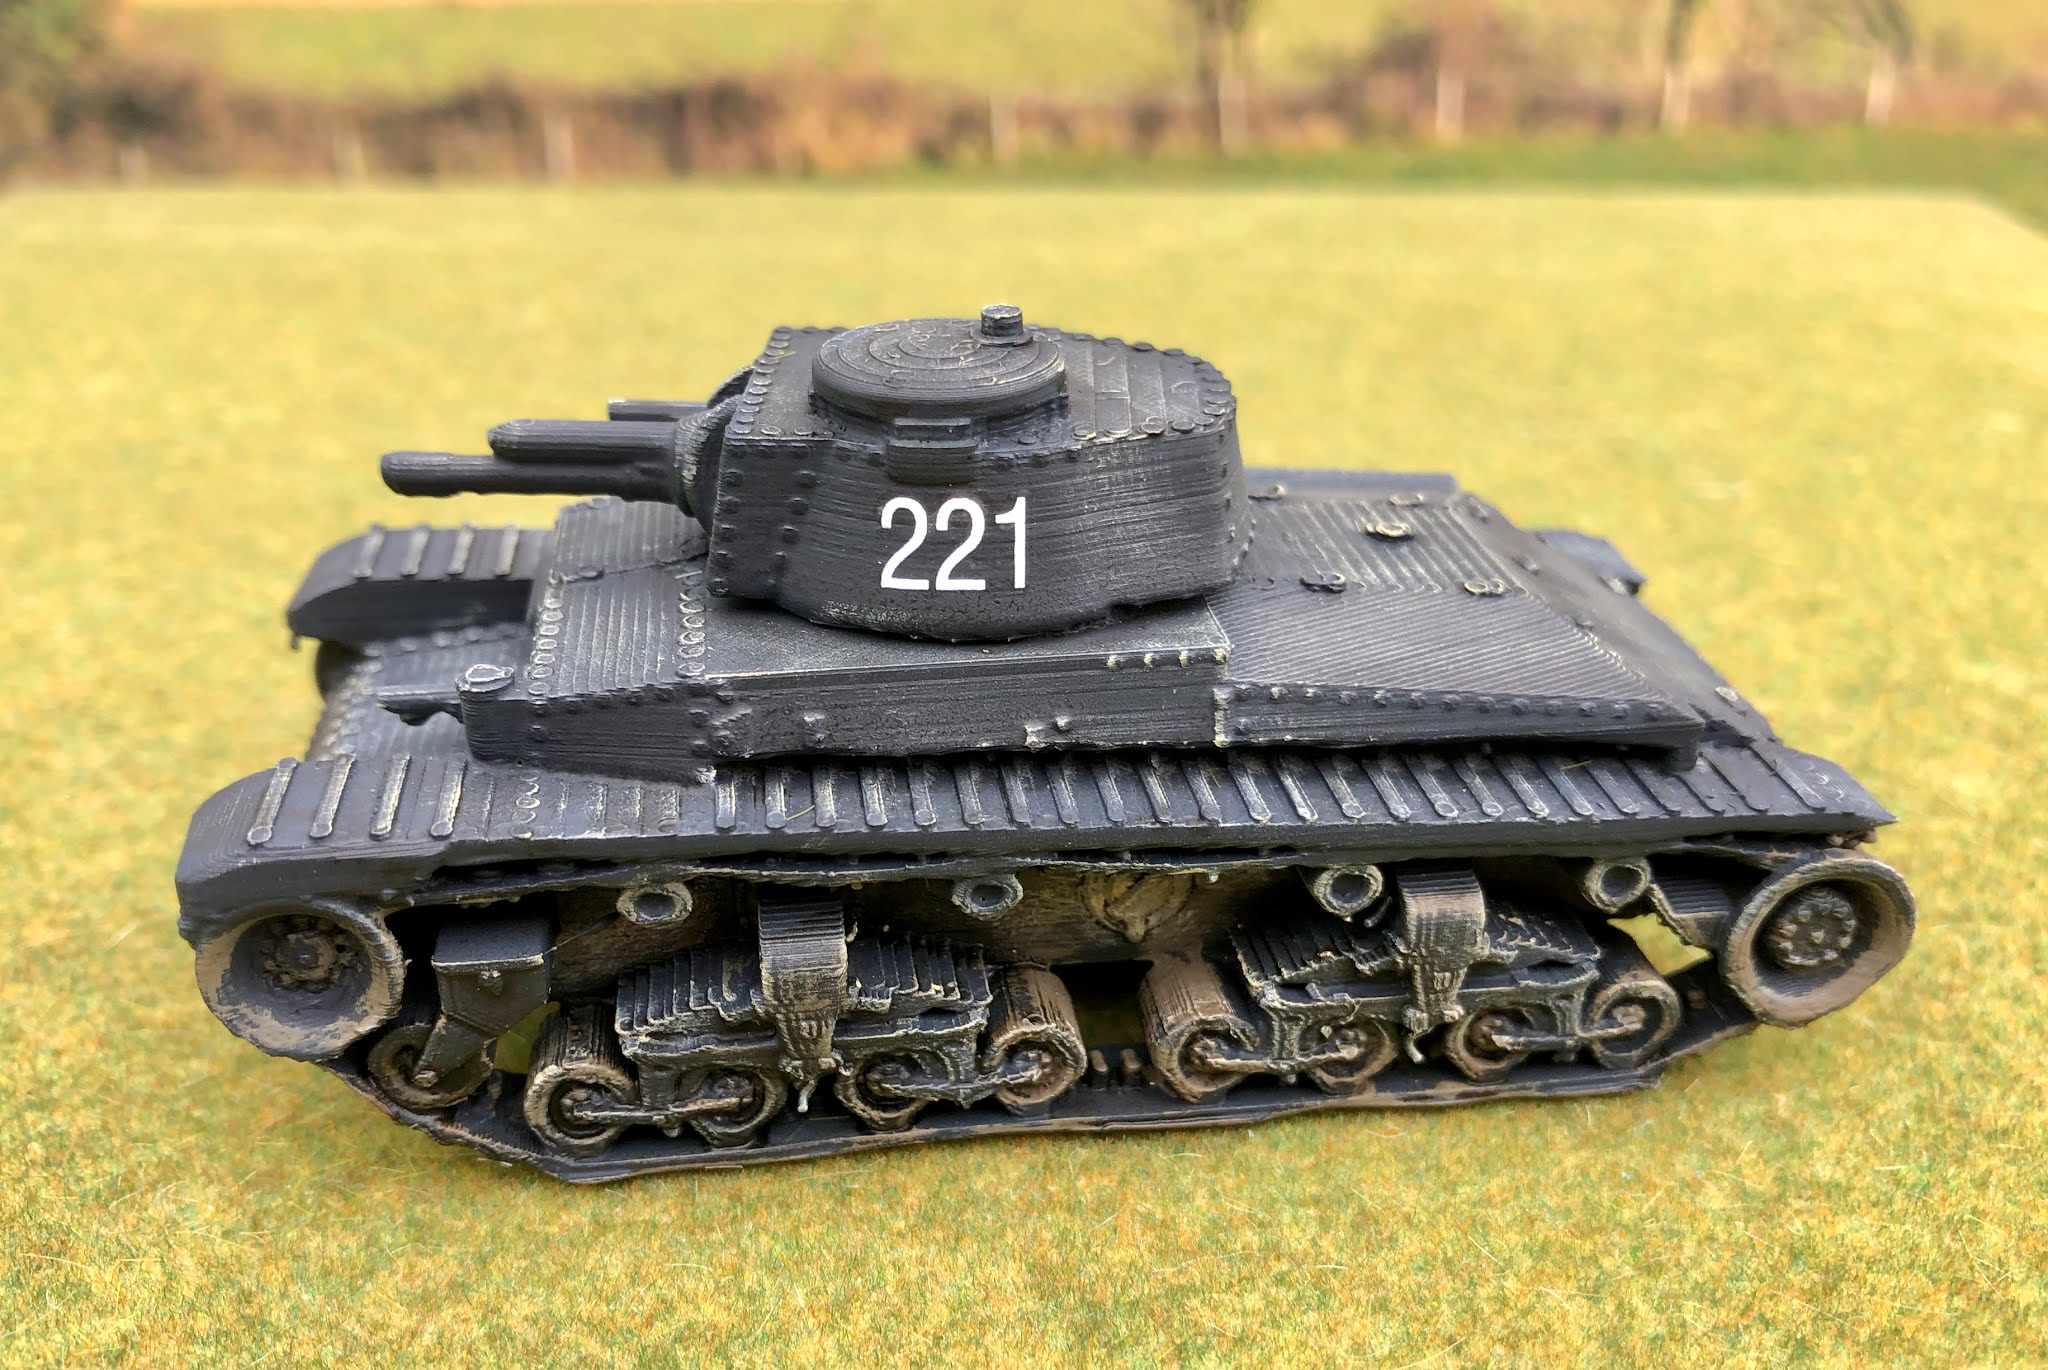
And finally, the last Romanov army during WW1

If you think you already know a bit about the Romanovs - try the History Extra quiz.


Thursday 10 June 2021

Bulgarian Army of WW2

 My latest project has been the Bulgarian Army of WW2, inspired by a new range of 28mm figures from Great Escape Games. They have created something of a niche with obscure WW2 armies, and it would be rude not to support them. I also played a very modest role in the process by providing pictures and sources.

Bulgaria did not join the Balkan Entente of 1934, not least because it had territorial claims on its neighbours that went right back to its modern creation after the Russo-Turkish War of 1877. Hitler offered territorial revisions to get Bulgaria into the Axis, and these bore fruit with the Southern Dobruja region coming from Romania. The German invasion of the Balkans in 1941 allowed Bulgaria to occupy parts of Yugoslavia and Greece with elements of a Bulgarian population. Throughout the war, Turkey was seen as a major threat, and the best elements of the Bulgarian and Turkish armies faced each other across the Thracian border.

The main function of the wartime Bulgarian army was as an occupation force in Yugoslavia and Greece. In Yugoslavia, this involved active participation in operations against the partisans. However, Bulgaria did not declare war on the Soviet Union and took no part in Operation Barbarossa. That neutrality did not save them when the Red Army arrived on their borders in 1944. When the Soviets invaded, Bulgaria switched sides and took an active part in the campaigns to clear the Germans from the Balkans.

At the outbreak of war, the Bulgarian Army was organised in four territorial corps with ten infantry divisions and 24 frontier battalions. Each division had 15,500 men in three or four three-battalion infantry regiments. These divisions were mostly equipped with weapons from the early First World War, mostly 75mm field guns with a handful of 105mm howitzers and mountain artillery. Anti-tank guns were the 20mm Solothurn, with some more modern Skoda 37mm. There were two rapid divisions, which replaced the cavalry, but ended up achieving neither the mobility of cavalry nor the armoured division’s punch. Tanks included a handful of CV/33 and Vickers light tanks.

Bulgaria was low on the German supply priority because it wasn't fighting on the Eastern Front. However, they did provide 36 Skoda LT vz.35 tanks. Later under Plan 43, they provided STUG III Pkw IV and Sd.kfz 222 armoured cars. They also received captured French artillery and 37mm and 50mm ATGs. The biggest shortage was in motor vehicles, with typically only 40-50 per division. These were probably adequate for the defensive roles allocated to the Bulgarian Army, but mobility would have been a challenge if Operation Gertrud (German invasion of Turkey) had been implemented.

Great Escape Games sell their models as units or in packs. I went for enough models to field a couple of rifle squads for Bolt Action. These come in helmets and caps. The uniform is described as Chocolate Brown, but as usual, it appears to have had several shades. I sprayed mine chocolate brown for a base coat and then added a lighter brown for the second coat. Then applied a wash and highlights. Hopefully, that captures the variations and wear and tear. Officers had a grey overcoat.


Then the usual support weapons including HMG, 81mm mortar and a sniper team.


Finally, a Skoda tank and 50mm ATG. I'll use one of my German Sd.kfz 222 for the armoured car. The models come from the Butlers range.


For further information, the Bulgarian Army is covered in the Osprey 'Axis Forces in Yugoslavia' title. For more detail (and I mean detail), there is the fabulous work of Kaloyan Matev, both on the armoured forces and his campaign study 'Red Wind over the Balkans'. He also wrote a much earlier Osprey type booklet back in 2000, with nice colour plates. If you are in Bulgaria, I highly recommend a trip to the Military History Museum in Sofia, which has a fine collection of armoured vehicles.


Tuesday 8 June 2021

HMS Jackdaw: Royal Naval Air Station Crail

We were visiting family in Forfar on Saturday, and after an overnight stay in Anstruther, we stopped off at the pretty fishing village of Crail en route. This is on the southeast tip of Fife in an area known as the East Neuk. The local museum had just reopened, and this alerted me to the former Royal Naval Air Station just outside the town. This was commissioned as HMS Jackdaw in 1940 to meet the Royal Navy's requirement for additional airfields as naval aviation expanded. The site had briefly been an airfield in 1918 but had returned to agricultural use.

Ariel photograph of the airfield in the Crail Museum

RNAS Crail had hard tarmac runways because naval pilots had to train to land on aircraft carriers. There were four runways with lights to facilitate night flying. The station was initially staffed by 361 male officers, 1,924 male ratings, 18 WRNS officers and 619 WRNS ratings. Men tended to rotate from the station, but female ratings stayed there and more joined the establishment during the war. 

One of the runways.

The main purpose of the station was to train torpedo bomber crews. The first training unit was 785 Naval Air Squadron equipped with Fairey Swordfish and Blackburn Sharks. In 1941, Fairey Albacores replaced the Sharks. Two more squadrons, 786 and 711, joined the establishment during the war. By 1945 the combined total of aircraft was 240. Later aircraft included the Fairey Barracuda and Grumman Avenger.

From the above, it is obvious that this was a major airbase. The control tower and some of the buildings remain, although very dilapidated.


There were three torpedo ranges in the sea areas and a bombing area. Once they finished training, the crews moved up the coast to RNAS Arbroath to practice carrier landing techniques before embarking on a training carrier in the Firth of Clyde.

RNAS Crail ceased flying in 1947 but was retained for emergencies. It was used as a training establishment (HMS Bruce) for boys entering the Royal Navy. The runways were used occasionally for circuit and landing practice by a range of military aircraft. The station was closed in 1960 and the land and buildings sold for agricultural use. However, several buildings and the runways survive pretty much as they had been in 1947. It remains the most complete example of a 1940s Royal Naval Air Station anywhere in the UK.

There is a room dedicated to the station in the local museum and there is a booklet written by Commander David Hobbs MBE RN (Retired). The local museum volunteers were also very helpful. Well worth a visit.


Monday 7 June 2021

The Galloway Hoard

 The Galloway Hoard was discovered in 2014 at Balmaghie, Kirkcudbrightshire, which is in southwest Scotland. Deposited around 900AD, it is Scotland's earliest and one of the largest Viking-age hoards with over five kilos of silver bullion. It is the subject of a new exhibition at the National Museum of Scotland that I visited on Friday. What a joy to be able to visit places again!

What makes this hoard particularly special is the wide range of materials found and how they highlight the trade routes of the period - from Samarkhand to Skye. Martin Goldberg and Mary Davis have written a book that explains the items and their context and why the hoard gives us valuable insights into the period.

Hoards are typically wealth concealed to preserve it with the intention of recovering it later. The 10th century was a turbulent period, and Galloway was the subject of Viking raids and settlement. 

The items in the hoard include arm rings, often given as gifts by leaders, as rewards for loyalty. This will be familiar to fans of Bernard Cornwell's 'Last Kingdom' books and TV series.

There are also silver ingots and hacksilver used as currency. Some of these have rune carvings, including the Anglo-Saxon name Eggbrect (Egbert). Silver could be brought from as far away as Samarkand to pay for furs and amber, although the most profitable purchases were slaves.


Perhaps the most striking piece is this silver cross. It is decorated in a distinctive Late Anglo-Saxon art style called Trewhiddle. 


The ongoing analysis hopes to reveal more about the connections these items highlight across the Viking world. The exhibition goes on tour to Galloway in October and then Aberdeen. Well worth a look.