Welcome to my blog!

News from a wargamer with a special interest in the military history of the Balkans. It mainly covers my current reading and wargaming projects. For more detail you can visit the web sites I edit - Balkan Military History and Glasgow & District Wargaming Society. Or follow me on Twitter @Balkan_Dave
or on Mastodon @balkandave@mastodon.scot, or Threads @davewatson1683

Friday 29 March 2024

Soviet Cruisers 1917-45

My current research focus is on naval matters, so Alexander Hill's new Osprey, Soviet Cruisers 1917-45, was an easy choice from this month's pick of Osprey books.

The Russian Navy was never really a Blue Sea fleet, with the traditional role for cruisers involving the attack and defence of maritime communications on the high seas and scouting for a fleet. After the revolution, there was an internal debate about the role of cruisers between Stalin's vision for power projection and the immediate need for coastal protection. Plans for heavier cruisers had to be shelved in the face of competing claims on resources, and even after World War II, the Soviet Union would continue to build essentially light gun-armed cruisers. In WW2, the Soviet cruisers of the Black Sea Fleet saw very active wartime service, conducting shore bombardment and carrying men and equipment into besieged ports.

The meat of this book is split into two. The cruisers laid down in the Tsarist period and those developed after 1917. 

The Tsarist period cruisers had a mixed fate. The intervention forces captured many, and either handed them to the Whites or lost. I am particularly fond of the Prut, built in the USA for Turkey as Medjidieh. It struck a mine off Odessa and sunk before being raised and entering Russian service (1915); captured by German forces from the Soviets and returned to Turkey (1918), then remained in Turkish service. However, the most famous is the Aurora, which played a headline role in the Bolshevik seizure of power in October 1917, still in service in 1941, and is a museum ship today in St Petersburg.

The Soviet Navy only kept two of the many completed cruisers inherited from its Tsarist predecessors – Aurora and Komintern. However, they had the hulls of eight incomplete Tsarist Svetlana class vessels, ultimately completing three of them. They all served in WW2.

New Soviet designs included the Kirov class, a light cruiser heavily influenced by Italian ships. Six of these ships eventually entered service, although only four actively. Under the 1939 Nazi-Soviet Pact, the Soviet Union sought to acquire German military technology. The most significant single acquisition for the Soviet Union was the German heavy cruiser Lützow – initially renamed Petropavlovsk in Soviet service. However, the Germans dragged their feet, and it was only ready for use as a floating battery by 1941.

The modest Soviet pre-war cruiser force played a meaningful local role in the war in the Black Sea from 1941–43, using the seaward flank to good effect in a theatre of operations in which the Axis lacked significant surface vessels. However, they were quickly bottled up in the Baltic and reduced to floating gun batteries.

This book has plenty of illustrations and lovely colour plates. It describes both the ships and the operations they took part in. I have a couple of cruisers in my Soviet WW2 fleet, and this book might inspire me to expand it. I also included a Black Sea scenario in my wargamers guide to Turkey and the Second World War.


Wednesday 27 March 2024

The Young Montrose

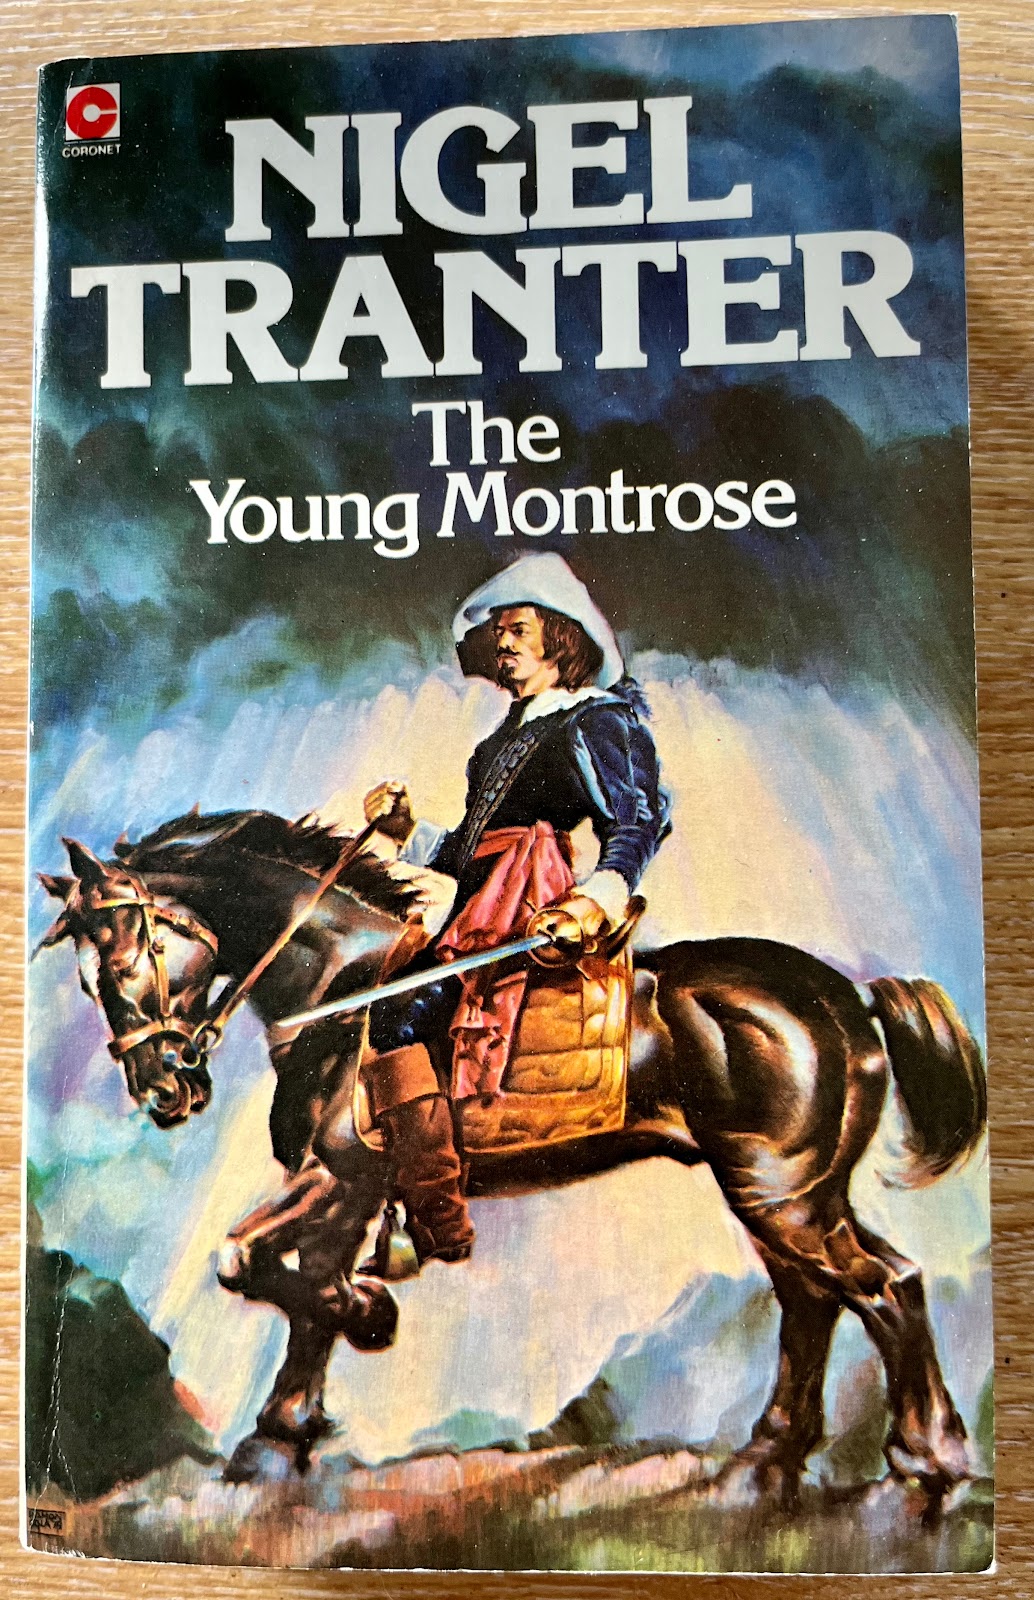
 I have jumped ahead a few volumes in my chronological re-read of Nigel Tranter's novels to get to the two Montrose books as they fit my current wargame project. The first is The Young Montrose, which covers his early campaigns. I have the 1974 Coronet edition, which has a different cover from the current edition.


The Earl of Montrose, also known as James Graham, was a significant figure in the civil wars of the mid-17th century. His early career was marked by loyalty to the Scottish Covenanters, who opposed King Charles I's attempts to impose religious uniformity in Scotland. Montrose initially served in the Scottish Covenanting Army during the Bishops' Wars against England in the 1630s. However, he later switched sides due to political and personal grievances. He was crucial in rallying support for King Charles I in Scotland, leading royalist forces against the Covenanters during 1644–1645. His military successes earned him the title of Marquis of Montrose.

Tranter starts the story when Montrose returns from his grand tour of Europe and a period of study at Padua. He becomes a leading figure in the Covenanter movement, which turns into armed conflict. Montrose mainly fought in the North, a part of the Bishops' Wars that gets less attention than the actions on the border. However, he gradually falls out with the Covenanters when his great enemy, the Earl of Argyll, takes effective control of the government of Scotland. 

The book covers the early battles of the Civil War when Montrose became Charles' commander in Scotland. It includes several epic descriptions of the campaigns and his leadership in recruiting and deploying his army. The core elements were the Irish Brigade and his own Grahams, but his Highlanders tended to drift off after a victory. This is a great story and one of my favourite Tranter books. 

I have finished the core elements of my 15mm Montrose army, mainly Essex, but I have some more Peter Pig to add.

Irish Brigade

Gordon Horse

Strathbogie and other Pike and Shot units.

I even got them onto the tabletop at the club last Sunday. They were victorious, probably because I did not command them!


Friday 22 March 2024

Russians and Ottomans on the Danube

 This week's gaming has involved a two-day multiplayer game using the Blucher rules in 15mm. Eight of us came together in Glasgow to play a scenario loosely based on Kutuzov's 1811 campaign. In my book, The Frontier Sea, I outline the war between the Russians and Ottomans from 1806-12. However, you can read more about this campaign in Alexander Mikaberidze's new biography of the Russian commander. We also used his translation of the official Russian history.

When Kutuzov arrived in Bucharest in April 1811, the Russian army consisted of four divisions plus Cossacks and the Danube Flotilla, totalling around 46,000 men. Several actions occurred during the year, and Kutuzov was constrained by Russia's need to keep one eye and resources on Napoleon's build-up for what became the 1812 campaign. Turkish numbers are largely guesswork, but the Russians estimate them to be around 75,000.

A typical action involved either the Russians or the Ottomans crossing the Danube, establishing a bridgehead, and then either side having to destroy or relieve the bridgehead. We played a generic scenario based on this. The somewhat narrow Danube is at the top, with an Ottoman garrison in the outer redoubts. Two Russian corps arrived on both flanks and three Ottoman 'corps' entered from the bottom. The reserve move rules in Blucher mean that the opening moves are fast, getting both armies quickly engaged. I was commanding Ali Pasha's 'corps' on the left, reinforced with a few units from the Kapikulu. 

The Ottomans managed to relieve the Bridgehead by the end of day one. The somewhat stronger Ottoman right flank was held up, but the army still had enough troops to secure the bridgehead. My defensive line was stretched, but it had repulsed the Russian attacks.


On day two, the Ottomans firmed up their bridgehead defences and counter-attacked the lost redoubts while the Russians tried to hold onto them.


There was a fierce fight on both flanks, but the Ottomans grabbed the redoubts back on the last move. The Janissaries' final charge was decisive. The Russians ran out of steam, and even with more moves, they would have struggled to rally and return.

It was a good game and the rules work well for big battles like this. The army lists for the Ottomans are not quite right. In particular, the Janissaries are encouraged to engage in a firefight in circumstances when a charge would have been more historically correct. The one classification for provincial infantry with conscript status feels wrong, too. However, in fairness, it is difficult to fit the Ottomans into Napoleonic rules.


Sunday 17 March 2024

Scottish Covenanters and Irish Confederates

 My library pick this month was David Stevenson's book Scottish Covenanters and Irish Confederates, first published in 1981 (still in print) and relevant to my current project. David has written several books on this period, and another is on my reading pile. There are countless books on the English Civil War and more than a few on Montrose in Scotland, but relatively few on the Irish element of the War of the Three Kingdoms.


Scottish interest was focused on Ulster due to the plantation of Scots in the first couple of decades of the 17th century. In 1625, around 8,000 Scots in Ulster were capable of bearing arms. By 1638, this had increased to around 10,000, probably due to poor harvests in Scotland encouraging migration. These settlers maintained close links with Scotland, as did the earlier Irish Scots like the MacDonnells, whose links were with the islands and the western Highlands. 


When King Charles I sought support against the Scots who resisted his religious reforms, he looked to Ireland for military support. This was political folly, one of many that unfortunate monarch made. It damaged his position in Ireland and Scotland, pushing the powerful Campbell clan into the Covenanter cause. The attacks on Scotland first brought Alasdair MacColla into the story, who would play an important role later in the wars with Montrose.


Later Irish rebellions (1641) saw a Scottish army being sent to Ulster at the King's urging and paid for (sporadically) by the English parliament. Eight regiments (10,000 men), including 2,500 Highlanders, were initially prepared. MacColla fought for the rebels in this campaign, and the Battle of the Laney was the first occasion he used the tactic later known as the Highland charge - one volley, then a charge. There are special rules for this in the FK&P supplement The Celtic Fringe. MacColla raided Scotland well before joining Montrose, often in pursuit of this feud with the Campbells.


The book covers the campaigns in considerable detail, focusing on the New Scots army led by Major General Munro. His force consisted of Scots regiments, and troops raised locally, sometimes supplemented by English soldiers. A further complication was that the English commander, Ormond, was a king's man and was distrusted by the English Parliament. The story has many other interesting personalities, along with shifting allegiances. 


The Montrose campaigns are touched on, although not in any detail, other than the involvement of the Irish Brigade. While his campaigns were unsuccessful, they led to regiments being removed from England and some troops from Ulster. Munro's army was very weak at the conclusion of this period when Cromwell invaded Ireland. They also lost against the Irish under Owen Roe at the Battle of Benburb, in June 1646. However, even with just a few thousand troops, the Ulster-Scots hung on, forming the basis of today's community.


This is a complex story and a challenging read. However, it thoroughly examines the period for those who want more detail than the FK&P supplements offer.

I have been re-fighting scenarios from the Bishops' Wars with my new Covenanter army. They even won on their first table top outing. A very rare occurrence. Even though Razzy, who is Scottish, turned traitor and sat on the Scottish horse!


Thursday 14 March 2024

Scottish civil wars 1638-52

 My current (well, one of many!) project is to expand my 15mm English Civil War, or more accurately, the Wars of the Three Kingdoms, armies to Scotland and Ireland. I have started with the Covenanter army and plan to move on to the Royalist forces led by Montrose. Finally, Irish armies will cover the less well-known actions mainly fought in Ulster.

The core army mostly comes from the Essex range, latterly supplemented by Peter Pig. It includes three units of pike & shot, one commanded shot, two horse units and two units of lancers. I have also completed four units of Highlanders, which will work for Montrose as well.


The foot units are the typical 2:1 ratio between shot and pike, although as the uniforms are the same, I can have more commanded shot or pike-heavy units as required. 

The Essex lancers are a bit too well equipped for my liking, although the units that fought in England did come home with looted kit and better horses. I have bought a few packs of Peter Pig lancers, which I think will look more like the part.

I will use the artillery and dragoons from my ECW armies as well.

With excellent timing, To the Strongest has brought out two supplements for the period for use in the For King & Parliament rules. The first provides nine scenarios for Montrose's battles. The other is a guide to wargaming the battles in Scotland and Ireland, The Celtic Fringe. This includes optional rules for the different troop types.

I also have the option to play these battles using the Warlord Pike and Shotte rules and Pikeman's Lament

A rare treat this evening is a midweek game. We are starting with a Bishops' War game - Covenanter v English using FK&P. 77 points a side.


Thursday 7 March 2024

The Falklands Naval Campaign 1982

 Last week, I spent the final day of my visit to the National Archives looking at the HMS Ambuscade ship's logs for the Falklands campaign of 1982 and related files. The ship's logs only provide the most limited information, even less than the equivalent war diary for a land unit. Therefore, it helps to have a good overview of the campaign before going through them. I used Edward Hampshire's The Falklands Naval Campaign 1982 in the Osprey campaign series for that.


Lots of books were published quickly after the conflict. I also have the three-part Osprey MAA series published in 1982. However, this was published in 2021 and benefits from subsequent research and access to archives. 

While my interest is in the naval campaign, the book gives an overview of the campaign's origins. This was the first war in my adult lifetime, yet I had forgotten some of the background. The author follows the usual Osprey format in this series by covering the commanders and the opposing forces. The Argentinians had a small and relatively obsolete navy. At the same time, the Royal Navy had reduced in size and faced many challenges just getting an adequate fleet so far from home bases. In particular, civilian ships, cargo, and passenger liners had to be converted to provide the necessary logistics. The fleet included seven Type 21 frigates, including HMS Ambuscade. Frigates and destroyers primarily acted as radar pickets and AA cover for the fleet, which would be exposed to superior numbers of Argentinian aircraft.

The description of the various naval actions includes excellent maps and plenty of illustrations. The Argentinian Navy split into two main groups coming at the islands from north and south. The sinking of the cruiser General Belgrano just outside the Total Exclusion Zone was controversial but effectively kept the Navy in their bases for the rest of the campaign. This left the job to the Air Force with a mix of Skyhawks, Super Etendards and IAI Daggers to attack the Task Force. Argentina only had a handful of airborne Exocet missiles, so they had to rely mainly on conventional bombs, attacking at low levels. Many of these did hit their targets but failed to explode. Royal Navy losses started to mount as the Task Force landed troops on the island and, consequently, were easier to find.

Frigates like HMS Ambuscade provided fire support to the landings and a subsequent assault on Stanley. The ship's log outlines how they operated in a gun line off the coast, an essential role as the army had only modest artillery support. Those who argued that ships didn't need guns in the missile age were proved wrong. 

How HMS Ambuscade reported the capture of Port Stanley in the ship's log.

The conflict also highlighted the vulnerability of warships without air cover and better airborne early warning systems. Many Argentinian attacks were made under the radar. In defence policy terms, it highlights what is known as the 'Quinlan Paradox' - the unexpected is more likely to occur.

I am still considering how to do this on the tabletop. I bought a lovely 1/700 3D print of a Type 21 frigate from the Dorset Print Man. However, if I want to cover more ships and aircraft, this becomes an expensive project. I suspect I will return to Navwar.


Saturday 2 March 2024

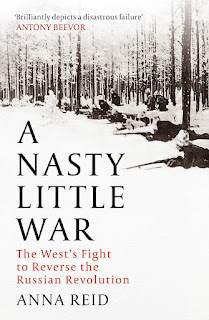
A Nasty Little War

This is Anna Reid's new book, looking at the West's fight to reverse the Russian revolution. The Allied interventions in support of a mixed bag of White warlords were undoubtedly nasty, but it wasn't that little. Some 180,000 allied troops from 16 countries participated, with varying degrees of enthusiasm. The conflicts ranged from the far north to Siberia, the Black Sea and Poland. 

The nastiest element, which clearly shocked the author, was the consistent antisemitism. The White armies often spent more time carrying out pogroms than they did fighting the Bolsheviks. But what surprised the author was the frequent antisemitic jibes in the diaries of British officers. British officials and government ministers, including Churchill, at best, turned a blind eye to the atrocities that probably killed up to 200,000 Jews. General Holman, commanding the British military mission, was 'obsessed by the idea of wiping out the Jews everywhere, and can talk of little else'.

Churchill's hatred of the Bolsheviks drove British policy until Lloyd George and the rest of the cabinet eventually had enough. When the PM was considering recognising the new regime, Churchill burst into his hotel room saying, 'One might as well legalise sodomy'. There was also resistance at home, with dockers refusing to load aid convoys to the Whites. What aid that did arrive was often stolen by corrupt officers. Admiral Kolchak fled Omsk in seven trains, six for his mistress and staff and another for £65m of gold bullion.

The early focus was on securing ports to bring in supplies. Murmansk in the north and Vladivostock in the east. PoWs were used to construct a rail link to Murmansk, killing 25,000 of them in the process. All were supervised by the British commander. The British army guide was a gem of colonial attitudes, advising troops to treat the Russians as children. The Americans brought somewhat more enlightened views, but also the Spanish flu, which killed countless more civilians.

The author takes us through each theatre of operations. The Whites had some success in the South, but it didn't last. The Bolsheviks had the advantage of interior lines, which allowed Trotsky to shift troops from one theatre to another. The Whites had no common ideology other than antisemitism and failed to coordinate their operations.

When the allies eventually pulled the plug, the permanent secretary to the Foreign Office added a note to the file, 'So ends a not very creditable enterprise, to which Lord Curzon crossed out 'not very' and substituted 'highly dis'. Unsurprisingly, no official histories of the conflict, campaign medals or monuments exist. It was all quickly forgotten. Anna Reid has done a great job reminding us of this great folly.

Friday 1 March 2024

Roman Legion Exhibition

 I am in London this week working in the Greenwich and Kew archives on the Ambuscade book. While here, I didn't want to miss the British Museum's special exhibition, Legion, which brings together exhibits on the Roman army worldwide. They tell the story through one recruit into the auxiliaries, although I could have done it without the commentary boards of rats dressed up as Romans. I assume this was to keep the kids interested, but it was pretty silly.

The first exhibit that caught my eye was a scary bust of Augustus.

The equipment exhibits were excellent, including the only surviving legionary shield. Lots of helmets and swords and cataphract armour.


The display captions were informative and well-organised, with various stone friezes illustrating different ranks and roles.


Our recruit reached the end of his 25-year term; only 50% did, and he got his bonus and citizenship. 


There is a lovely book to go with the exhibition, if too detailed and pricey. They always overdo the exhibition publication when an Osprey-size booklet would be more sensible. I passed on the book but was very tempted by the centurion's helmet. My daughter was more impressed by the ducks!


If you are in London, it is well worth a visit. And, of course, the British Museum has a wealth of treasures, even if some of them would be better placed elsewhere!