Welcome to my blog!

News from a wargamer with a special interest in the military history of the Balkans. It mainly covers my current reading and wargaming projects. For more detail you can visit the web sites I edit - Balkan Military History and Glasgow & District Wargaming Society. Or follow me on Twitter @Balkan_Dave
or on Mastodon @balkandave@mastodon.scot, or Threads @davewatson1683

Sunday, 13 May 2018

Saga 2

I used to play Saga regularly, but the advent of Lion Rampant caused something of a drift away from the rule system. Saga 2 has sparked renewed interest and I have been trying it out this weekend.

If you want to fully understand the changes, I would recommend Dom Sore's article in the March 2018 edition of Wargames Illustrated.

The main rules are in a softback booklet, which includes the main rules and an introductory scenario. Warbands are organised in pretty much the same way with the simple one point for 4 Hearthguards, 8 Warriors or 12 Levies. There are also heroes and other extra characters in the supplements, or universes as they are called.

Movement is in straight lines, which seems a bit strange at first, but doesn't make a lot of difference on the table. If you have the measuring sticks they still work. Shooting and combat is done following activation and can be in any order, although tactically you are still likely to want to shoot first then charge. I still think shooting is too effective, but I may just be smarting from being shot up by Saracens! Attackers roll to beat the target's armour and then the defender rolls for saves. Fatigue is now limited to 3 for every unit, which makes Levies useful as they now also get an order dice.

The big changes are in the special abilities created by the Saga dice and battle boards. These have all changed quite a bit and will take some learning for each army you use. Warlords are also treated as a unit on their own and can pass off hits to nearby Hearthguards.

To play the game you will need one of the supplements or universes. There are two so far. One for the Age of Vikings and the other for the Crusades. Both have twelve armies and the associated battle boards. These are not cheap at £30, but the production quality is superb and you get the boards. There are six different sets of Saga dice for each universe at another £12 each, but you can use ordinary D6 to mimic them. Each army has a description, army list and legendary units, together with a very useful commentary.

I played three games this weekend. A quick four point game between Anglo-Saxons and Scots. This is my preferred period for Saga and I look forward to trying some more warbands, particularly those in Eastern Europe.


At the club today we moved up to the Age of Crusades. I dusted down my Teutonic Knights who did reasonably well against the Milities Christi, had it not been for some pretty dire defending dice. For the second game they faced Saracens. I won the initiative and got across the table quickly to pin some units, but still got shot to bits. 


The general consensus amongst my playing pals is that Saga 2 is an improvement. The rules are generally a bit tighter and better explained. It still gives a fun couple of games in a club session. After getting used to Osprey rules, the big downside is cost. After buying all the books and a couple of new dice sets, there wasn't much change out of £100. And that's before I am tempted into some new figures. I am not saying it isn't value for what you get, but I suspect it will put off many from trying it out.


Saturday, 12 May 2018

Carronade 2018

Another excellent Carronade show today and thanks to the Falkirk club. It felt very busy with plenty going on and the car park was certainly jam packed.

I picked up some more buildings from Caliver, SAGA dice, some trees and roads from Last Valley and a couple of books.

The GDWS participation game 3.10 to Yuma was busy all day, with George doing a great job of keeping it going.


a couple of entries in the painting competition.


and some very fine display games.


Thursday, 10 May 2018

Flashpoint Trieste

Flashpoint Trieste by Christian Jennings is the story of a contested city at the end of World War Two that can reasonably be described as the first battle of the Cold War.


Trieste is part of modern day Italy, tucked away in an enclave that borders onto Slovenia and Croatia. The population was largely a mix of Italians and Slovenes and had formally been part of the Austro-Hungarian Empire, before being ceded to Italy after WW1. It was an important port and with nearby Montfalcone, a shipbuilding centre.

In 1945, the allies were slogging their way up Italy past Venice, while the Yugoslavian partisans and the Red Army were coming from the other direction. 

The book describes the race for Trieste as leading elements of the allied armies, a New Zealand battalion, arrived in Trieste just as the partisans were occupying it. A line across the city was drawn, known as the Morgan Line, which split the city in two. 

The city then became a hotbed of intrigue with the rival intelligence forces operating on both sides of the line. Wartime scores were settled and war crime suspects executed. There were numerous incidents between the two armies, which after the initial liberation turned hostile. In one incident a Gurkha decapitated a partisan with his Kukhri knife! The actions of an intelligence sergeant arguably stopped a shooting war.

At a political level, the British and US governments were seeking to contain communist expansion, while Tito wanted the whole region, without Yugoslavia being swallowed up by the Soviet Union. This led to his split with Stalin, who abandoned Tito and his territorial claims. 

This is a really interesting story that reads a bit like a Cold War thriller, with the difference that it actually happened. Plenty of scope for an interesting 'What if' game for the wargamer as well.

Partisan 120mm mortar team

British Commandos

Saturday, 5 May 2018

What a Tanker!

What A Tanker! is the latest rule set from Too Fat Lardies and covers WW2 tank combat. This is a skirmish scale game with one to three tanks a side, more with multiple players.


You can play with any scale, although as its a skirmish game, I suspect all those 28mm tanks painted up for Bolt Action and similar rule sets will be an obvious choice. Other than quite a lot of different coloured D6, you will need some tokens, a dashboard and some chance cards all of which can be downloaded or bought from the Lardies. There are already some helpful quick reference sheets and alternative dashboards on the forum or at Boardgames Geek.

Once you have chosen your tanks, you can set up the table in accordance with the scenarios or as you want. You dice for initiative each turn, getting in that all important first shot, although with these rules it isn't that vital.

Then you activate your tank using six command dice. These enable you to drive, acquire your target, aim, shoot and reload. A six is a wild dice that can be used for anything. Very useful because not having the whole sequence of dice is very frustrating. Unless you are having a stationary firefight, in which case the acquire and aim status remains. You keep a record of all this using dice and tokens on the dashboard, ensuring a nice clean table.

I assumed the game would be over quite quickly, but at least in my early war game, it was quite difficult to land critical hits that cause permanent damage. The acquire rules do encourage manoeuvre  and cover is very important. Plenty of buildings, hills and woods makes for an interesting game.

The rules are pretty straightforward and I found I was onto the quick reference sheet after a couple of turns, only occasionally referring back to the full set. It was a fun game, something a bit different from the normal WW2 game and a new use for those tanks. No pesky infantry and ATGs to bother about!

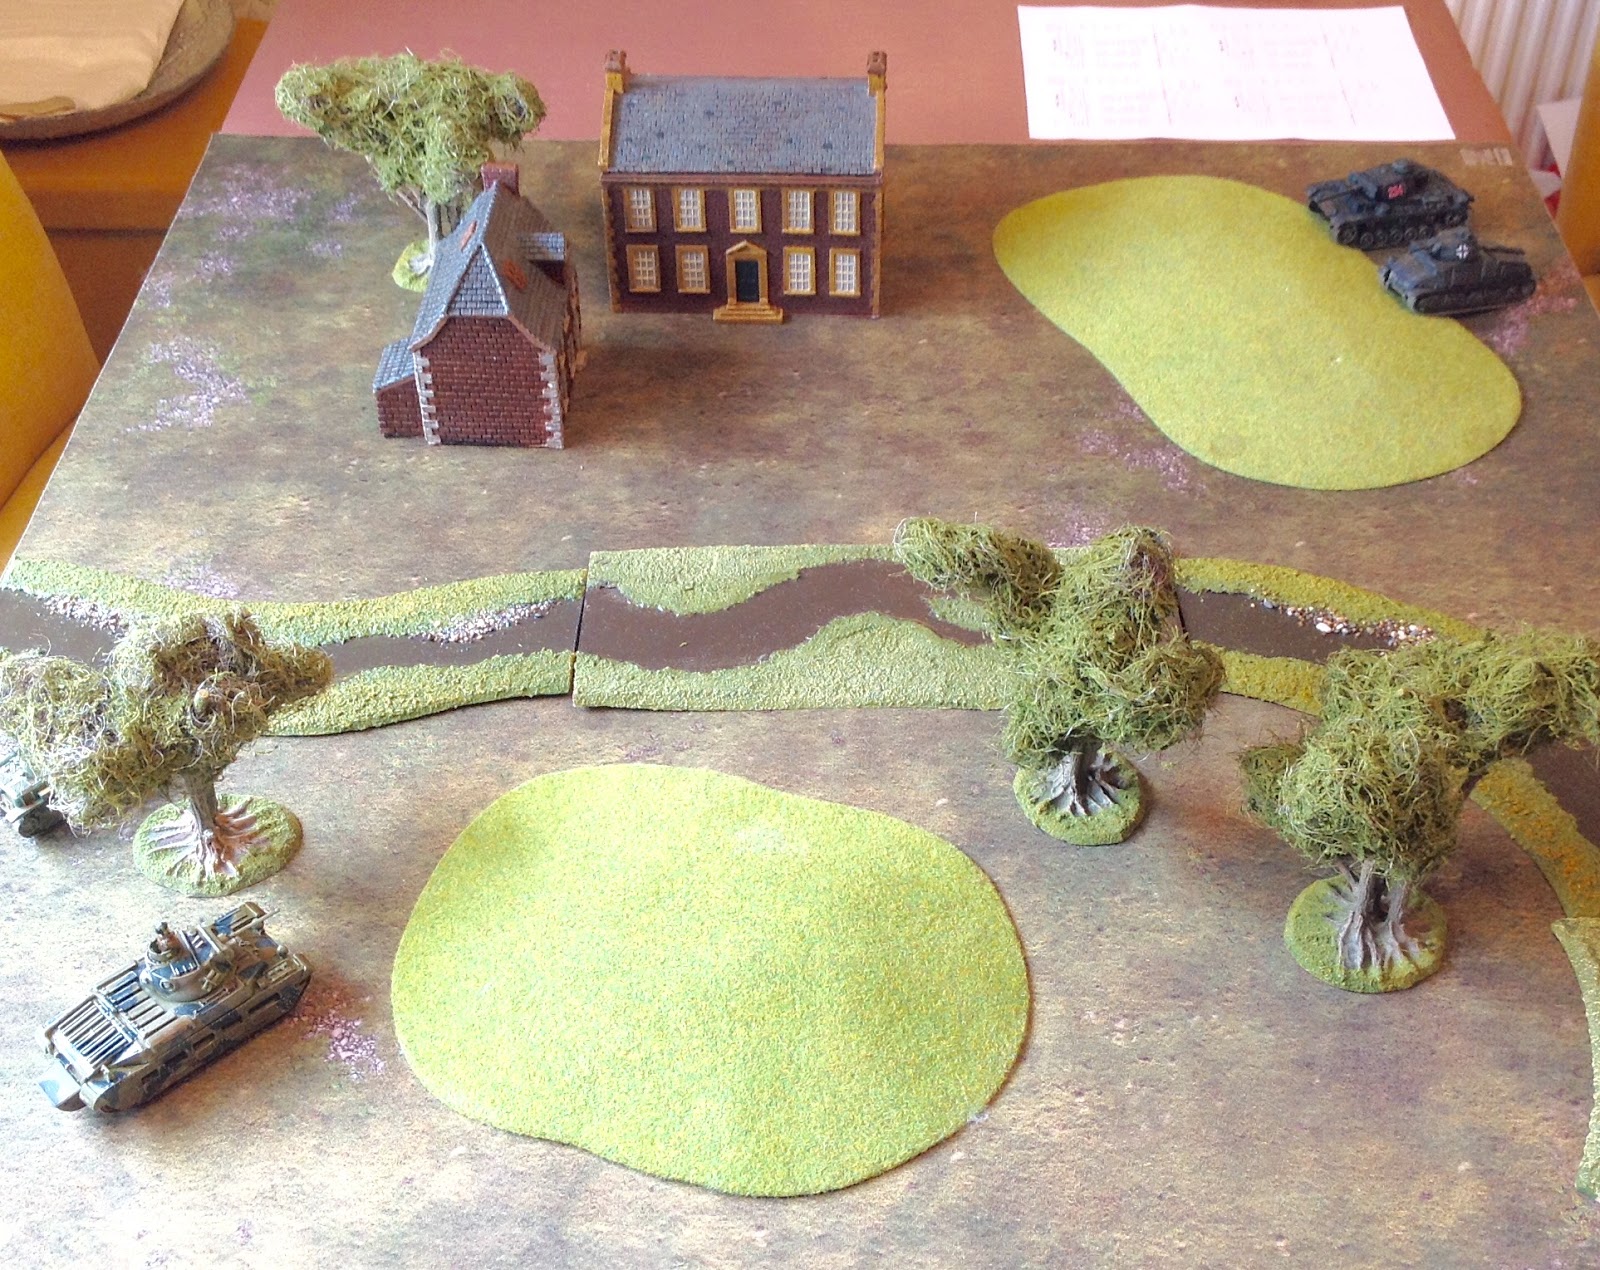
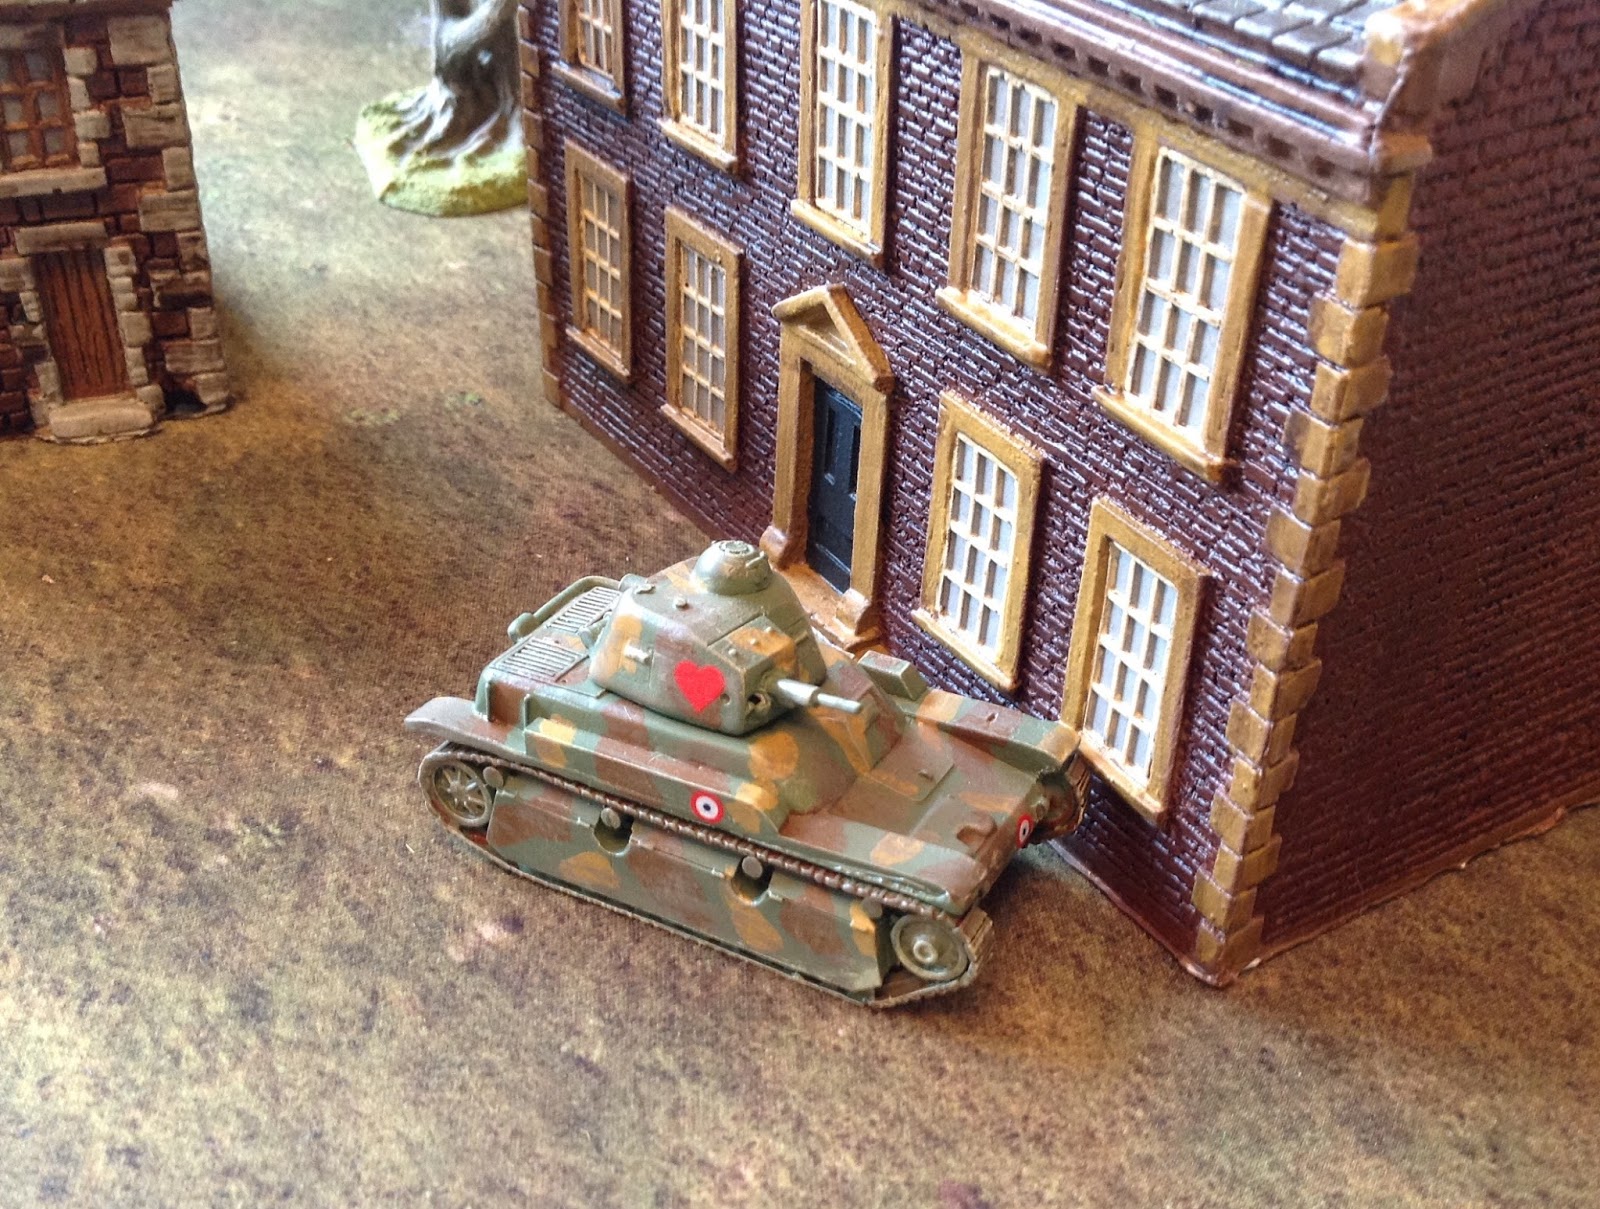
My test game involved a Matilda and an R40 taking on a Pkw III with a captured Somua.


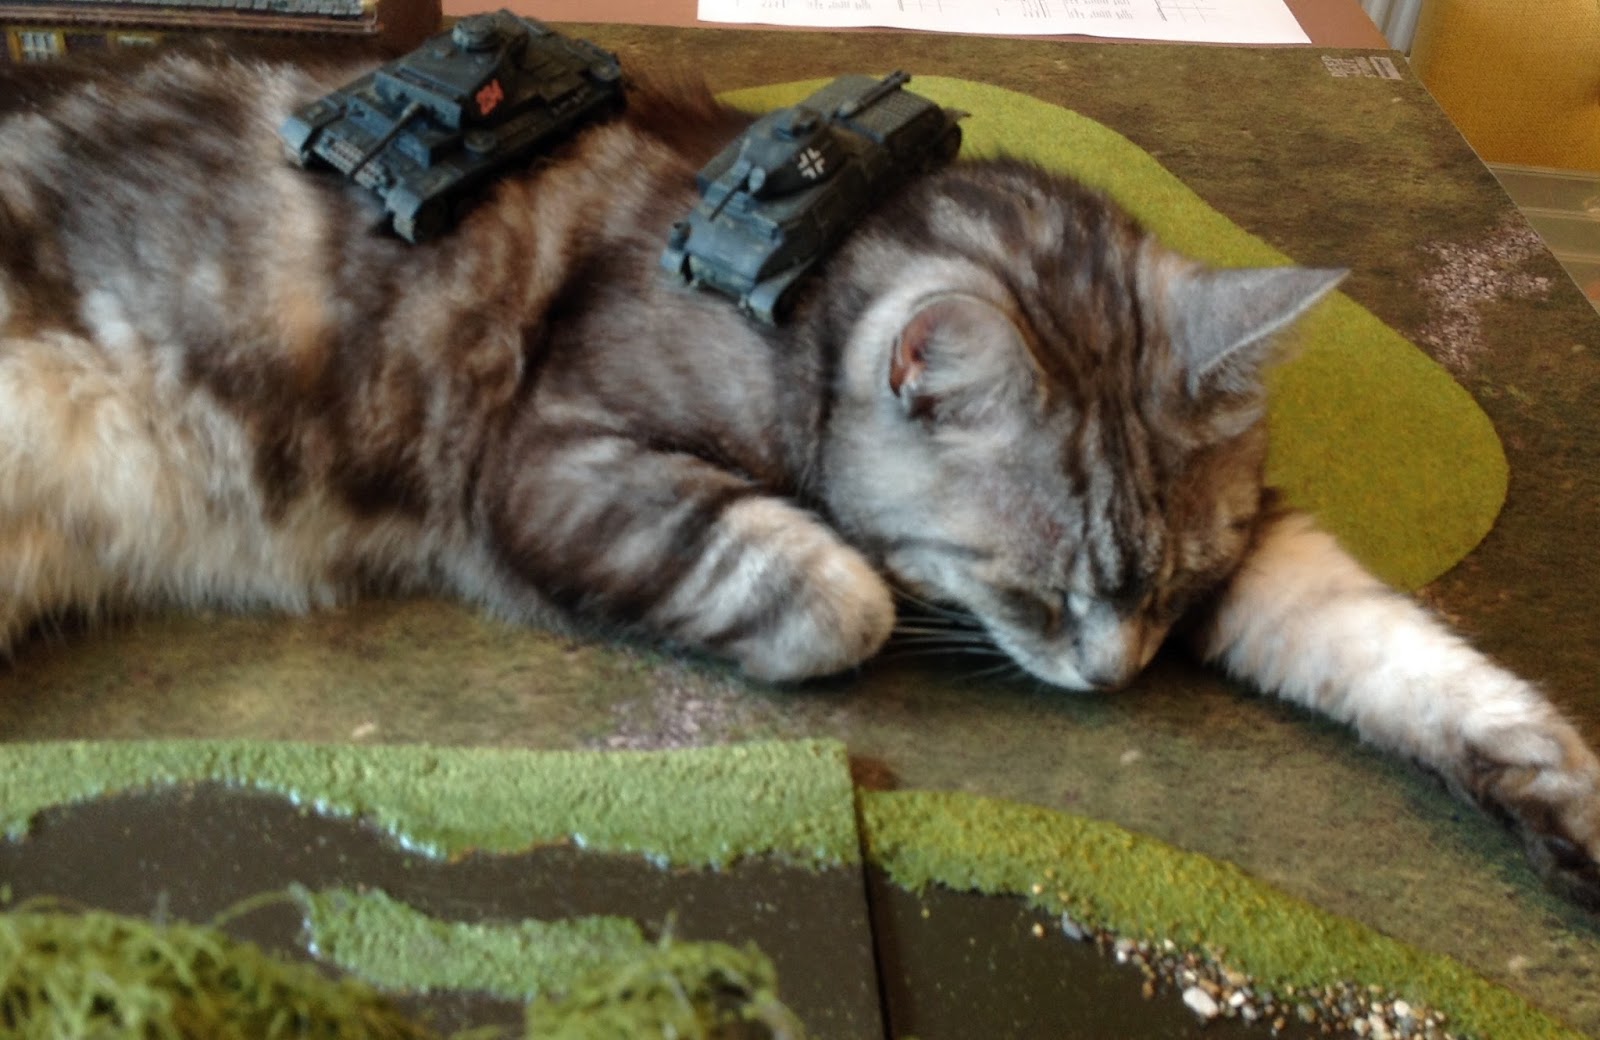
And Razzy joined in, not too enthusiastically, even when the Germans used him for a bit of cover!


Sunday, 29 April 2018

Arab siege of Constantinople

This year is the 13th centenary of the lifting of the Arab siege of Constantinople in 718. Arguably the high tide of the Arab conquest and an important turning point in the history of the Balkans and Europe. With a base at Constantinople, the Arabs could have pincered Europe from the east and from Spain in the west.

The siege began the previous year when the Caliph Maslama assembled an army of 80,000 men on land and a fleet of 800 ships with over 80,000 fighting troops aboard. The defences were too strong to assault, so he built a ditch and blockaded the city, with two fleets that aimed to block sea access.

A raid on the fleet by the Byzantines, using Greek fire kept the northern Bosphorus end of the straits clear. This meant the city was never fully invested. The winter caused heavy losses to the Arabs from disease, but come the spring, a new Egyptian fleet sailed past the city and closed the Bosphorus. A reserve army arrived with much needed reinforcements.

The Byzantine Emperor Leo sortied out again with his fleet and using a combination of fireships and Greek fire, destroyed the Egyptian fleet. On land, Terval, King of Bulgars attacked the Arabs near Adrianople, winning a major victory. The Arabs abandoned the siege and headed for home. A storm caused further losses and only a handful of ships made it home.

Wargaming the siege would be a major undertaking and pretty boring. However, there would have been plenty of skirmishes and we have the Bulgarian relief attacks. For the refight I used 15mm Bulgarian and Arab figures for a 100pt game of Art de la Guerre.


Sunday, 22 April 2018

The Bernicia Chronicles - Warrior of Woden

Warrior of Woden is the fifth and latest book in the Bernicia Chronicles by Matthew Harffy. If you have read my reviews of the earlier books you will know that I am a huge fan of this series. If you are suffering from Bernard Cornwell withdrawal symptoms, this is the series for you.


The year is AD 642 and the setting is Anglo-Saxon Britain. Our hero, flawed of course, is Beobrand. He is now an established and wealthy warlord, with his own lands and hearth guard. However, the warring kingdoms of Britain are not going to allow him to rest easy.

Penda of Mercia and his allies invade Northumbria and Beobrand is called upon to support King Oswald. There is treachery, a huge battle (Maserfelth) that rolls on for several chapters and plenty of skirmishes. Of course Beobrand survives, but not without personal loss and few scars.

The advantage of this setting for historical fiction is that we know very little about it. A couple of less than reliable primary sources and a growing, but incomplete, archeology. The author has largely used historical figures and followed as much of the historical narrative as he can. Names and places are borrowed from the same period, if not exactly as they where.

Military tactics were pretty straightforward. Some preliminary skirmishing followed by the crunch of the shieldwall. Each Lord had his own war band of warriors, reasonably well equipped with spear, sword, chain mail and shield. For the big battles they would be supplemented by the part-time militia or Fyrd - less well equipped and trained. The numbers on either side would not have been huge.

For the wargamer there are plenty of figures and rules. There is a new edition of SAGA coming out which is ideal, although I usually use Lion Rampant, or Hail Caesar for the big battles.

Welsh v Saxons

This is a great read - highly recommended.

Wednesday, 18 April 2018

Blood and Sand

Rosemary Sutcliffe is best known for her children's novels, but she has written a number of books of historical fiction. I have read Eagle of the Ninth, which is very good, so an offer to read her book 'Blood and Sand' on the Kindle (published in 1987) at a bargain price was certainly worth a look.


This book is set during the Napoleonic wars and covers the life of Thomas Keith, a Scot who was captured in Egypt at the battle of El Hamed in 1807. Instead of returning to Britain, he took service with the Ottoman governor of Egypt, Muhammed Ali. Other than his marriage, it follows pretty closely to the historical story.

And a remarkable story it is. A private soldier, Thomas rises through the ranks, training Egyptian cavalry to face a number of conflicts with the Wahabi war host of Saud Ibn Saud, in what we today know as Saudi Arabia. Essentially battling for control of the holy cities of Mecca and Medina. He ended up commanding the Arab, Egyptian and Albanian cavalry in those conflicts, after converting to Islam. He was also the governor of Medina when he died in battle.

The first half of the story is a bit slow, as Thomas adapts to his new environment and develops relationships within Egyptian society. This included the suppression of the Mamelukes. The second half has much more action, including several campaigns in Arabia that give the reader a real understanding of the challenges of campaigning in such an inhospitable climate.

This is not a great work of historical fiction, but worth a read. You might feel like abandoning it after the first few chapters, but it is worth persevering.

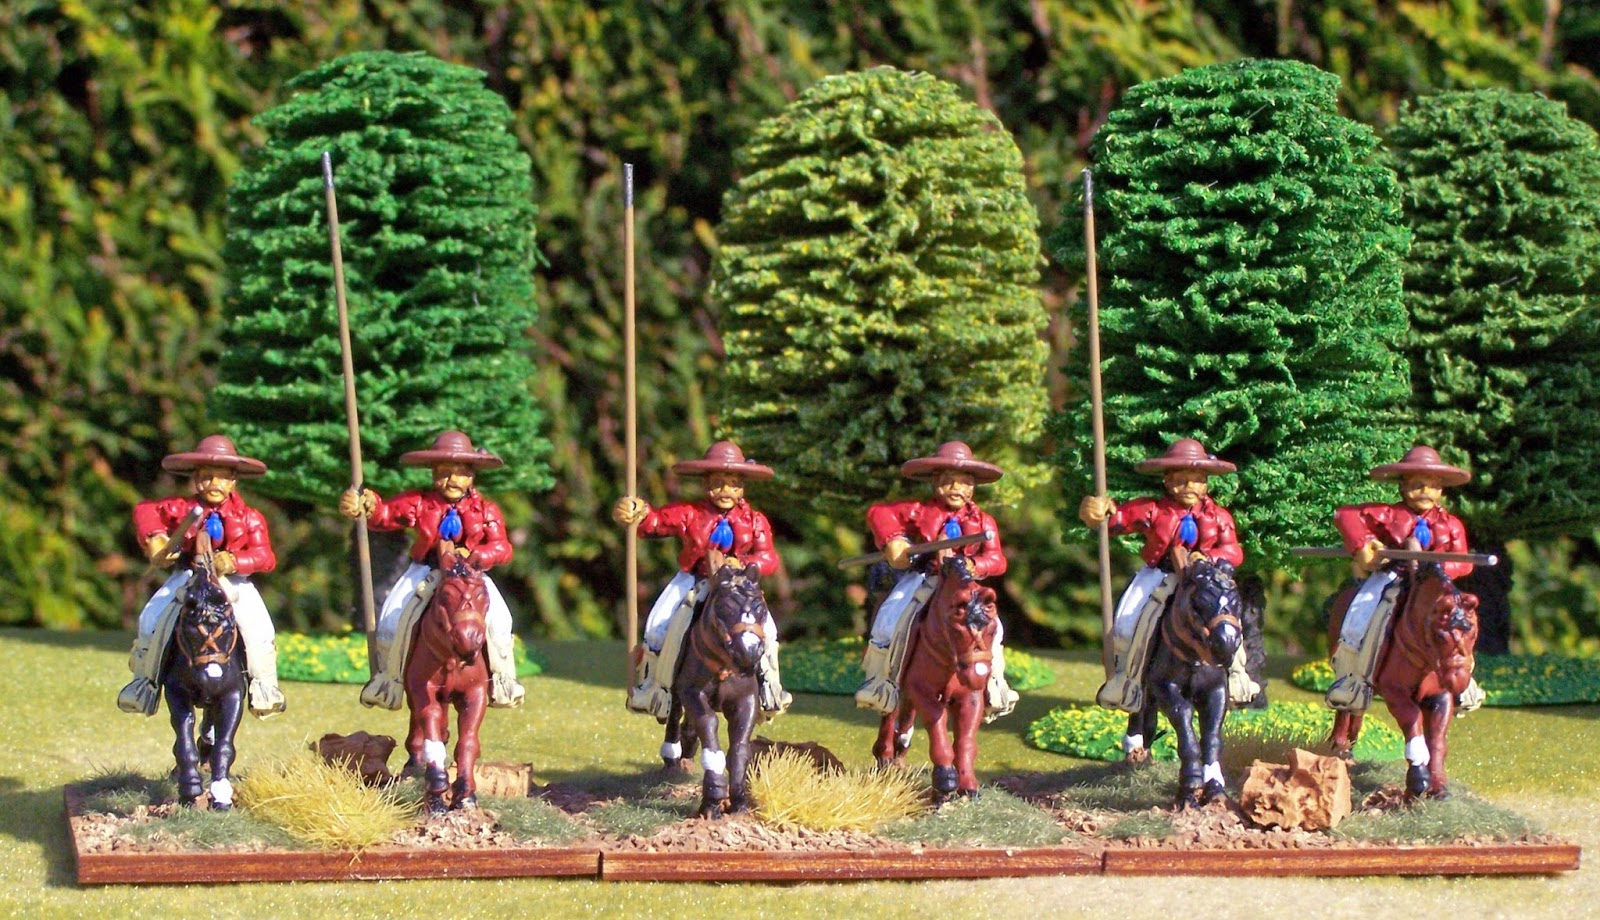
And let's have some eye candy for the wargamer. From my 28mm collection of the period.


Monday, 16 April 2018

T-90 Standard Tank - The First Tank of the New Russia.

The latest in the Osprey Vanguard series covers the primary Russian Main Battle Tank of the modern era, competently described by the master tankie, Steven Zaloga.


The T90 is a development of the T72. The author outlines the troubled development of the tank, beset by the economic problems facing Russia at the time and disagreements amongst the Russian military on the way forward. As usual with a Vanguard publication there is a detailed technical description, with plenty of photos and colour plates.

The T72 performed badly in the Gulf wars and in Chechnya, which damaged its reputation and the all important export orders. It is at least questionable if this was due to the tank or its poor deployment and crew training.

The T90 is more than a rebranding. It has all the features you would expect in a modern tank. Offensive armament including guided munitions, and defensively including reactive armour. An important export win has been the Indian army and Algeria.

The book ends with a description of its internal rivals and the many variants. This includes all the standard engineer variants, but also the unusual tank support vehicle, known as the 'Terminator', designed for the urban environment's tanks have been deployed in during recent conflicts.

Essential reading for those interested in the modern Russian army.

Saturday, 14 April 2018

The Kuban 1943 - The Wehrmacht's last stand in the Caucasus.

The Kuban campaign of 1943 is covered in the latest Osprey Campaign publication by Robert Forczyk.

After the disaster at Stalingrad, Hitler's push into the Caucasus was looking beyond hope. However, true to form, Hitler refused to abandon his objective of exploiting the old fields and ordered his armies to hold the ground they occupied. The German 17th Army did their best, but they were forced back into the Kuban bridgehead.

This book covers the efforts of this army to hold onto the bridgehead and the many offensives by Soviet armies to destroy it. In many ways it is a textbook defence of a bridgehead. The terrain was eminently suitable for the defence, enabling German forces, usually outnumbered 3:1, to hold their positions. Hitler's objective of using the Kuban as the base for a renewed offensive was never realistic and it pulled away troops that would have been better deployed in the Kursk battles. Equally, while it did tie up significant Soviet forces, they were generally not the the best equipped, particularly in terms of armour.

Unusual features of the campaign included the extensive deployment of air support by both sides and the use by the Soviets of naval infantry. They managed to establish an important bridgehead near the city of Novorossiysk, known as the Malaya Zemlya, which is today a national memorial park. In the north of the bridgehead there was extensive combat in marshland.

The German forces also included six Romanian divisions and Gebirgsjager divisions. The Soviet air forces also made use of smoke pots to mask the German artillery, a tactic I had never heard of before.

After the failure of the Kursk offensive, Hitler eventually agreed to the evacuation of the Kuban. The 17th Army conducted a masterful withdrawal and retreated over the Kerch Straits to the Crimea. The Kriegsmarine and Romanian navy played an important role in this part of the campaign.

For the wargamer this campaign offers actions that are far from the typical Russian Front scenarios and this book is all you need to recreate them. Lavishly illustrated with excellent maps.


Saturday, 7 April 2018

Battle of Maipo - April 1818


This week is the 200th anniversary of the Battle of Maipo, the decisive battle of the liberation of Chile from Spanish colonial rule.


At the beginning of the 19th century the Spanish Empire in South America consisted of three Viceroyalties; New Grenada in the north, Peru that included Chile and La Plata covering mostly modern day Argentina. These were the territories largely conquered by the conquistadores in the sixteenth century. The dislocation caused by the Peninsular War in Europe led to the establishment of local Juntas and then to the independence movements that resulted in the wars of liberation. 

The outstanding Patriot generals of the wars, accorded the title of ‘Liberator’, were Simon Bolivar who liberated the north and Jose de San Martin who led the forces from Argentina into Chile and then Peru where he joined up with Bolivar.

The key to Spanish control of South America was the most Royalist of provinces, Peru. The Patriot stronghold of La Plata sought to capture Peru by the direct route through Upper Peru (modern Bolivia). In three campaigns between 1810 and 1815 the Patriot armies were defeated by the Royalists and only the Gauchos in the Salta region stopped the Royalists from exploiting their victory into La Plata itself.

By 1815 command of the Patriot Northern Army had been handed to Jose de San Martin. He was a career soldier who had fought in the Peninsular War at both Albuera and Bailen. San Martin’s plan was to liberate Chile from Argentina and then move up the coast to Peru. He reorganised the Patriot forces, incorporating Chilean refugees led by Bernado O’Higgins, into a new Army of the Andes based at Mendoza. His plan involved crossing the Andes in January 1817, in four columns using different passes of between 3,500m and 5,100m high.


The columns united across the Andes near Chacabuco on 12 February. The Royalist army had been caught unprepared and was defeated. The Royalists fled to the port of Valparaiso, but the seven month siege went badly. San Martin with reinforcements rallied the Patriot forces at Cancha Rayada. where a desperate night attack (March 19) panicked the Patriots who fell back to Santiago. 

The decisive battle of the campaign took place just outside Santiago at Maipo on 5 April 1818. The battle opened with an ineffective artillery duel followed by an advance from by the Patriot line. The right wing routed the Royalist cavalry and captured a battery. However, the left wing was stopped and only the reserve artillery stopped the Royalist counter attack.

San Martin then ordered his mounted Cazadores to flank the Royalist left. They drove off the Royalist cavalry and crashed into the veteran Burgos Regiment. When this gave way Osorio panicked and ordered a retreat. Colonel Ordonez took over command and rallied a sizable force at Los Espejo farm that repulsed the Patriot assaults until San Martin brought up artillery support and forced the Royalist surrender.  The Royalist army was totally crushed and Chilean independence was secured. Over 1500 Royalists and 1000 Patriots were casualties in the bloodiest battle of the war.

I wrote an article for Wargames Illustrated in August 2007, outlining how I converted 28mm figures for these campaigns. Glasgow and District Wargames Society used them for a series of display games that year, covering the three main battles of the campaign. The figures can all be viewed here.

The best English language history of these wars is ‘Liberators’ by Robert Harvey. This is great narrative history and the real inspiration for starting in this period. However, converting this to the tabletop would not have been possible without  ‘Liberators: Napoleonic Wargaming in South America’ by John Fletcher.  John has a website, a Yahoo group and a range of 15mm figures.


Wednesday, 4 April 2018

The Splintered Empires - The Eastern Front 1917-21

My Easter reading has been a newish book by Prit Buttar 'The Splintered Empires'. This is a history of the Eastern Front between 1917 and 1921.

The early war campaigns, particularly Tannenberg, have received a fair degree of attention, but the same cannot be said for the later period. The centenary of the Russian revolution has also been more focused on the political and internal events, rather than the impact on the war itself. This book corrects that with a detailed account of the final campaigns of the war and its aftermath.


The author starts in 1917 and understandably focuses on the Russian army, as it gradually collapsed as a fighting force. The Tsar's unwillingness to reform quickly enough led to revolution and the road to Brest-Litovsk. While that did enable Germany to redeploy divisions to the West, they overstretched themselves with over ambitious plans to expand in the East. This meant troops had to be retained in places like the Ukraine and the Baltic states, which could have made all in difference in the 1918 offensives.

The Russian Empire was not the only one to collapse and in practice lost little of its territory, other than Finland and Poland. The German Empire and the rule of the Hohenzollerns came to an end, although perhaps the biggest collapse was the Habsburg's. This huge multi-ethnic empire split up into many parts, leaving a small Austrian state and a reduced Hungary.

The final chapters are perhaps the most interesting. They cover what Churchill called 'The Pygmy Wars'. These were the wars in Estonia, Latvia, Lithuania and Poland, that established independent states. The complex web of alliances and armies, ranging from nationalists, Bolsheviks, White Russian and Germans, went on until 1921. Even then the boundaries rarely survived future conflicts.

This is a really complex story, very well told. The politics are not ignored, but there is plenty of detail for the military historian. There are also decent maps, something often missing in other studies. Recommended.

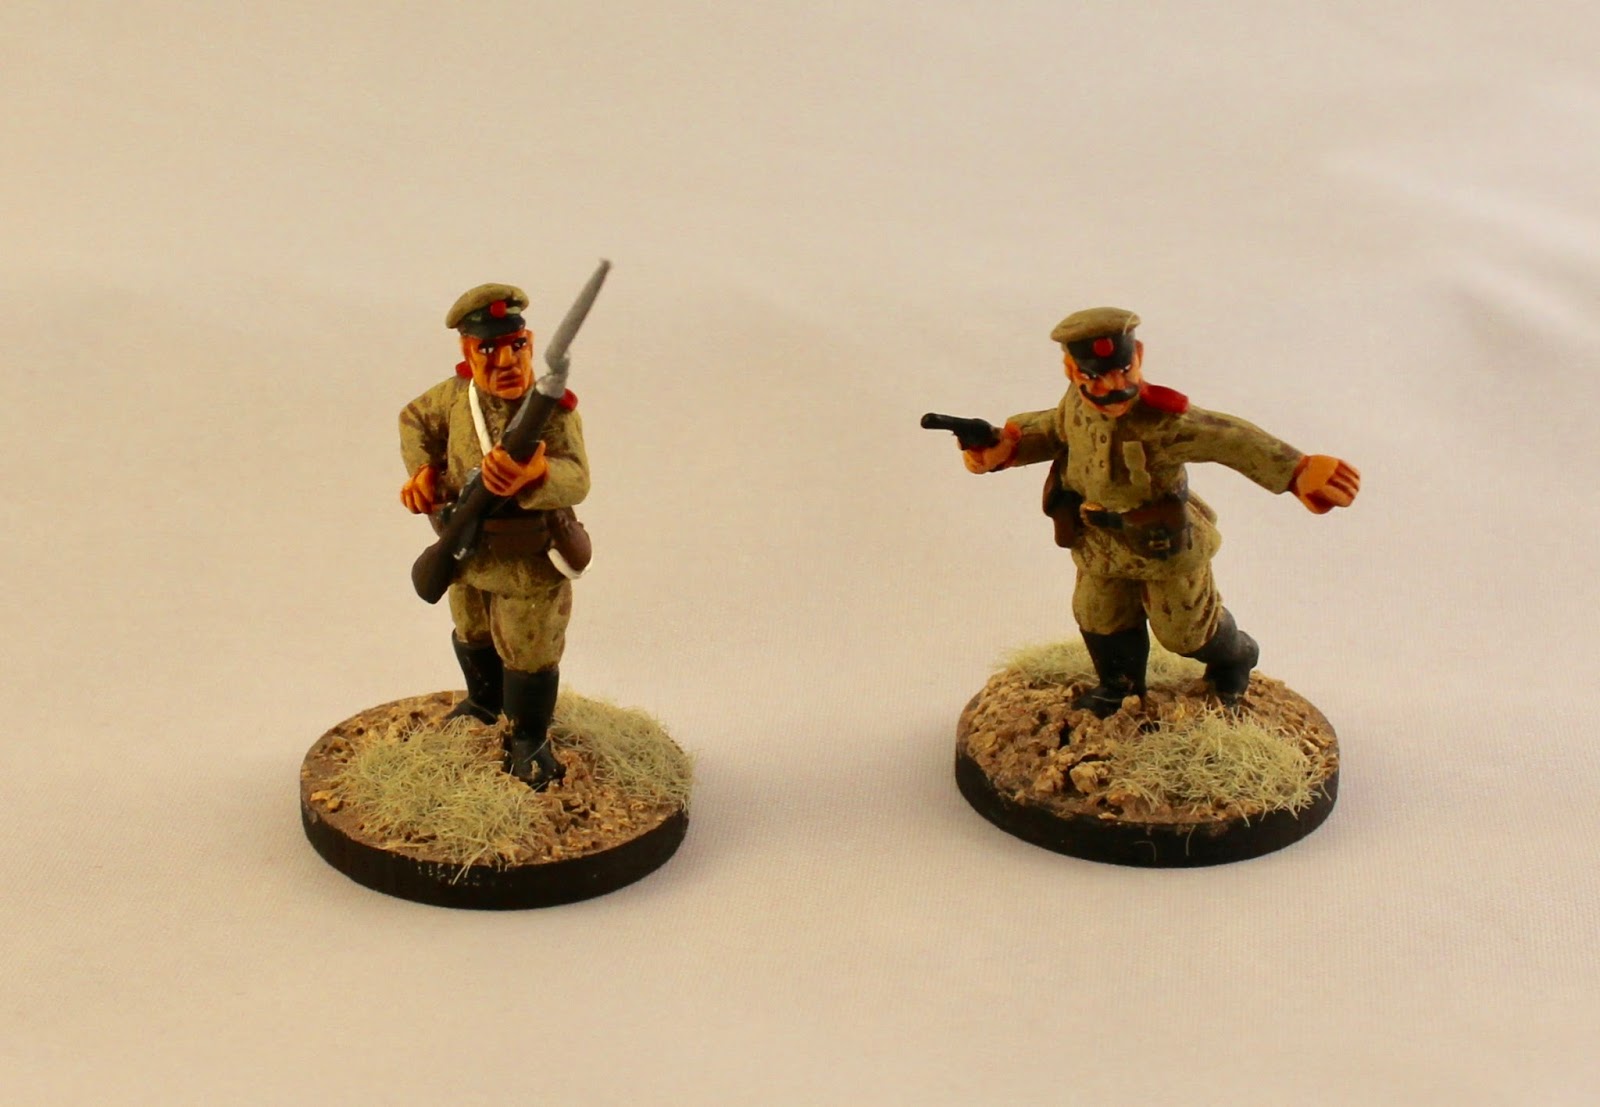
I am sorely tempted to expand my 28mm and 15mm armies of the period to the Pygmy Wars. Here are a few Russian and Austro-Hungarian 28mm figures to whet the appetite.