Welcome to my blog!

News from a wargamer with a special interest in the military history of the Balkans. It mainly covers my current reading and wargaming projects. For more detail you can visit the web sites I edit - Balkan Military History and Glasgow & District Wargaming Society. Or follow me on Twitter @Balkan_Dave
or on Mastodon @balkandave@mastodon.scot, or Threads @davewatson1683

Sunday, 6 September 2020

Libertad!

 Rob Anderson and Mark Fry have written this supplement ('Libertad' is 'freedom' in English) for the Blitzkrieg Commander rules covering the Spanish Civil War. You will need the core rules as well to use this supplement. It is available as a 35 page PDF download from Wargames Vault for $6.60.

There are a few rule amendments to reflect specific features of this conflict including fixed formations and improvised street barricades. They have simplified the bewildering array of armoured cars that were deployed by both sides into those with and without AT capability and the rest. There is also a rule for Molotov Cocktails.

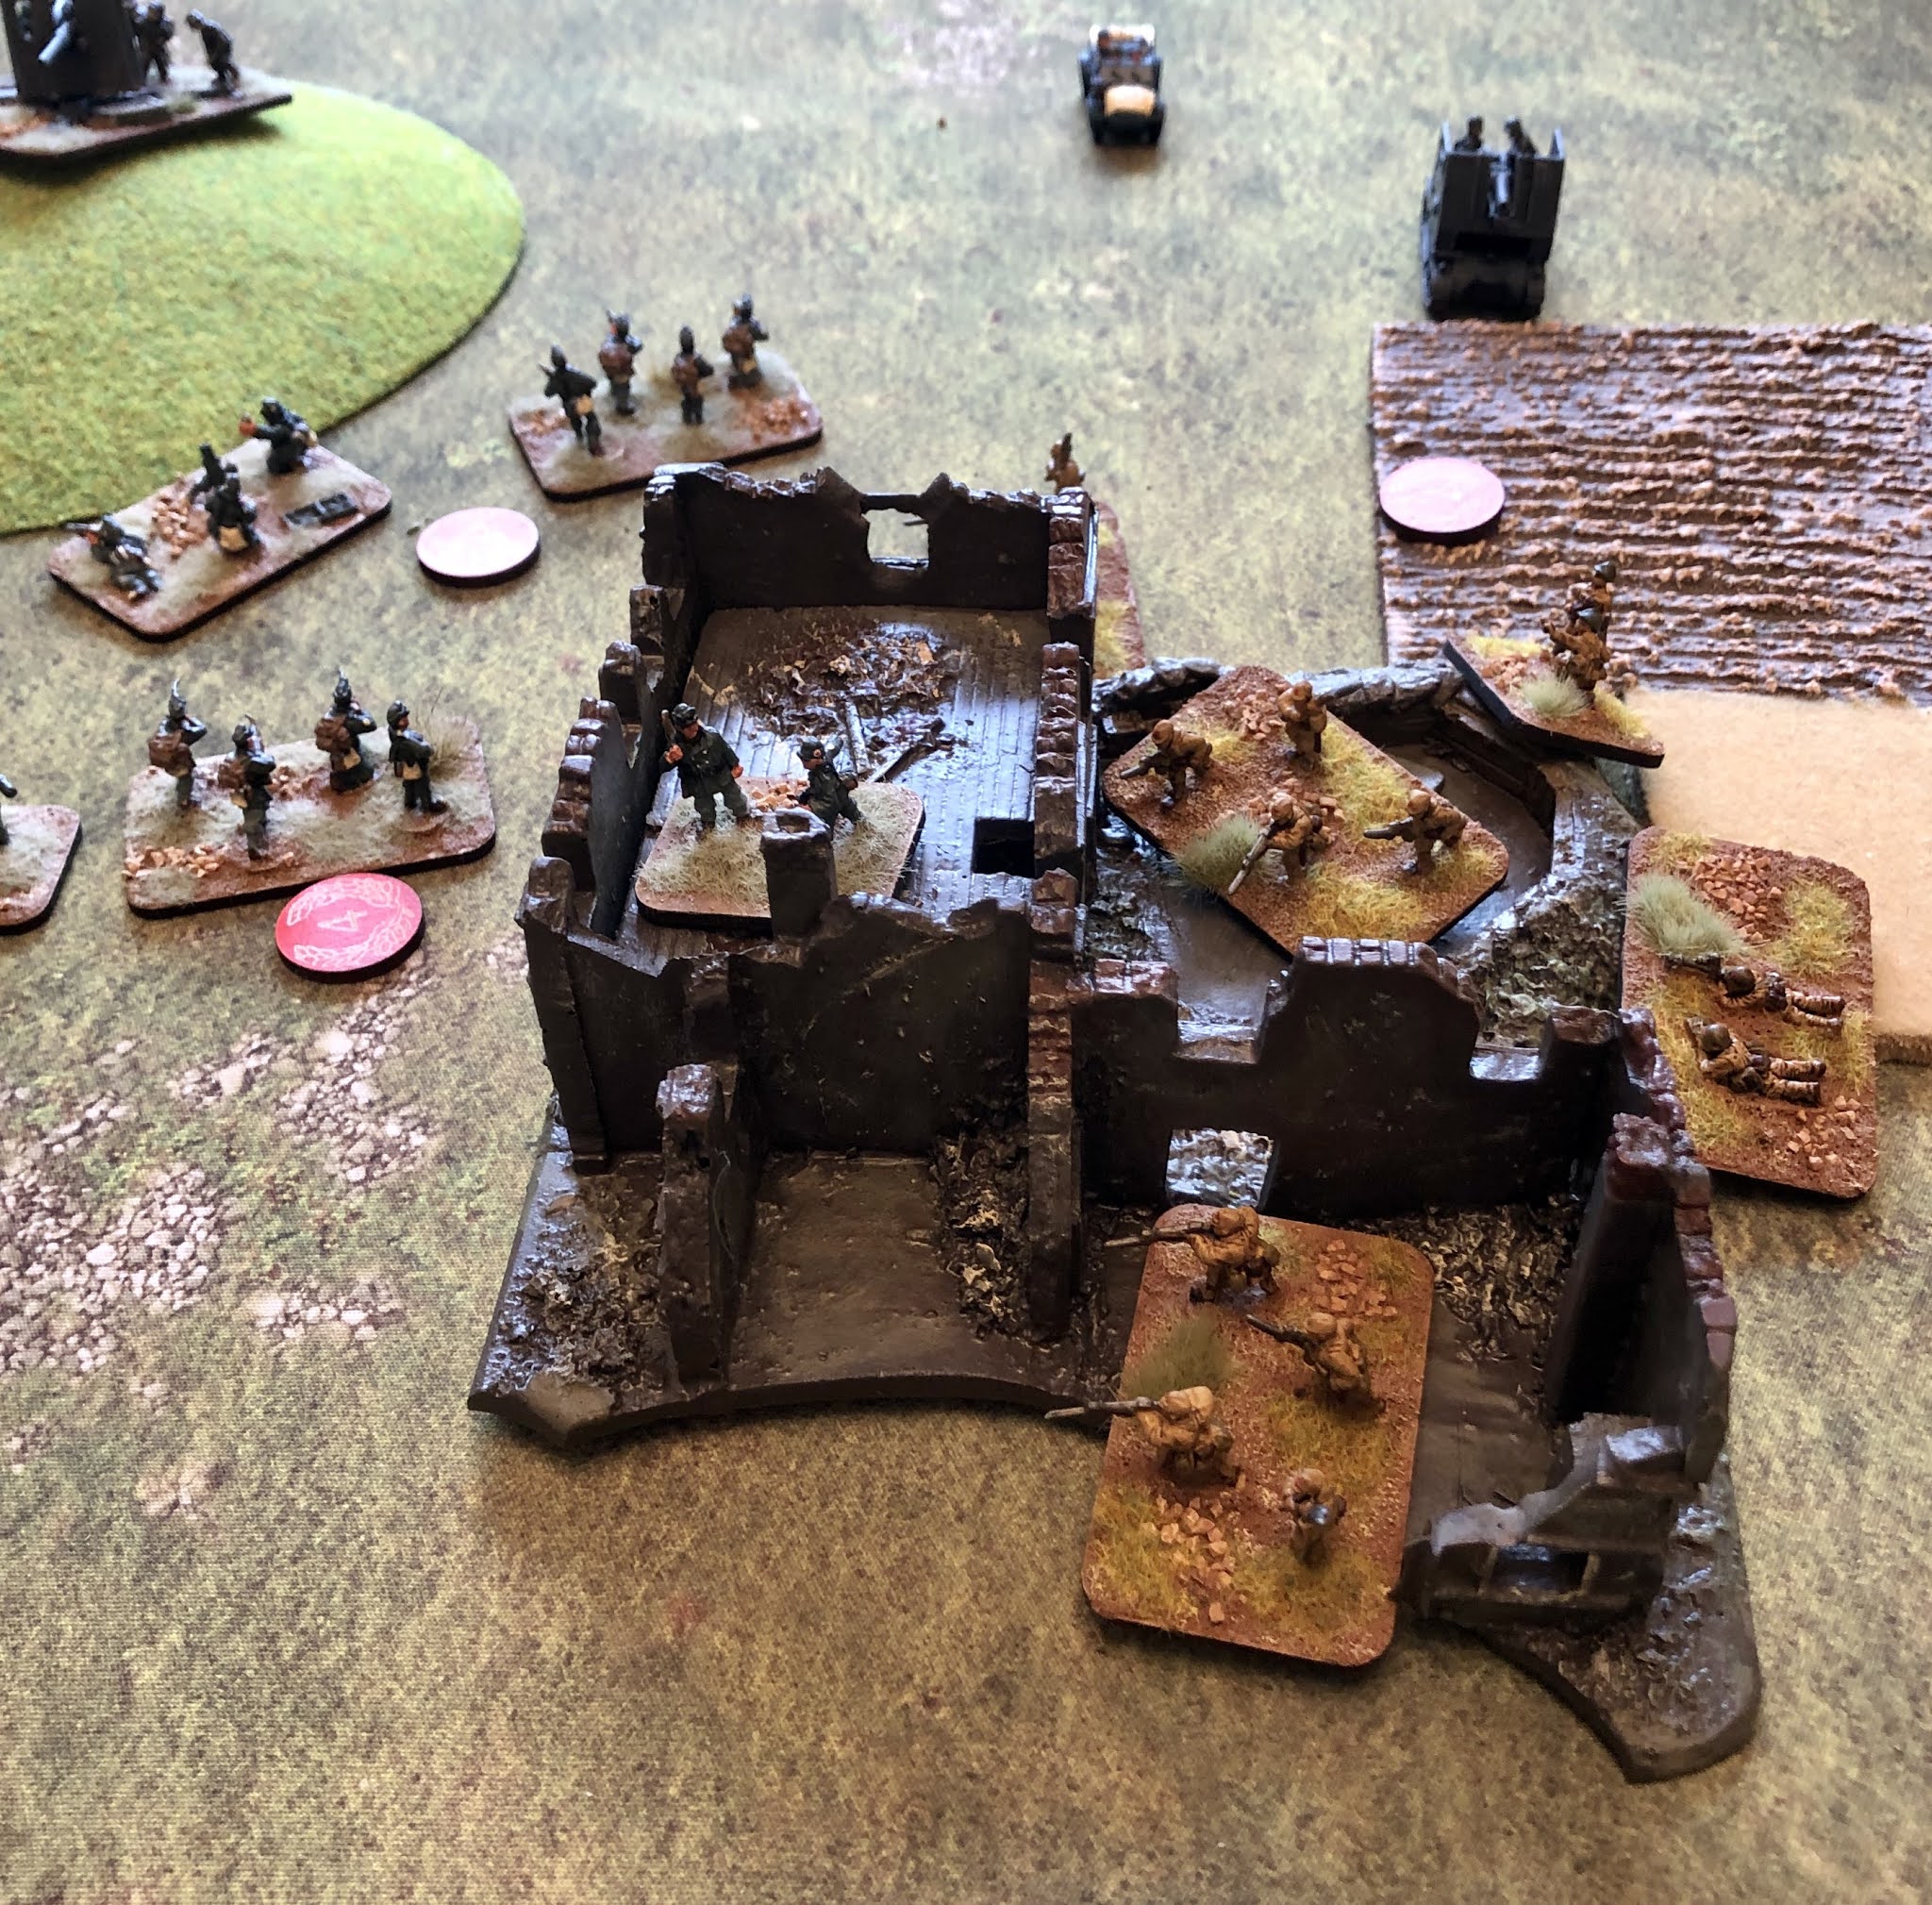
Then we get five scenarios with some very nice maps drawn by Henry Hyde. These include some well known and lesser actions.

The meat of the supplement is the army lists, which include all the many factions that made up both the Nationalist (Rebels) and Republican (Government) armies. These include a brief description of the faction and then the Blitzkrieg Commander statistics. They also have a few special rules and equipment.

There are plenty of excellent books on this conflict to expand your reading. More recently these have included books that focus on the military history of the war. Charles Esdaile’s ‘The Spanish Civil War: A Military History’ is a recent contribution, and Alexander Clifford 'The People's Army in the Spanish Civil War', which focuses on the wider People's Army, not just the International Brigades. I have seen a positive review of a new book by Giles Tremlett 'The International Brigades' in the latest edition of the BBC History magazine. Their History extra podcasts also have the prolific SCW author Paul Preston being interviewed in their series 'Everything you wanted to know...."

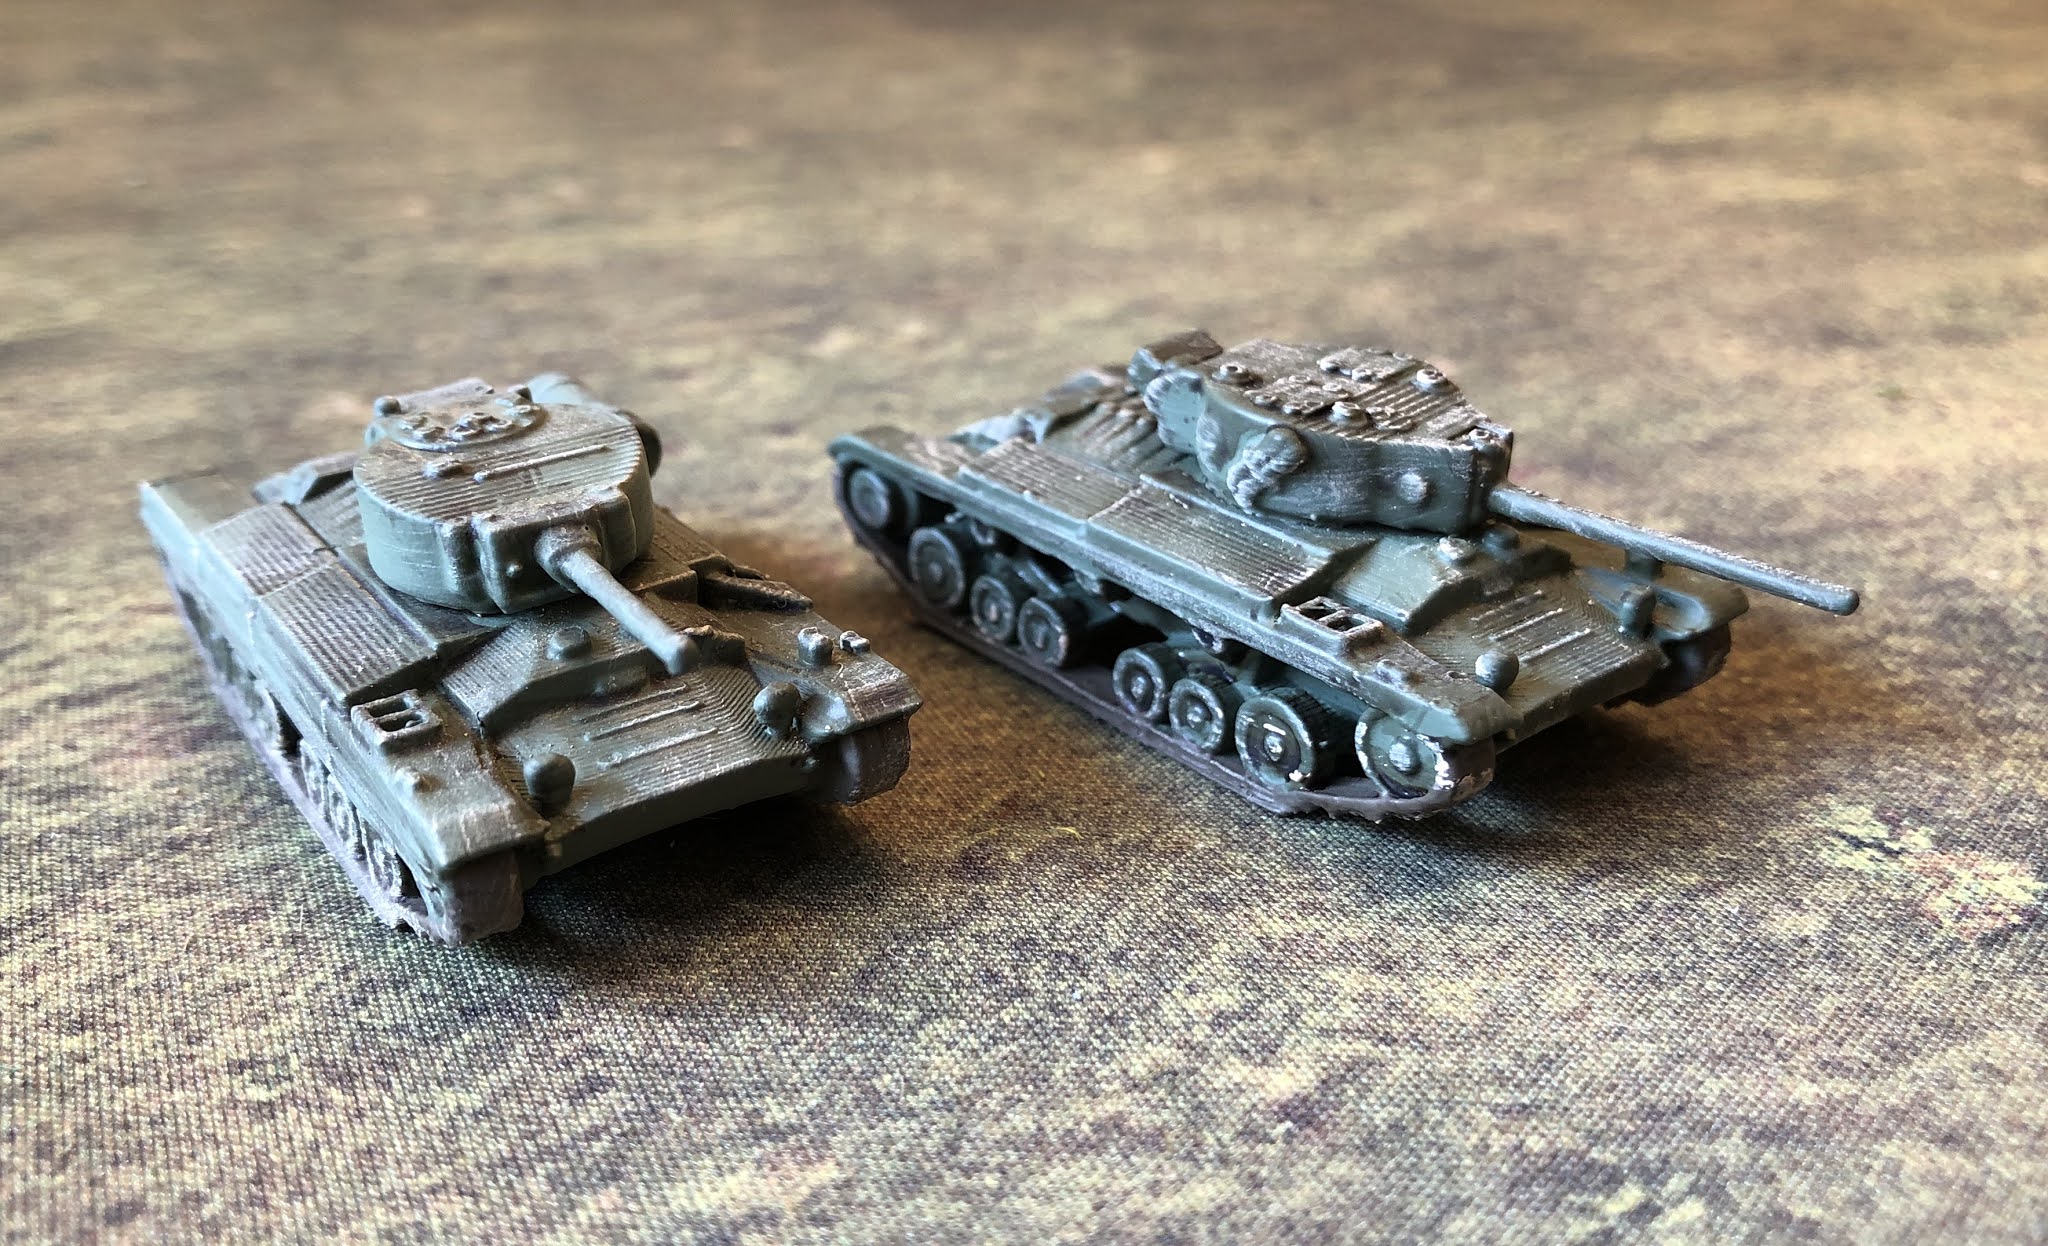
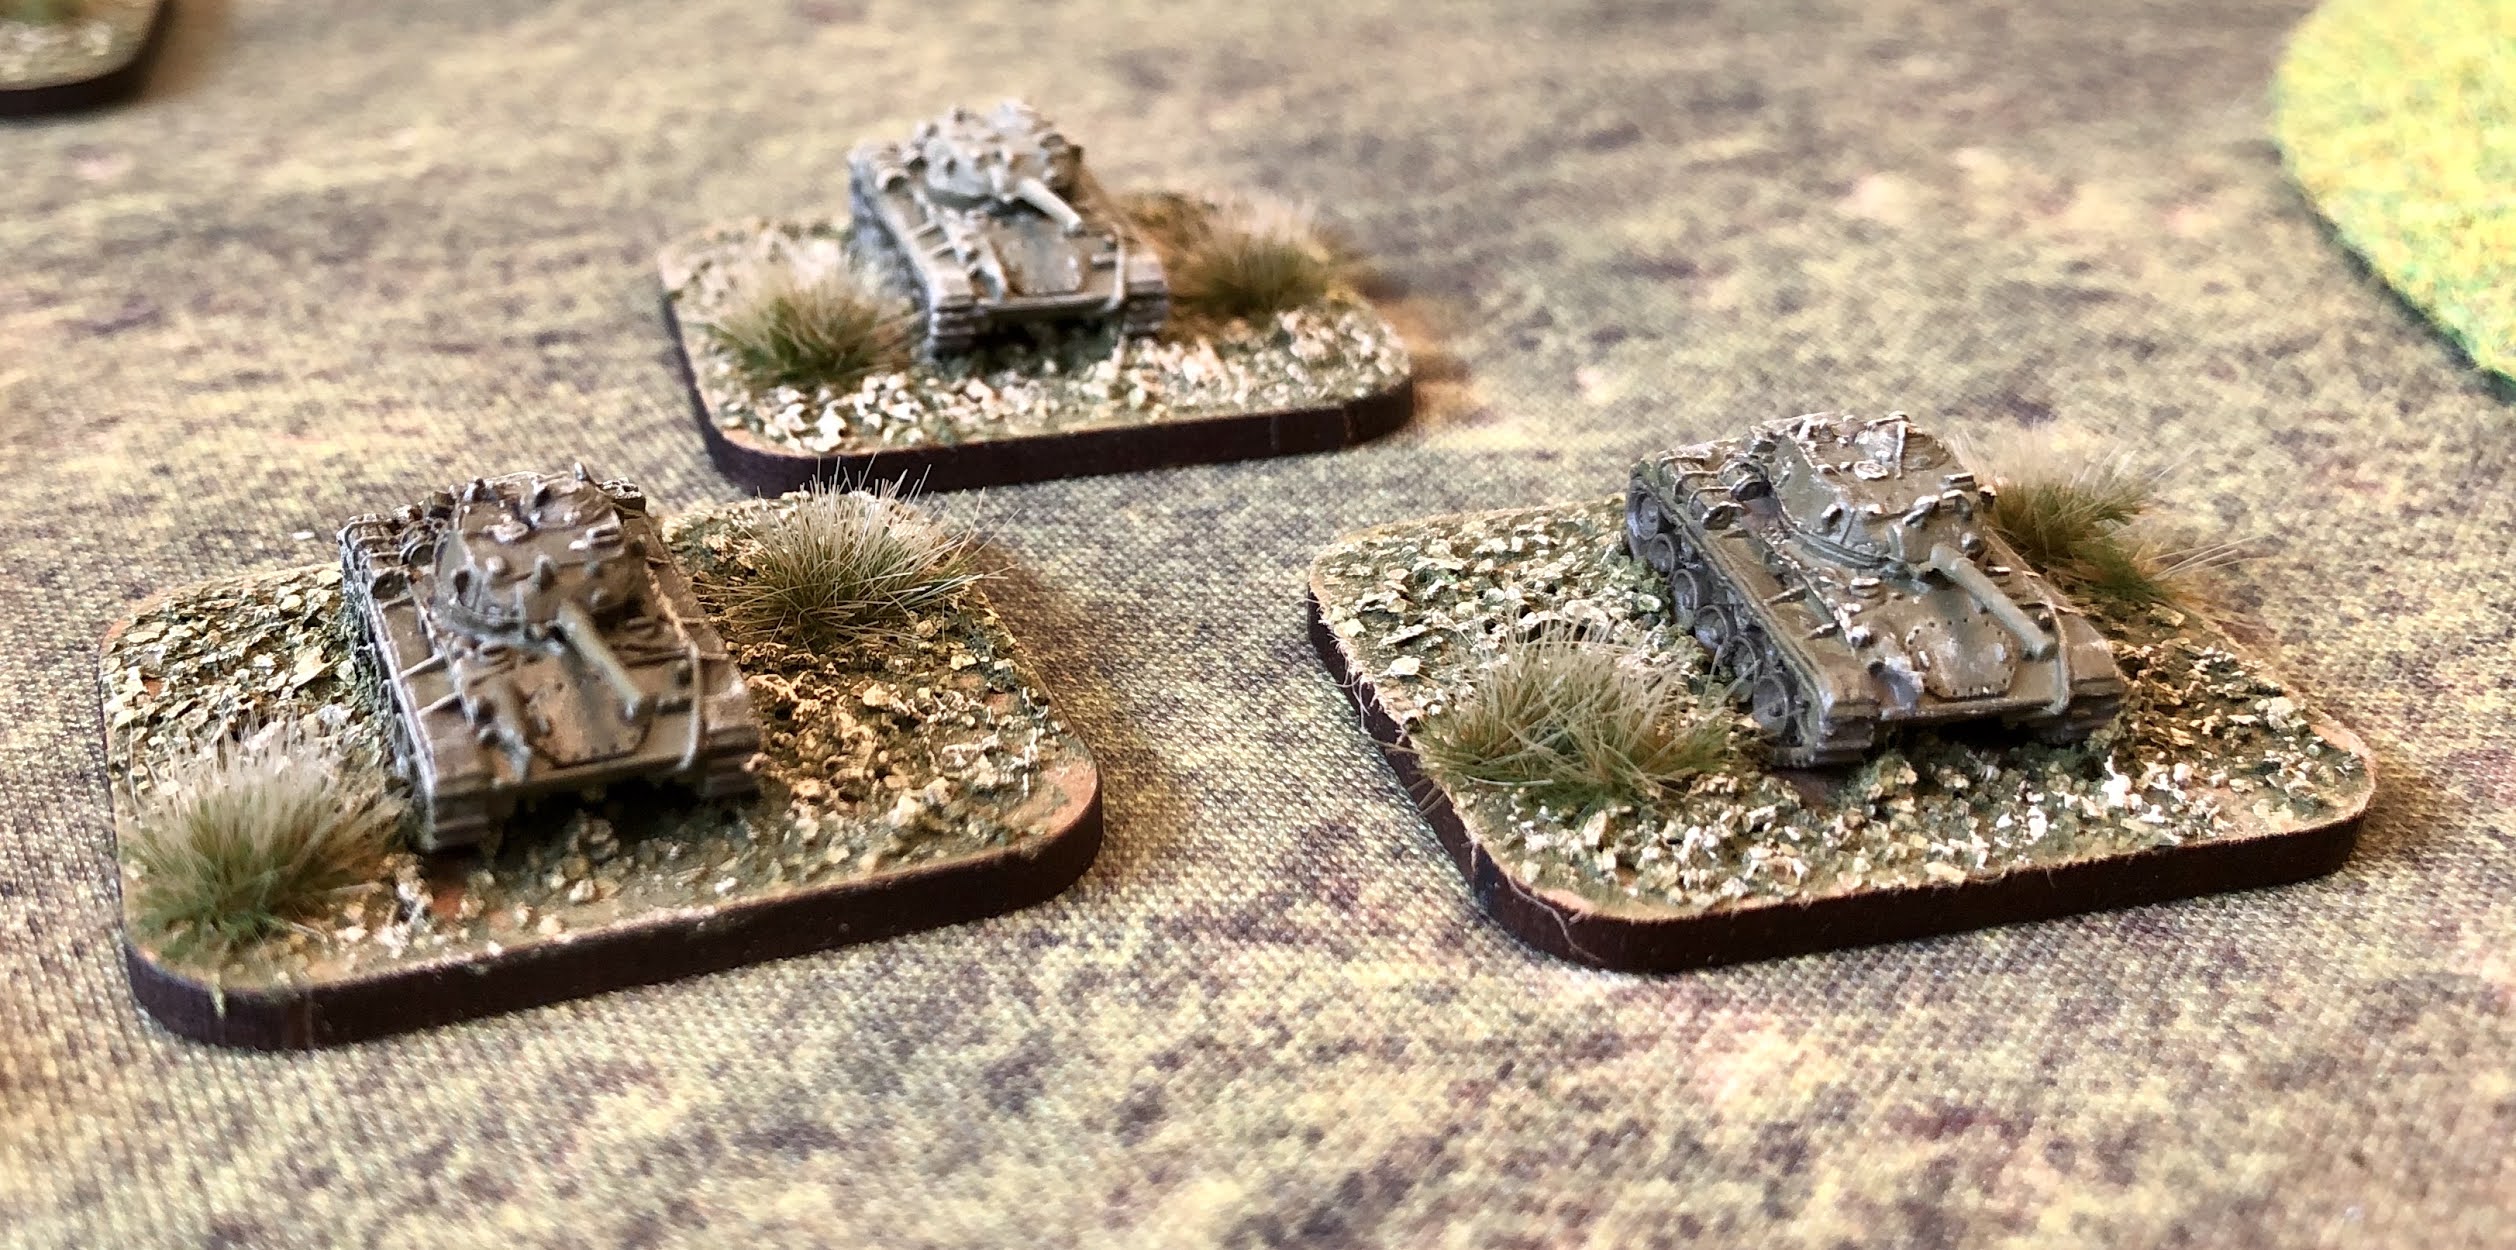
I have 15mm and 28mm armies for the Spanish Civil War. The 15mm armies were initially based for a similar Flames of War supplement but work equally well for Blitzkrieg Commander. You can, of course, use Italian WW2 forces and tanks from early war German and Soviet forces. No Pasaran!


Saturday, 5 September 2020

Anglo-Afghan Wars 1839-1919

 A bit of a break from WW2 with a book that has been sitting on my reading shelf for some time. Not that I wasn't interested, it's just that it might spark a burst of wargamers disease and I have quite enough projects!


Warfare in and on the borders of Afghanistan during the period and beyond was common. However, there are three specific campaigns covered in this book - 1839-42, 1878-81 and 1919. As the author puts it, "The wars were marked by varying degrees of political and military incompetence and brilliance". Most of them were also unnecessary, as the causes had often disappeared by the time troops were dispatched, and diplomacy would have been a better solution.

The First Afghan War is probably the best known, not least because of the outstanding paintings, many of which can be seen in the National Army Museum. This is a good example of incompetence, exemplified by the retreat from Kabul in January 1842. A force of 690 regulars, 3,800 sepoys and sowars, and 12,000 camp followers attempted to fight their way through the mountains of Afghanistan in winter. One doctor survived to reach Jalalabad. The painting of the last stand of the 44th (East Essex) Regiment at Gandamak says it all.  

The Second Afghan War was shaped by the 'Great Game', played out between Russia and Britain over Central Asia. Not for the first time, colonial administrators reverted to military action when diplomacy would have delivered the buffer states that both sides needed. Militarily this conflict involved a regular army on the Afghan side, including 62 regiments of infantry, supplemented by the traditional irregular tribesmen. The British had learned some lessons from earlier conflicts and had learned to capture the high ground before sending long columns through the infamous passes. The signature disaster was the Battle of Maiwand on 22 July 1880. 

The Third Afghan War, and probably the least well known, was fought just after WW1 when most of the best units of the Indian Army had been fighting elsewhere. British units were mostly territorial replacements who understandably wanted to go home, not fight in Afghanistan. In addition, the local militias largely collapsed. The British made up for this with technology. Not just artillery and machine guns, but aircraft. The Afghan 'invasion' of India was repulsed, although they gained their key demands in the peace treaty. 

A particular strength of this book is the way it brings out the common themes in the campaigns. The Afghan geography and distribution of its people, as well as the climate that ranges from sub-zero in winter to 110F in summer. This breeds a particularly tough people, made up of many different tribes with little love of central government, particularly when it is imposed on them from outside the country.

These are challenges that still face modern armies, as the Soviets and NATO have found. 

Needless to say, I have been powerless to stop another outbreak of wargamers disease. Having painted British armies for the Zulu and Boer Wars, I can do most of the Imperial side. An order has been placed with Pendraken for hordes of Afghan tribesmen - plenty of white paint will be required!


Friday, 4 September 2020

Operation Hardihood

My painting this week has been focused on the 1943 reinforcements for the Turkish Army - my latest project in 15mm. 

Operation Hardihood was the British code name for support to Turkey in 1943 in the form of British formations, military equipment and broader economic assistance. The equipment provided was in response to a very long list of Turkish requirements, which one American official in Ankara said, to supply the Turks with everything they wanted would be like ‘feeding an eight course dinner to an eight-day-old baby’. Churchill urged his planners to do their best to supply the Turks even if this caused some ‘slight indigestion’. He argued that Turkey’s port and transportation systems would limit what could be supplied.

The Allied Lend Lease equipment supplied to Turkey as part of this programme would largely come from surplus stocks in North Africa. I have chosen the main ones for my army, using 3D models from Butlers Printed Models, supplemented with crew from Peter Pig and Battlefront conversions. The models require a fair bit of cleaning up, although most of the spare material from the process peels away quite quickly using plyers. You are left with robust models for the tabletop and very little assembly.

First up are the Valentine III and Valentine IX tanks. These became the main battle tank of the Turkish army with 230 supplied in total. They equipped the armoured brigades facing a possible German and Bulgarian invasion through Thrace.

Next, some support from the USA in the form of 25 Sherman tanks and 222 Stuarts, which were used for the light tank companies of the armoured brigades.

150 Dingo scout cars were provided for the reconnaissance companies, along with 59 Bren carriers and a large number of jeeps and other trucks.

One of the biggest gaps in Turkish capabilities was anti-tank and anti-aircraft guns. The British supplied significant numbers of 6pdr ATGs and 40mm Bofors AA guns. Had Turkey entered the war these would have been supplemented by Allied units. 


The Turkish army had a multiplicity of artillery pieces, mostly of WW1 vintage. The towed 25pdr and the Bishop SPG went to the armoured brigades first.


The British provided extensive training on these weapons. However, training reports indicated that only about 20% of this was actually absorbed. Providing modern equipment was unlikely to be enough to turn the Turkish army into an effective fighting force. A view interestingly shared by the Turkish CinC in a report to the Turkish political leadership.

One of the achievements of Turkish policy was the ability to secure military equipment from both sides. In September 1942 Turkey was granted a loan of 100 million Reichsmarks for arms, linked to the essential export of chromite from Turkey to Germany. Among other military supplies, this bought 34 Pkw IIIJ and 37 Pkw IVH tanks. These were known as T3 and T4 in Turkish service and equipped the 6th Tank Regiment, held in reserve at Ankara. Here is a T4.


Finally, Butlers also do the Citroën-Kégresse, an obscure and strange-looking interwar French armoured car which was supplied to Turkey. I was pleased to find a stat for this in Blitzkrieg Commander because I wouldn't know where to start!


That will do for this project for now. I would like to try a few conversions in 28mm for use in Bolt Action, but that will be for the future.

Wednesday, 2 September 2020

Turkish Foreign Policy 1943-1945

 This 1973 book by Edward Weisband is probably not one for the general reader. In fact, my copy was released by an American college library and I see from the slip that no one took it out! Which is a shame because it is a very impressive piece of scholarship.


It is not entirely clear to me why the author decided to start his analysis in 1943 rather than at the start of WW2. It may be a question of space, and it was the case that 1943 was a crucial year in the narrative of Turkey's involvement in the war. He includes a quote that I don't remember in Kinross's classic work on Ataturk, taken from a conversation with Douglas MacArthur in 1934. Ataturk predicted that war would break out around 1940 and that Germany would occupy all Europe other than Britain and the Soviet Union. He also declared that the Soviets would be the 'real victors' arguing that "The Bolsheviks have now reached a point at which they constitute the greatest threat not only to Europe but to all Asia."

Apart from the remarkable foresight, this view formed the basis of Turkish foreign policy throughout the war, and afterwards. The primary threat to the security of Turkey was the Soviet Union.

The other principle was peace at home and peace abroad. This was to enable national development to be prioritised over expansionism. This was in many ways remarkable for a political elite made up almost entirely of soldiers. A point covered well in Metin Tamoc's book, 'The Warrior Diplomats'. Having said that, I think Weisband is too accepting of this theme in the book. There are many times during the war that Turkey sought to expand its borders, pressing either the Germans or the Allies, depending on the state of the war at the time. Even if you dismiss, as Weisband does, the influence of Pan-Turanism (the expansion of Turkey to Turkic peoples in neighbouring countries, mostly Soviet republics), Turkish diplomats did press for territorial revisions in Bulgaria, Iraq, Syria, and the Aegean and Dodecanese islands.

Their focus on the Soviet Union didn't mean they ignored other threats, including Bulgaria, Italy and Nazi Germany. In particular, I hadn't appreciated that in 1935 Mussolini indicated a wish to annex the region around Antalya. British tourists today might be tucking into Pizza at this popular resort if matters had gone differently! Turkey may not have entered the war until February 1945, but its army was mobilised for most of the war.  

The author takes the reader through the various diplomatic stages with Churchill being the main driver of the Allied policy to get Turkey to enter the conflict. The Americans were not really bothered and more concerned that it would be a resource distraction from the Italian campaign and later Overlord. The Soviets faced both ways but latterly were also opposed. Turkey outside the war would be an easier target in the post-war settlement for their claims in eastern Turkey and the Straits.

Weisband describes the Turkish policy for avoiding entering the war as 'Operation Footdrag'. There was always another reason, diplomatic, military or practical to defer the decision. They did succeed in getting some modern weapons from Germany in return for Chromite shipments, and even more from Britain and the USA. However, the Turkish army had major deficiencies, which could not all be resolved with tanks and aircraft.

For most of the war, at least other than 1942, Turkish neutrality was exercised marginally in favour of the Allies. The Turks accepted the principle of their treaty obligations to Britain, even if they wriggled out of them militarily. This became more pronounced in the latter stages of the war when it became clear that the Allies would win. 

This is a sympathetic study of Turkish diplomacy in the second half of WW2. In the end, Weisband concludes that Turkey played small state diplomacy rather than Great Power politics and survived the conflict.

I am working on the 1943 additions to the Turkish army this week for my 15mm project. A delivery of 3D printed models means there is much cleaning up to do! 


Tuesday, 1 September 2020

The Norway Campaign and the Rise of Churchill 1940

 This year is the 80th anniversary of the Norway campaign of 1940. Sometimes forgotten in the light of the invasion of France, and it was the catalyst that brought Churchill to power in Britain. Somewhat ironically, as he hardly covered himself with glory during the campaign as First Lord of the Admiralty.

I have a few books on the campaign, but a new one was justified for the anniversary. Anthony Dix's account covers the campaign and the political events, primarily from a British perspective. I see you can get the Kindle edition for only £4.99 as I write.


This book covers the background to the campaign in more detail than most studies I have read, including the political context, the Winter War in Finland, and the need to cut off iron ore supplies to Germany from Sweden via northern Norway. The German Operation Weserbung plan is outlined, which included the invasion of Denmark. This gave the Germans air superiority over southern Norway and secured German naval supply lines into Oslo.

The Germans had some time to plan the campaign, unlike the British who improvised a plan, and it showed. For example, Brigadier Morgan, commanding 148 Brigade, had received four sets of often conflicting orders by the time he landed in Norway. I did enjoy the story of the Leicesters arriving at a hotel in Lillehammer, only to be told by the manager that the hotel had already been booked over the telephone by the Germans as their intended headquarters and that the new guests were expected shortly!

Not all troops were properly equipped for fighting in the winter conditions and the Royal Navy did not help matters by shifting troops between ships. This resulted in units arriving without support weapons, ammunition and other essentials. No French or British units had ever fought north of the Arctic Circle. Bizarrely the French sent the Foreign Legion, more suited for the desert than the snow-covered expanse of Norway.

The Norwegian Army was only partially mobilised when the invasion began and so was ill-equipped to make the best use of the defensive terrain. I have driven north from Oslo and the terrain is ideally suited to the defence, so long as your forces have artillery support and at least some air cover. Sadly, neither applied to the Norwegian Army, and the insertion of Allied troops was done on an ad-hoc basis, often creating command confusion.

Just one example from my trip.

From a strategic point of view, while the Germans lost a similar number of ships to the Royal Navy, it was proportionately much greater. This included half their destroyers, three cruisers and serious damage to two battleships. It is also debatable if the gains in occupying Norway were worth it. Yes, they had airbases that could strike Scotland, naval options for Atlantic incursions and attacking the Russian convoys, as well as the iron ore route. However, the cost of coastal defence was huge, and even at the beginning of 1945, there were 350,000 Germans stationed in Norway who otherwise might have been used more profitably elsewhere.

An often forgotten strategic gain for the Allies was the contribution the Norweigan merchant marine and its 25,000 crewmen made to the Allied war effort, which could have been lost had Norway capitulated. However, this cannot hide the 1940 debacle, for which the blame must rest upon the organisation at most levels, the staff officers, the higher command, above all the politicians – which includes Churchill.

This book is a welcome addition to the history of the Norway campaign. It lacks detail on the Norwegian and German perspectives but it covered aspects of the Allied actions that I hadn't read before.

I haven't any Norwegian troops but plenty of early war British, French and Germans. Just need some snow.


Saturday, 29 August 2020

Blitzkrieg Commander - Operation Gertrud

 The small amount of painting I managed this week finished off the early war period Turkish army. This was a French 75mm field gun and a German 105mm howitzer. Both from Peter Pig along with converted French artillery crew. An infantry division typically had four (4 gun) batteries of 75mm guns along with two howitzer batteries. They also come with a typical supply unit, again from Peter Pig.


I also finished the first of the 1943 additions to the Turkish army, courtesy of the British who in Operation Hardihood supplied significant amounts of kit from Middle East stocks. This is a Bishop SPG from the Skytrex range. The Bishop was a 25pdr gun based on a Valentine tank chassis. The British called their SPGs after the clergy - Priest, Sexton etc. I assume this is the Bishop because it has a 'hat' on.

My ruleset of choice for 15mm WW2 is Blitzkrieg Commander. So, the first outing for this army is the defence of Thrace against a German battlegroup in early 1942. The earliest incarnation of Operation Gertrud - the German plan for the invasion of Turkey. I have written a Turkish army list for the rules you can download here.

The objective is the village in the centre of the table. The Germans held it early on along with the nearby woods with their infantry company, supported by Stuka attacks. They were held in the woods and Turkish tanks held off the STUG working around the flank. On the left flank, the Panzer 38(t) company made very slow progress against the T26s, allowing the second Turkish infantry company, to infiltrate the woods and attack the village from the flank. Victory to the Turks! Albeit helped by a disastrous German command blunder.


Tuesday, 25 August 2020

Soft Underbelly

 This is a book by Trumbull Higgins on the Anglo-American controversy over the Italian campaign in WW2. Not easy to get a copy of this 1968 book this side of the pond, so much so that I now have two copies by mistake! So, if you want a copy, I am your man.

The phrase 'soft underbelly' is ascribed to Churchill, although there is no direct quote of him using it. Sir Alan Brooke refers to him using it and there is a story of him drawing a picture of a crocodile for Stalin and pointing to the soft underbelly. It refers to Churchill's preference for attacking Germany from the Mediterranean, either through the Balkans or latterly through Italy. In contrast, the Americans, General Marshall, in particular, viewed these campaigns as a distraction from the direct assault on Germany through France.

This book examines the campaigns and the debate between the Allies on this issue. Starting in 1939 with Wavell's view that "The last war was won in the West. The next war will be won in the Mediterranean". Higgins argues that this was also influenced by British memories of trench warfare on the Western Front in WW1.

On the other hand, Marshall consistently argued that an Italian collapse would not be decisive because attacking Germany through its mountainous southern flank was never going to be a viable option. The Allies strength had to be deployed on the accessible terrain of northern France. 

It was the Torch landings in North Africa that sucked the Allied effort into the Mediterranean. Marshall argued that a theatre in being automatically obtains priority over one merely in prospect. So Tunisia led to Sicily, which led to the Italian mainland and southern France in Operation Dragoon. Not to mention Churchill's other diversions into the Eastern Mediterranean and his regular efforts to get Turkey to enter the war.

Higgins does point out that this was not simply an American v British issue. Key players on both sides took different stances at various stages. Marshall was not always supported by his political or military colleagues. Churchill was certainly opposed on a number of occasions. As Aneurin Bevan said in 1943, "The whole of this country wants to know what strategical conception behind the war put the British and American armies to fight their way right up the whole (Italian) peninsula in the autumn and winter ... Is that the 'soft underbelly of the Axis?' We are climbing up the backbone."

Higgins attributes Churchill's Balkan plans as a consequence of his failure at Gallipoli in WW1. I am less convinced that this was much of a factor. It is much more likely that Churchill, the old imperialist, was more interested in securing British interests in the Middle East and the Balkans after the war. As the conflict dragged on, his concerns clearly shifted to resisting the Soviets in eastern Europe. The end result was a totally unrealistic plan to reach the Danube before the Soviets as well as amphibious invasion of the Yugoslavian coast.

Higgins doesn't shy away from his own view that the American position was the correct one. However, he fairly sets out the different views. This is an excellent study of the controversy and well worth reading.

Italian infantry in 28mm


Wednesday, 19 August 2020

The Byzantine World War

The history of Byzantium attracts a lot of scholars and many books have been published on the military history of the empire. As I have a lot of them, I am only likely to be attracted by a new angle. Nick Holmes has written an interesting history with a focus on the 11th century and the historical treatment of the Emperor Romanus Diogenes.


There is a potted history of the campaigns running up to this period and the Empire’s long decline after the Battle of Manzikert in 1071. However, his key argument is that the Battle of Manzikert should not have ended in defeat.

He uses the neglected commentary of Michael Attaleiates (recently translated into English), as evidence that Romanus’ attempt to revive the Byzantine army was a serious undertaking. The more widely read narrative of Michael Psellus should be treated with caution as he was writing for the Doukai, who wished to gloss over their treachery at Manzikert. Although the army at Manzikert wasn’t the deadly fighting machine of tenth-century Byzantium, its newly trained Cappadocian regiments still massed in disciplined ranks that filled their enemies with fear. That was the view of the Seljuk Turk ruler Alp Arslan, who offered peace on the eve of battle.

When comparing Manzikert with Dorylaion, Holmes’ argues that the more successful armies of the First Crusade were united while the Byzantines at Manzikert were divided. Romanus Diogenes was brutally betrayed on the battle-field by Andronicus Doukas in a few minutes that changed the course of history. Had he had the foresight to imprison or exile the Doukai, he could have been the hero who saved Byzantium and changed the course of history.

While the subsequent analysis should have the usual ‘what-ifs’ health warning, he makes a convincing case in rehabilitating Romanus. It is also an engaging read. If you are familiar with the overall story, my advice would be to focus on Part II, The Battle for Byzantium, which was, for me at least, a largely new angle.

A Byzantine cavalry unit of the period from my 28mm collection

Tuesday, 18 August 2020

The Battle of Kosovo

A new book (in this case a booklet) on the Battle of Kosovo is always likely to attract me. Not least because despite its mythical status in Serbia, we actually know very little about the battle fought between the Serbs and their allies and the Ottomans on 28 June 1389. 

Sadly, this booklet adds little to our understanding of the battle, as it devotes only a few pages to the battle itself. Instead, we get a potted history of the Ottomans and Serbians up to the battle and something of its legacy afterwards. 

An early claim is that the founder of the Ottoman dynasty, Osman, was the first in his tribe to convert to Islam. The author states that his father Ertugrul was not a Muslim. This will come as a surprise to those watching the TV series 'Ertugrul' on Netflix, as this depicts him, and his father Suleyman Sah, as pretty devout Muslims, albeit of the Sufist sect. I confess to flicking forward some of these lengthy scenes. 

In fairness, we know very little about the early Ottomans and what we think we know is contested. However, Islam was very deeply entrenched in the Seljuk state that Suleyman's Kayi tribe fought with, and the idea that Osman discovered Islam well after this does seem a little surprising.

The account of the battle itself is fairly conventional with the usual discussion over how both leaders died. It does ignore the Albanian viewpoint, which is worth a read in Anna Di Lellio's book.  My short summary is on BMH along with pictures of the battlefield today, and further reading.

The battlefield monument

I can't say I would recommend this booklet. However, if you want an introduction to the period then it can be picked up very cheaply in the Kindle version. 


Sunday, 16 August 2020

Operation Gertrud

For someone who doesn't often play board games, I have been playing another this weekend! This is another Strategy & Tactics game, this time covering a German plan for the invasion of Turkey, 'Operation Gertrud'.

Implied by Fuhrer Directive 32, it was prepared in the summer of 1942. It was planned to start from Greece and Bulgaria in the west, from Syria in the south and from the Caucasus in the Soviet Union. These starting points assumed Kliest's drive into the Caucasus would be successful as well as Rommel in North Africa. In retrospect, Operation Gertrud looks pretty ambitious. However, these were the heady days of Blitzkrieg and other ambitious plans had been successful.

Operation Gertrud had a big sister in the form of Operation Orient, which envisioned a link up with Japan through the Middle East. After the capture of the Caucasus and North Africa, they would link up with the Japanese in India. This plan was cancelled in early 1943.

The game has a lovely map, always useful, with each hex covering 36 miles. The counters are mostly divisional size units. Most of the Turkish army is based in Thrace, including the best units, facing several German panzer corps and Italian allies in Greece and Bulgaria. Interestingly, there are no Bulgarian units, I assume on the basis that the Bulgarians had a non-aggression treaty. I am not convinced that would have held in this scenario, and neither did the Turks at the time.


The game provides a number of scenarios from Late 1941 to Early 1943. Some of these involve the Soviet Union, including what I would call the 'Poland Option' of the Soviets taking advantage of the German invasion to attack Turkey in the East.  The Turks always regarded the Soviet Union as their primary concern. There are also a few special missions involving the Dardanelles and a commando raid to capture President Inonu. 

The game mechanics are very straightforward, with a simple combat system. With a range of options, this makes an interesting game. I have only played once so far, and I suspect it is going to be difficult for the Turkish side to win. I am tempted to try abandoning Istanbul and holding the Straits as a defensive line. It would have been politically very difficult for Inonu to do this in reality, but it looks like the only practical military option.

The game inspired me to finish another Turkish unit in my 15mm project, as well as order some of the later equipment options for the Turkish army. A game of Blitzkrieg Commander is next.


Friday, 14 August 2020

Railway Guns

 Further delving into the depths of my 'to read' shelf, and I found this book by John Goodwin. I picked this up at the Scottish model railway show back in Fenruary at a very attractive price. Ah, shows, those were the days!

Mounting artillery on rails goes all the way back to 1847 when an Edinburgh inventor patented the idea of putting a 32-pounder gun on rails. The Duke of Wellington as C-in-C of the army was not impressed with the idea or the cost at £1m. It wasn't until 1894 that a privately funded scheme got onto the rails at Brighton. They used a redundant Armstrong field gun and a 20-ton flat wagon, and it was used in field exercises to defend the south coast against a possible invasion.

The heavy rail-mounted artillery came to the fore during WW1 with 13 batteries going to France. They were used to bombard strong points, dumps and assembly points far behind enemy lines. The slow rate of fire and limited traverse restricted their use, as well as the need to strengthen railway lines. The Americans, French and Germans also used railway guns, although in smaller numbers. The most famous German gun could fire at Paris from 80 miles away.

They were used again in WW2 when an array of guns were assembled to defend against invasion. Special sidings were developed across Kent and Sussex, which enabled most of the potential invasion beaches to be targeted. Guns were often hidden in tunnels to avoid air observation and diesel locomotives towed them without the tell-tale smoke. Guns could and were used to shell each other across the Channel. The Germans had developed new railway guns and built special bunkers for them in the Pas de Calais. They used turntables to get around the traversing issue. The K12 210mm railway gun had a range of 71 miles.

This book is a lovely piece of research. Profusely illustrated with a wide range of railway guns used in both world wars. Primarily British, but plenty of German photographs as well. A fitting tribute to a weapon system that has largely been forgotten.


Thursday, 13 August 2020

Russ infantry

 Back to painting 28mm figures this week, much to the relief of my eyesight! My Russ project, courtesy of the Golden Horde TV series, needed some infantry.

There isn't a lot of choice other than city militia with figures from Gripping Beast. These didn't irritate me as much as the Druzhina. The shields glued on pretty well and the LBM transfers worked fine, so my faith in them is restored. There is a lot of drilling to do to get the spears through the hands but the plus side is that the spears are pretty robust. I dusted down my mini-electric drill set for the job. My wife was keen to chuck this out during the last garage clean out, so I made sure it stayed on the study floor for a few days, just to show I do use it!


The Russ didn't use a lot of infantry archers, but a few are justified for either supporting the spearmen or as light infantry. Again, Gripping Beast figures. I do like the big bushy moustache on these figures.

I have primed the last of the Druzhina for the painting bench. And with some generic horse archers and a few mercenaries that will be enough for my Oathmark and Lion Rampant games.

Tuesday, 11 August 2020

Burma Road 1943-44

 Digging deep into my 'to read' shelf this week, with Jon Diamond's Osprey campaign book on Stilwell's assault on Myitkyina in 1943-44. 

The retreat from Burma in 1942 had left the supply line to China, the Burma Road, dangerously exposed to the Japanese. Northern Burma was occupied by the experienced Japanese 18 Division (three regiments), which although on the strategic defensive was aggressively patrolling northwards. Japanese planes based at Myitkyina could also intercept US transport aircraft taking supplies over 'The Hump' into China.

The cutting edge of Stilwell's planned offensive to capture Myitkyina was Merrill’s Marauders (named after its commander Frank Merrill) or Unit Galahad, officially named the less than glamourous 5307th Composite Unit (Provisional). They had been modelled on the Chindits to perform similar long-range penetration operations in combat command sized groups. They had very few support weapons, which gave them limited punch compared with a normal US infantry battalion. This would prove to be a challenge when fighting a conventional, and dug in, Japanese division.

My awareness of this campaign is probably framed by my recollection of the 1962 film Merrill’s Marauders

It captures the sheer length of the penetration over jungle and mountain terrain, particularly the last mountain haul to Myitkyina. It ends with the capture of one of the airfields in May, but I didn't appreciate that the town did not fall until the end of August. This was after a prolonged siege, although in fact, Stillwell's force was itself surrounded by enemy-held territory. US intelligence consistently underestimated the size of the defending forces, which could be supplied over the river until the British cut their line of supply at Mogaung on 26 June.

I suppose it is inevitable that the film focuses on the Marauders, but we should recognise that Stilwell deployed several combat engineer battalions in the siege of Mitikyina. US casualties totalled 2,207. The Marauders were also supported by Japanese-American translators, and crucially, Kachin tribesmen, who guided them through the terrain. Equally important, and often forgotten, was the combat role of Chinese infantry divisions, who sustained 4,344 casualties. The Japanese lost 790 killed, 1,180 wounded and 187 captured. The effectiveness of the campaign and Stillwell's command decisions are the subject of some controversy, and this is covered in a very balanced way.

This book has all you need to understand the campaign. ORBATS, great maps and plenty of photographs, as well as colour plates by Peter Dennis. I don't have many US troops for this theatre of operations, but plenty of Chinese and Japanese in 15mm and 28mm.


Saturday, 8 August 2020

Legions of the Mist

 My latest bedtime fiction reading has been Amanda Cockrell's (writing as Damion Hunter) novel The Legions of the Mist

This is the latest of many takes on the mysterious disappearance of the Ninth Legion Hispania somewhere in northern England or Scotland in the early 2nd century AD. The story was most famously told by Rosemary Sutcliffe in 1954 and has recently formed the basis of the film, The Eagle. In essence, the theory is that around 5,000 men of the Legion and auxiliaries were lost in the swirling mists of what was then Caledonia, as they marched north to put down a rebellion. There is evidence that something happened to the Legion and they were replaced by the Sixth. The new Emperor Hadrian then famously build the wall to keep the Caledones out. Other historians argue that it was simply a unit transfer, although the Ninth does seem to disappear from the records.

In this retelling, the focus is on two characters. A Roman centurion Justinius and the young High King of the Brigantes, Vortrix. The Ninth is not a happy unit and there is an insurrection in the ranks long before the Legion marches north from York. Most of the book is spent on the domestic and garrison lives of the two main characters who clash in the first rebellion, which is put down, and again in the final chapter. But I won't spoil the story.

The author has done her research on the garrison life of Roman soldiers and the British tribes. This is not without interest, but frankly, it doesn't make great historical fiction. It is sold as, 'a gripping novel of Roman adventure', which I'm afraid it isn't. If you want to know want the centurion had for his tea, this is the book for you. If you are looking for Bernard Cornwall style historical fiction, it isn't.

Sadly, this book did not inspire me to get my 28mm Romans onto the tabletop.


Friday, 7 August 2020

Cold Start: The Next India-Pakistan War

 I am not a big player of board games but I have a growing collection, partly for the excellent maps, and also because they give a strategic perspective that few tabletop games bring. Cold Start is a board game from Strategy & Tactics which simulates a modern-day conflict between the two nuclear powers. 

India and Pakistan have gone to war three times since Partition and engaged in many low-intensity conflicts. Both sides continue to face each other with large armed forces. The terrain in the border areas varies from the desert in the south, the rivers of Punjab, up to the mountains of Kashmir. 

India's war strategy is called 'Cold Start', developed after terrorist attacks in 2001 showed how slow the army's mobilisation was. They now aim to achieve full mobilisation in 72 hours and then launch attacks across the border to capture key targets. The spear of the attack will come from three or four strike corps, which include armour and mechanised divisions. 

Pakistan's 'Riposte' strategy involves two strike corps, which would seize Indian territory, or counter any penetration. Pakistan doesn't have much room to manage a defence-in-depth and it is heavily outnumbered by its larger neighbour. It does have a potential ally in China, who could intervene by inserting airborne troops into Pakistan and making limited strikes across their border with India. Ground communications between Pakistan and China are limited to one high-level road.

So, onto the tabletop. My main beef with board games is the fiddly counters and overly complex rules. In this game, you get a lovely map, which I will use for the earlier conflicts as well. The counters mainly represent divisions and the rules are very straightforward.

I played the Pakistan side. Suffice to say I didn't do as well as their cricket team is performing in the test match! It reminded me of playing late-war Germans on the eastern front. You dash around with armoured battlegroups desperately trying to firefight numerous incursions. Airpower can be pretty devastating as India almost always has air superiority. Just when you think you have pounced with more units on an Indian strike corps, the balance is wrecked by hordes of Indian planes.  Sadly, the Chinese didn't intervene either. 

Despite my dismal performance, I really enjoyed this game. It certainly has that elusive playability and gives a real feel for the strategy of both sides. Another box of those lovely GHQ models has just arrived, so it will be back to 1971 soon.


Tuesday, 4 August 2020

The Warrior Diplomats

This book by Metin Tamkoc looks at how the Turkish Republic's objectives over a period of around 50 years (the book was written in 1976) were achieved by the presidents and their principal advisors, who he calls the 'warrior diplomats'.  This is because nearly all of these leaders came out of what Turkey calls the National Struggle, the Turkish War of Independence, or the Greek-Turkish War of 1919 to 1923.


Foremost of these was the first President of the Turkish Republic, Mustafa Kemal. He was followed by Ismet Inonu, also a trained soldier who joined the nationalists in 1920 and won the critical Battle of Inonu, ending the war as a Lieutenant General.  It was Inonu who steered Turkey through WW2 and became 'The National Chief', just one step behind Ataturk who was given the title 'The Eternal Chief'. These men were advised by a relatively small number of men in foreign policy and military positions, most of which had a military background.

Unsurprisingly, these men were not democrats in the western democratic tradition. They created an authoritarian system of government in the tradition of the Ottoman state they succeeded. They modernised the state, slowly and cautiously by authoritarian methods. The Grand National assembly existed, but it was the President who called the shots. The author illustrates this with the story of the 'Moustache Revolution of Inonu', who ordered all his ministers to shave off their moustaches in 1943. Shades of Peter the Great and the Boyars beards!

These leaders gave foreign affairs primacy over domestic policies. Not least because Turkey is located at the crossroads of international politics. They pursued a policy of 'Peace at home and peace in the world'. However, they recognised that this required strong armed forces, the cost of which undoubtedly had a negative economic impact. 

During WW2, they maintained large armed forces in a mode that they called 'belligerent neutrality'. Each allied victory after 1943 made it more difficult to resist Allied pressure to join the war, but they managed to hold off until February 1945. Their primary concern was always the Soviet Union. Despite the early flirting with communism, these leaders were anti-communist, some even pro-German, and containing Soviet expansionism was their main aim. After WW2, they quickly dropped neutrality and lobbied to join NATO. 

The fundamental objective of these warrior diplomats was to modernise Turkey to contemporary standards and to protect the territorial integrity and political independence of Turkey. Something they largely achieved. 

While there are several good studies of Turkish foreign policy during this period (Weber, Catherwood, Deringil and Weisband), this book focuses on the personalities. This probably makes it more readable than similar studies, and I found it very useful for my current projects.


Sunday, 2 August 2020

At the Forward Edge of Battle

This is a two volume history of the Pakistan Armoured Corps 1938-2016, by Major General Syed Ali Hamid. There are a number of interesting aspects of the Indo-Pakistani Wars, but the real attraction is the large scale deployment of tanks. So these volumes, in the Helion Asia@War series, are very welcome.


The first volume starts with the early mechanisation of what was then the British India Army, prior to WW2. In 1937, there were 18 cavalry regiments in the British India Army, and only two were mechanised by the outbreak of war in 1939. The Indian Army was not the highest priority for armoured vehicles even after the war broke out in Asia. However, cavalry regiments were mechanised and served in most theatres of war, most famously in the Middle East and latterly in Burma.

At partition, the Pakistan armed forces arguably got the worse of the equipment split, and many regiments split on religious lines. The newly created corps was quickly into action during the First Kashmir War. The early equipment was WW2 British and US armour, until the 1950s when US Lend-Lease started to arrive. This introduced M47 and M48 tanks along with M24 Chafee's in the reconnaissance role, and the less modern M36B2 tank destroyers. However, Shermans remained in service until 1980, albeit with some improvements. On the eve of the 1965 War, just over 1000 tanks had been received from the USA.

The second volume begins with chapters on the recruitment, training and doctrine of the corps. Then chapters on the 1965 and 1971 Wars, which saw some of the largest tanks battles since the Second World War. The supply of equipment largely reflected Pakistan's foreign policy stance, which after 1965 shifted from the USA to China. This brought large numbers of T59 tanks and later T85s. The M47s left after 1971 were upgraded in Iran and the army also received a handful of Russian T34/85, T55, and in 1996, T80's from Ukraine. Captured Indian AMX13 and PT76 tanks also served.

From just six armoured regiments at independence the Pakistan Armoured Corps mushroomed to 42 regiments by 1995. These were deployed in armoured and mechanised divisions, but others were organised into armoured brigades serving independently or attached to infantry divisions.

Both books are profusely illustrated with period photos and colour plates by David Bocquelet. Tank crews on occasion found it difficult to differentiate between Indian and Pakistan tanks, which can be a challenge for the wargamer as well, particularly when you choose 1/285th scale! The colour plates give some camouflage variants which will help enormously.

The author spent half of his military career with the armoured corps, including the command of a mechanised division. If you are only interested in the 1965 and 1971 Wars then volume 2 will do. However, both are worth reading to fully understand the development of this fighting force.

M24 Chaffees

M47/48 Pattons